Take bookings with Calendly
Connect your Calendly account so customers can book your meetings and appointments inside your app.
Step-by-step guide
Follow these steps, then download the PDF to keep.
- 1
Open Pages
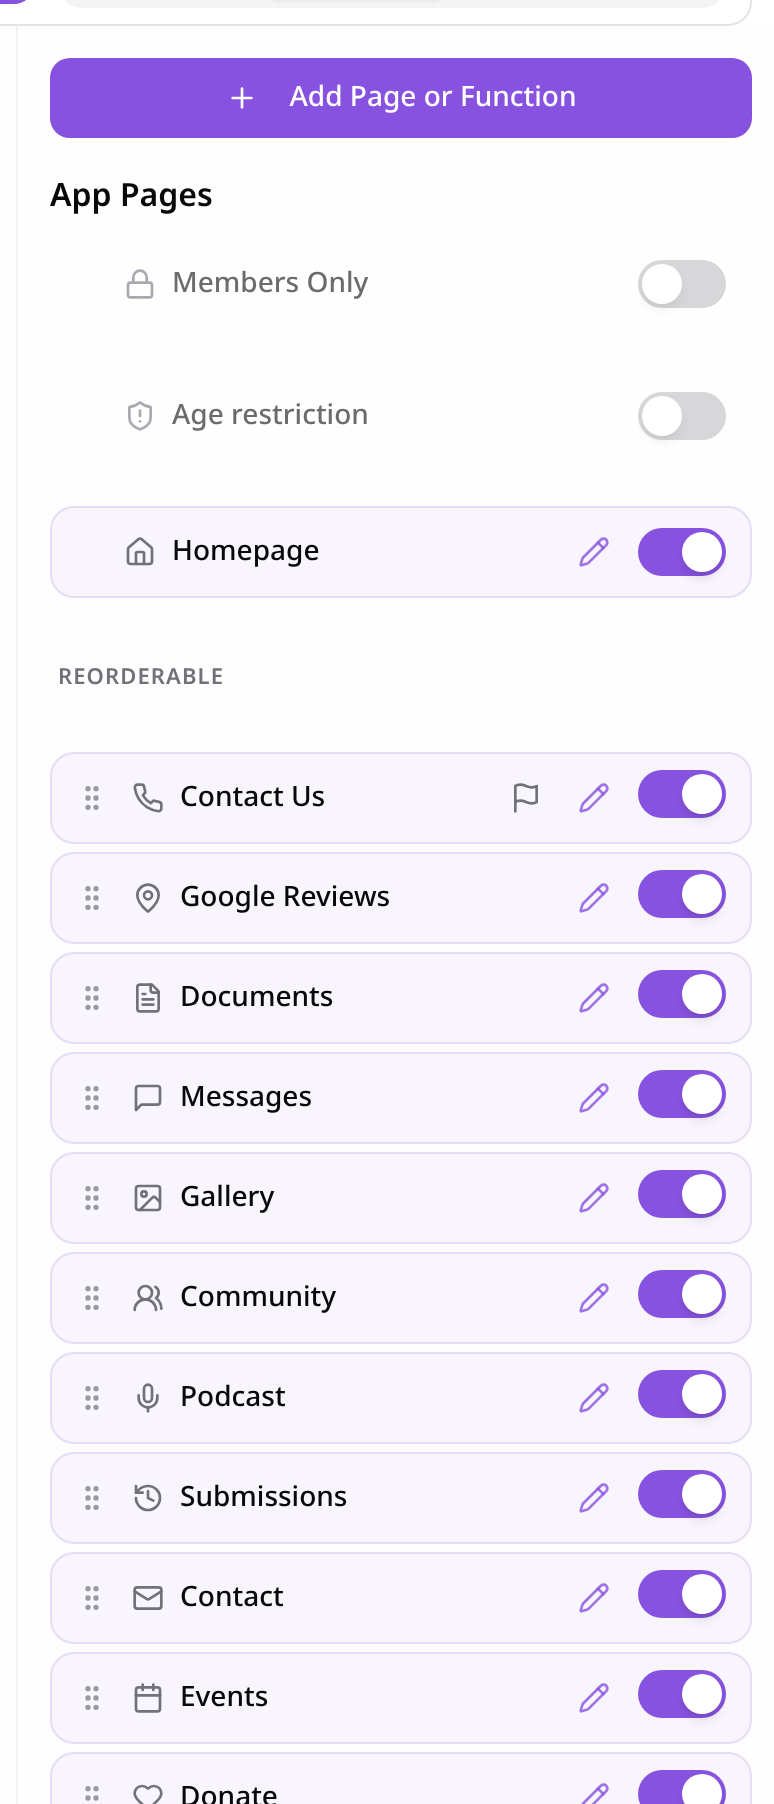
In your app editor, open Pages and tap Add Page or Function.
- 2
Choose Calendly Booking
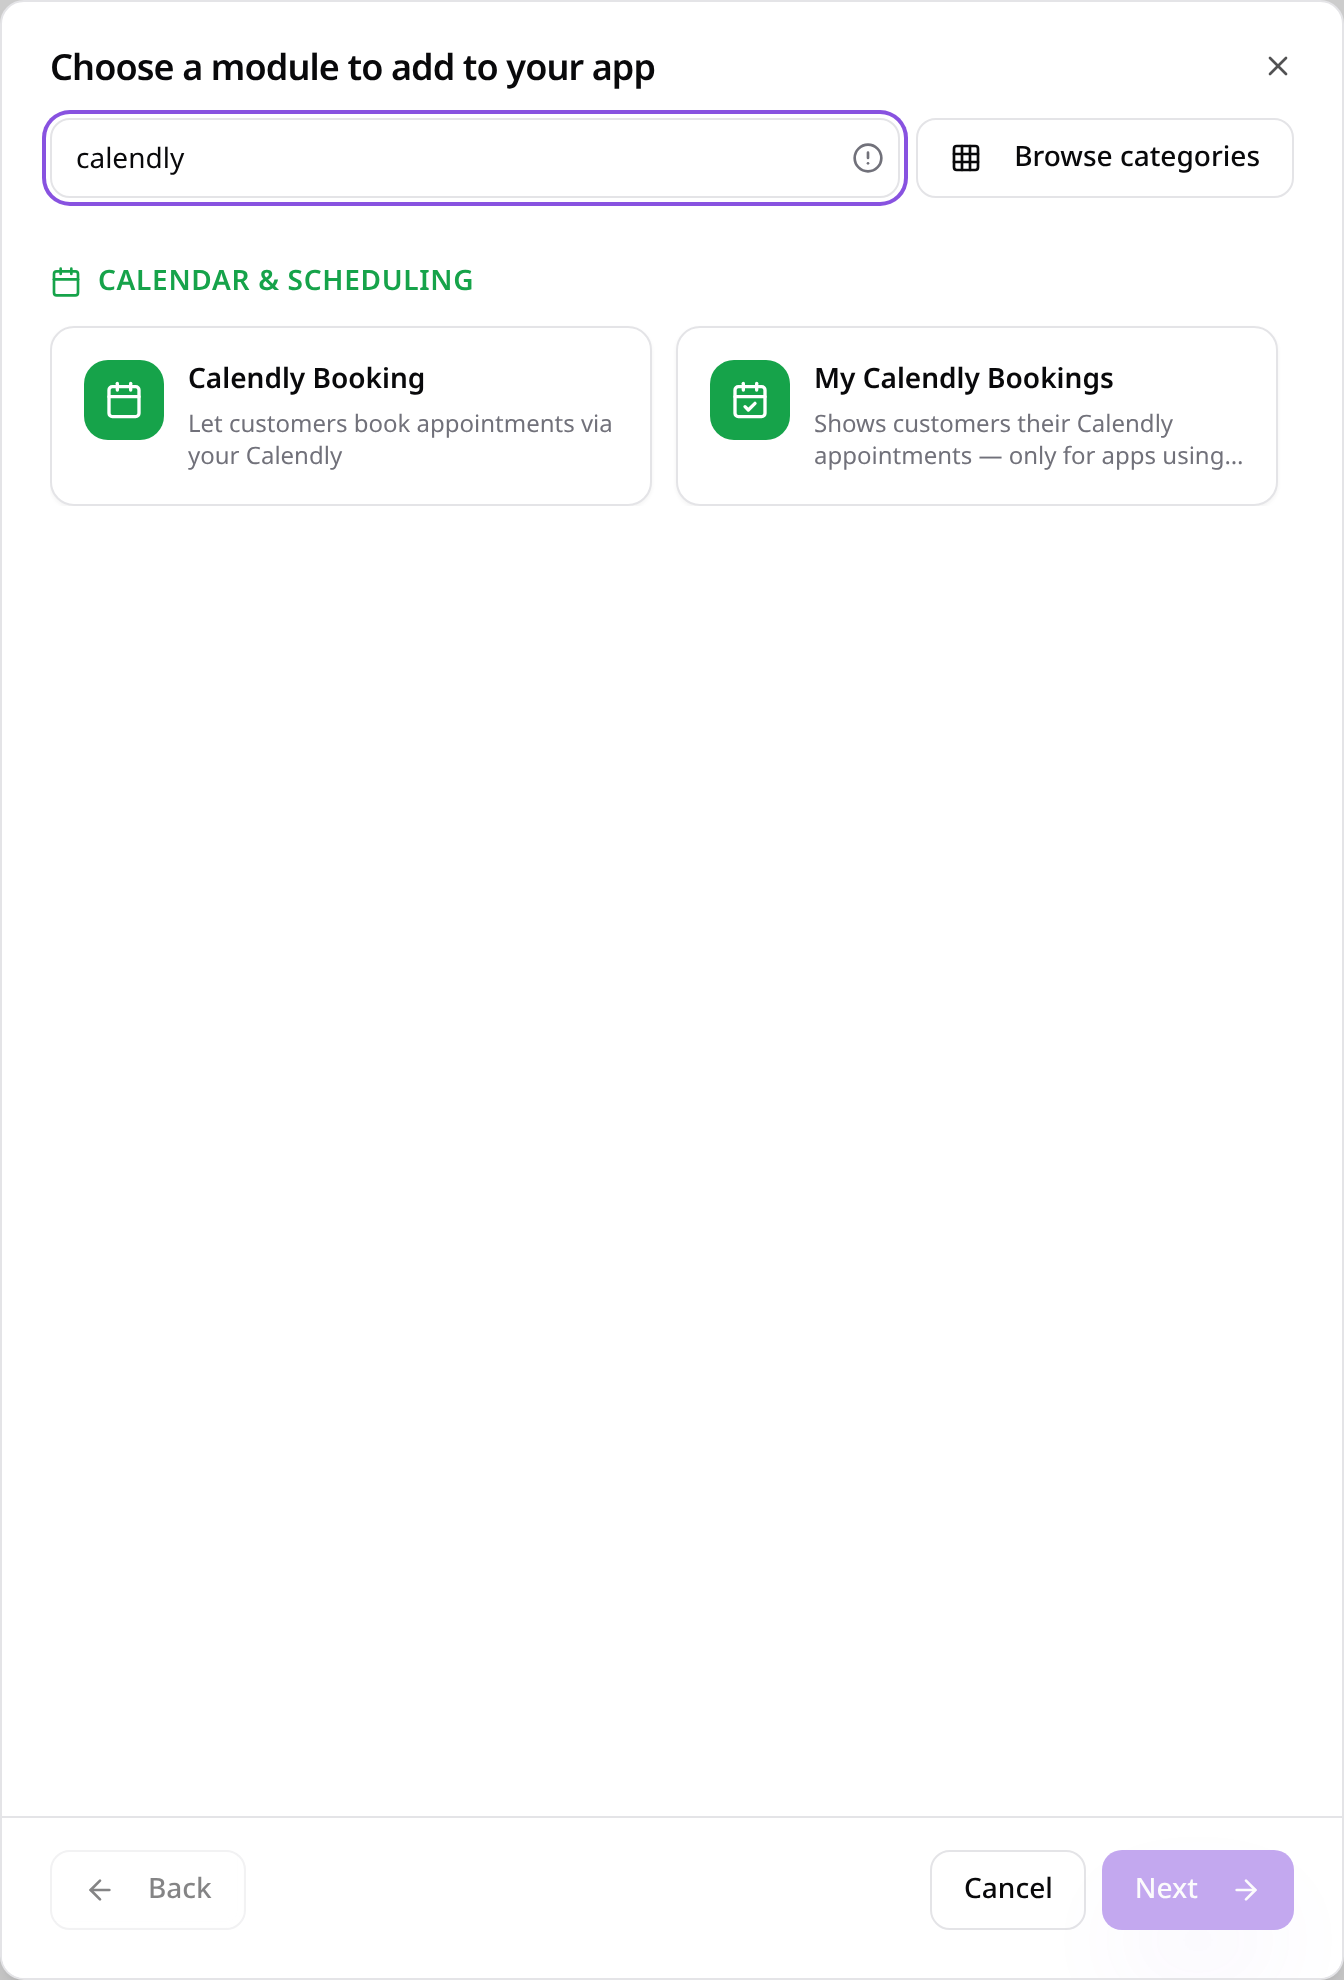
Search “calendly” and tap Calendly Booking.
- 3
Connect Calendly
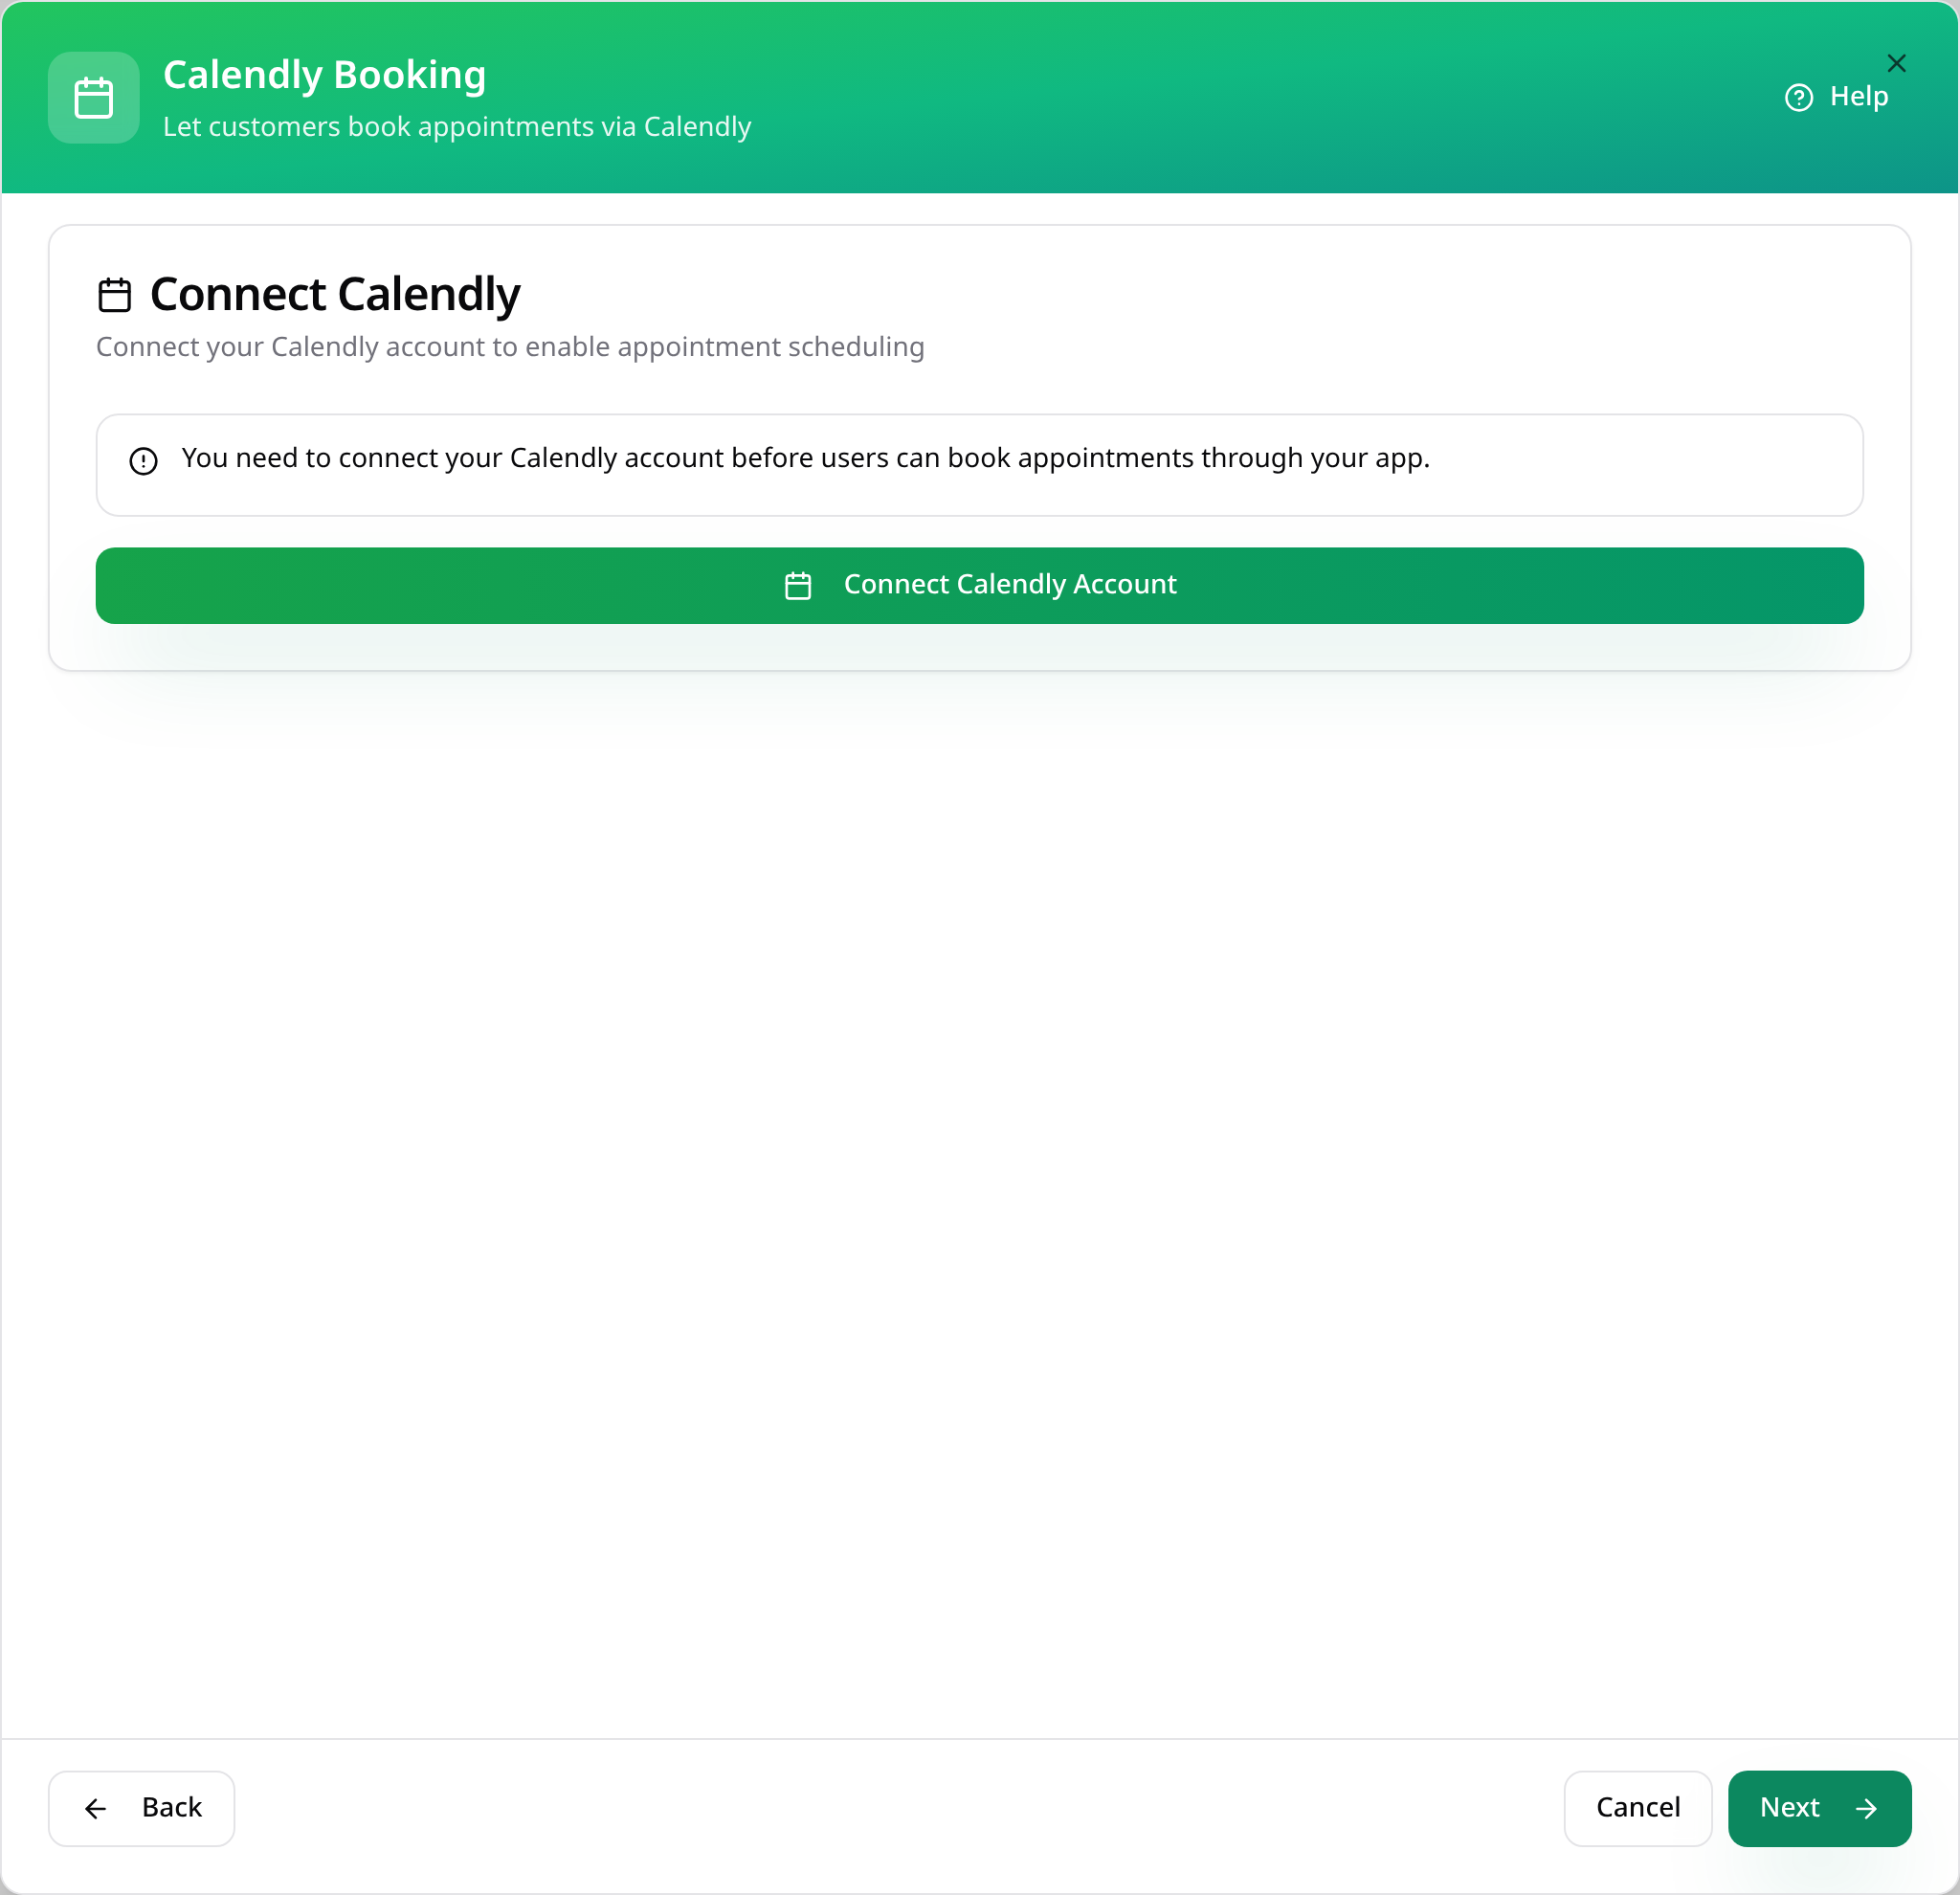
Tap Connect Calendly Account. You only need to do this once per app.
- 4
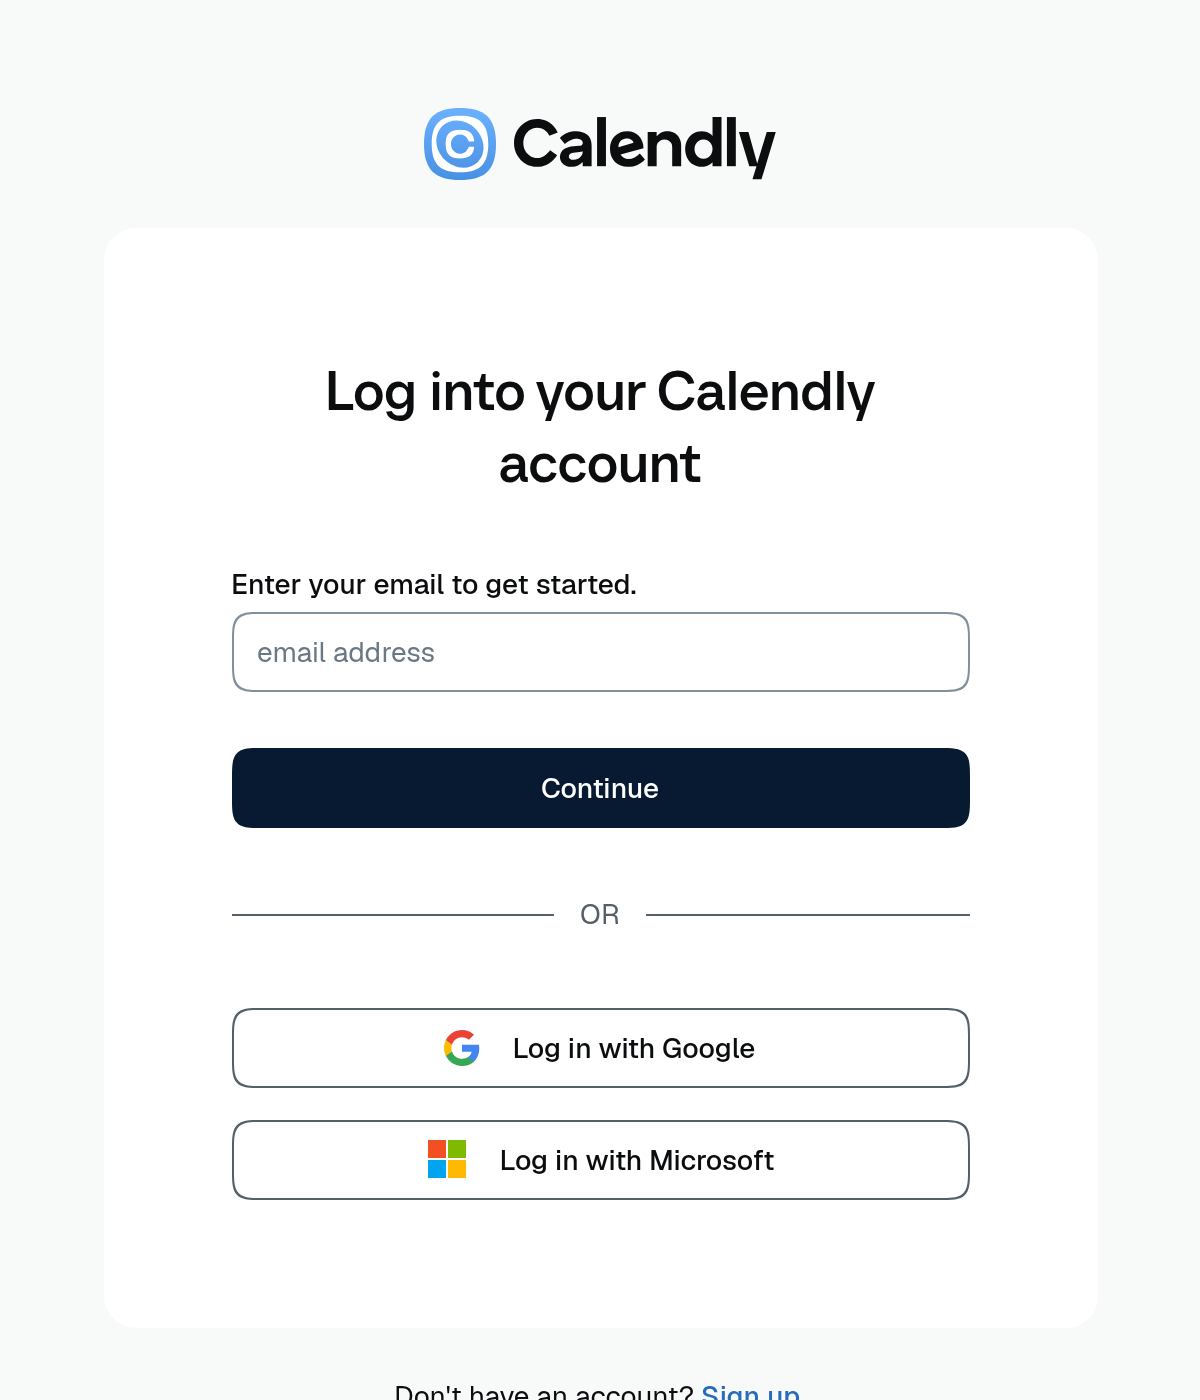
Sign in to Calendly
A Calendly window opens. Sign in and allow access, and the window closes by itself.
- 5
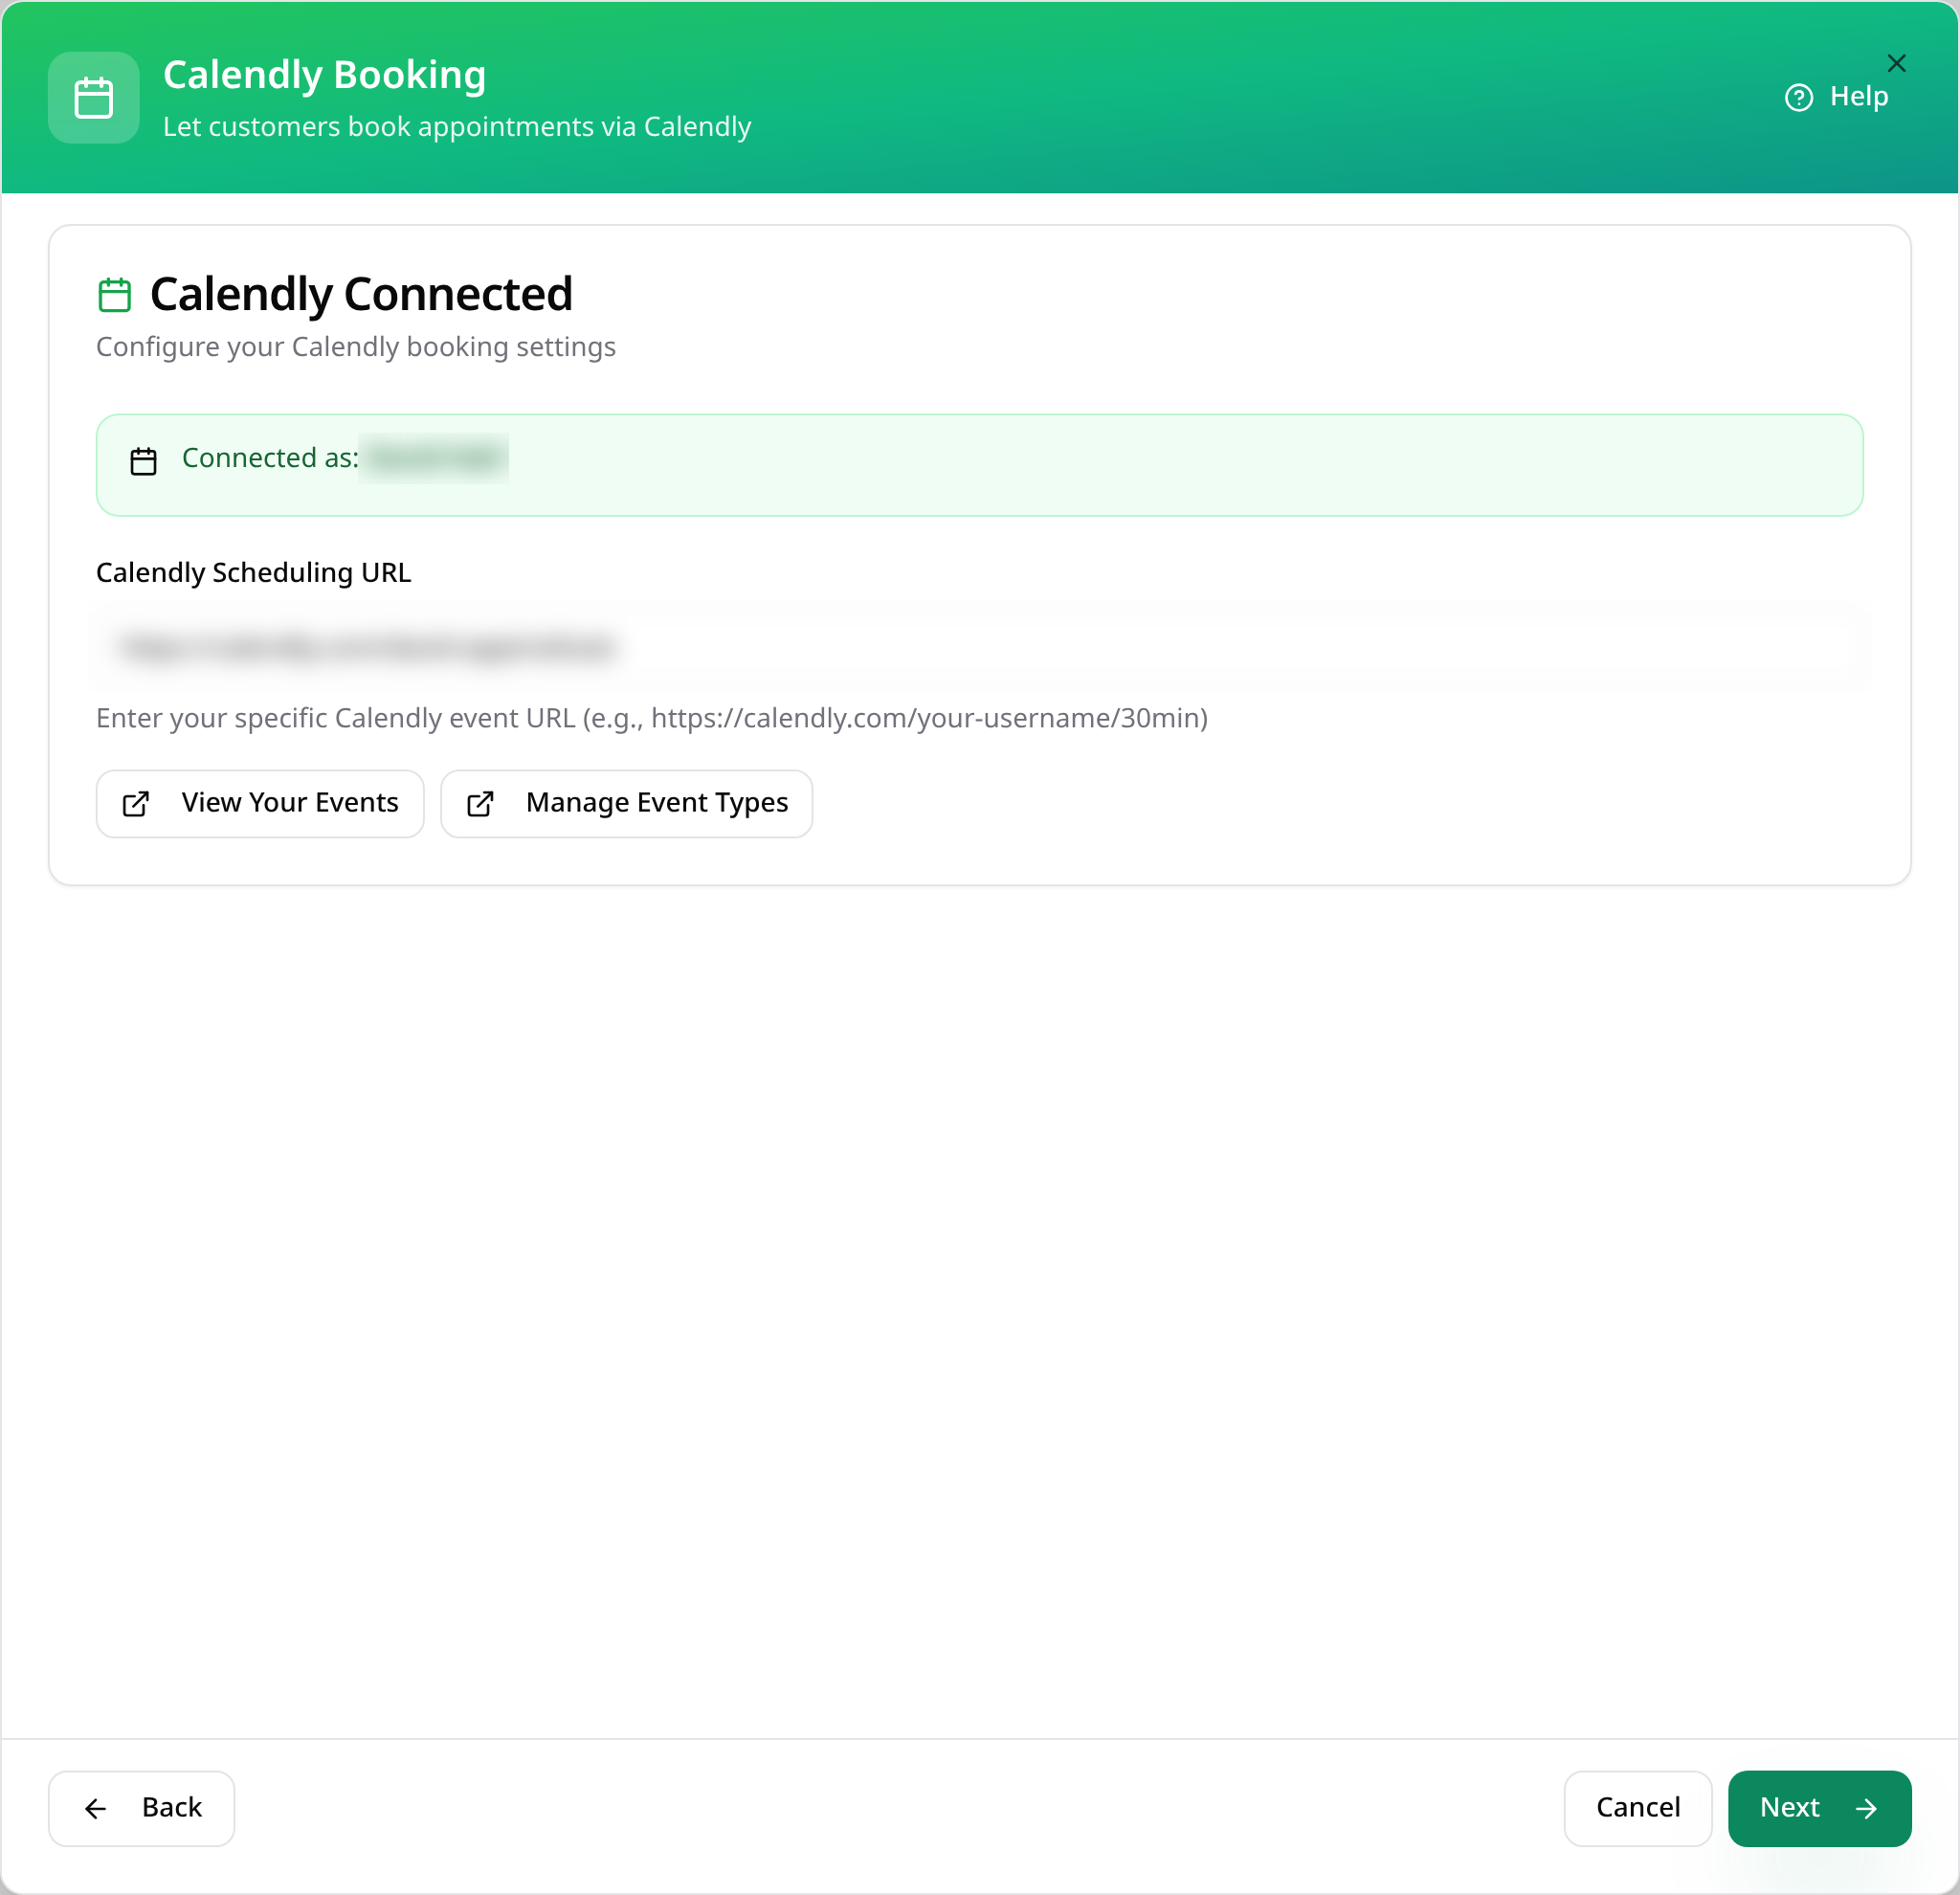
Check your booking link
Once connected, your scheduling link is filled in. Paste a single event link instead if you only offer one type of meeting. Tap Next.
- 6
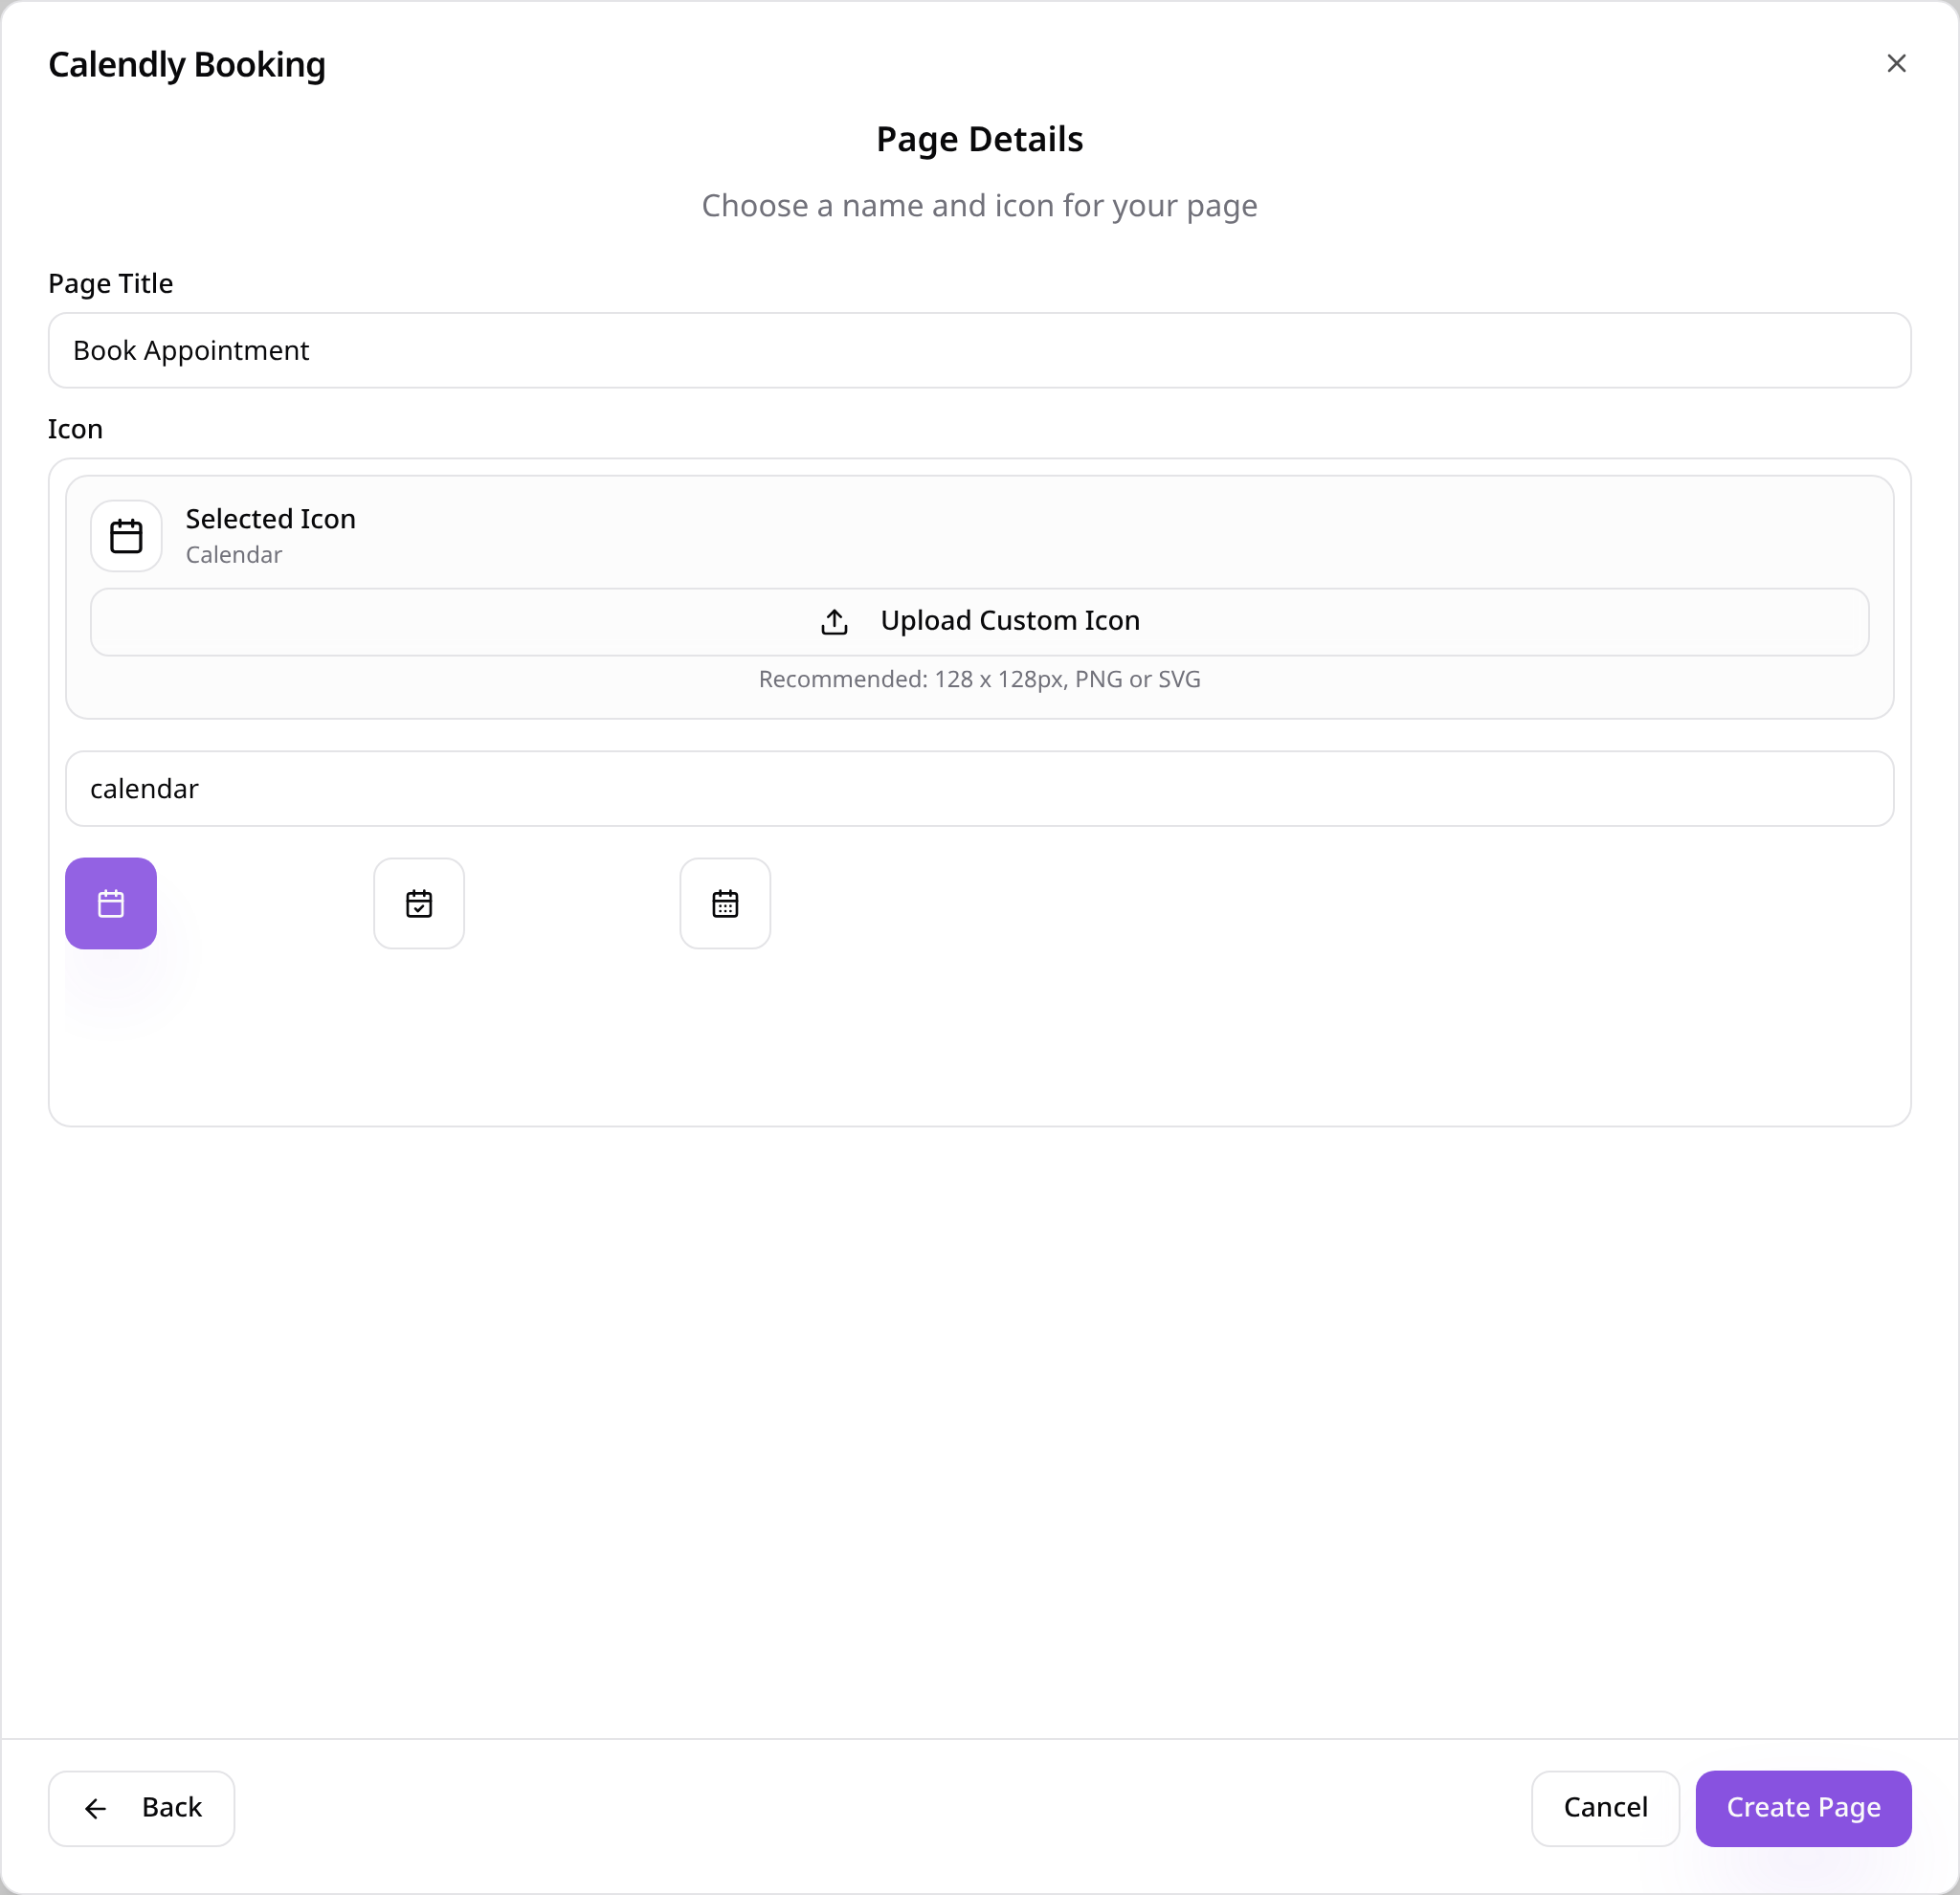
Name the page
Give the page a name, choose an icon and tap Create Page.
- 7
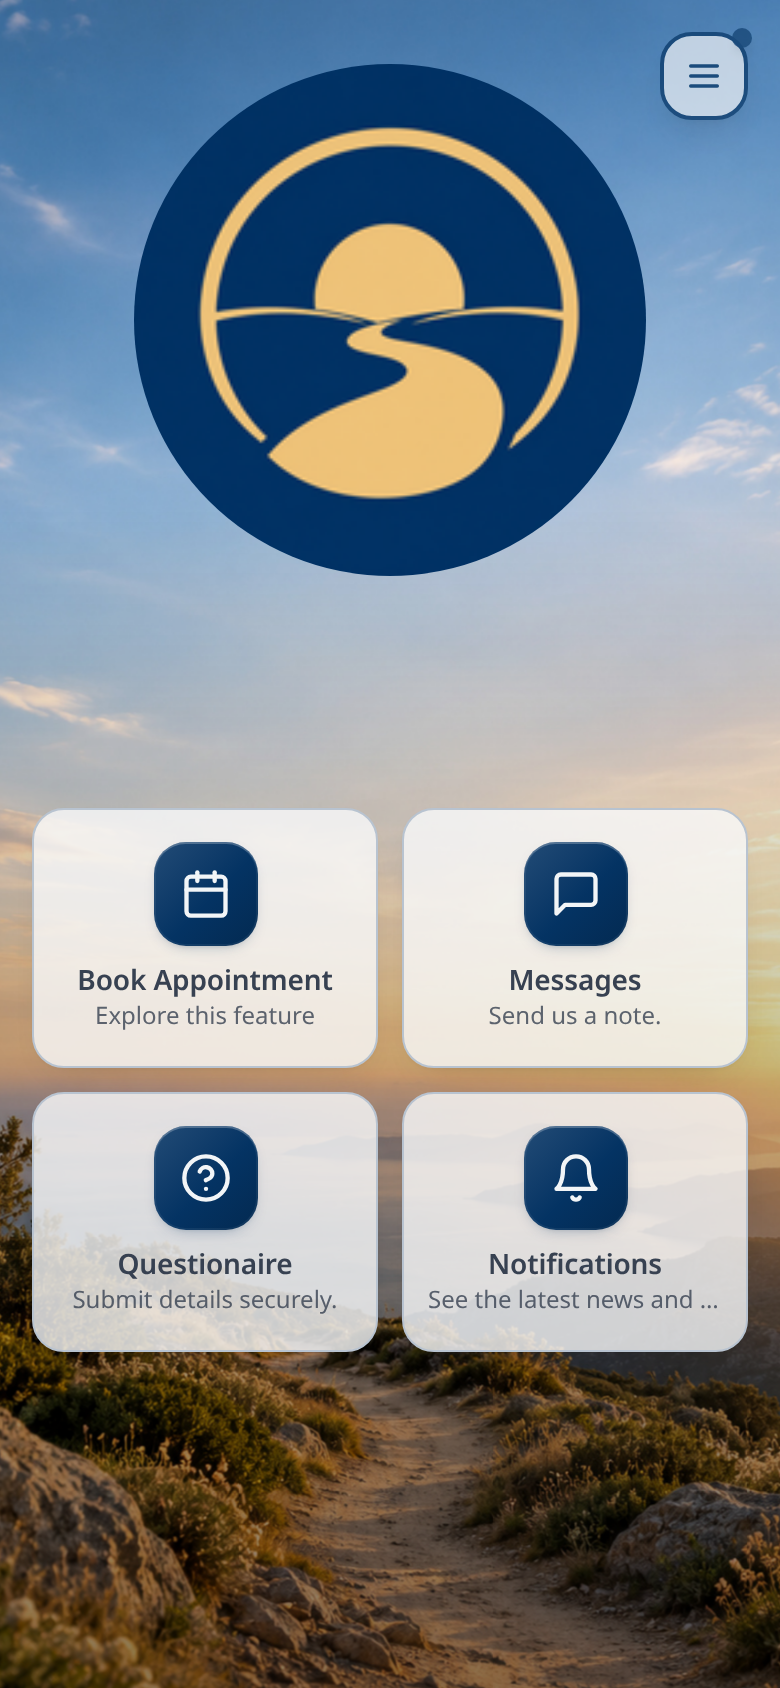
See it in your app
Your booking page appears in your app's menu.
- 8
Customers choose a meeting
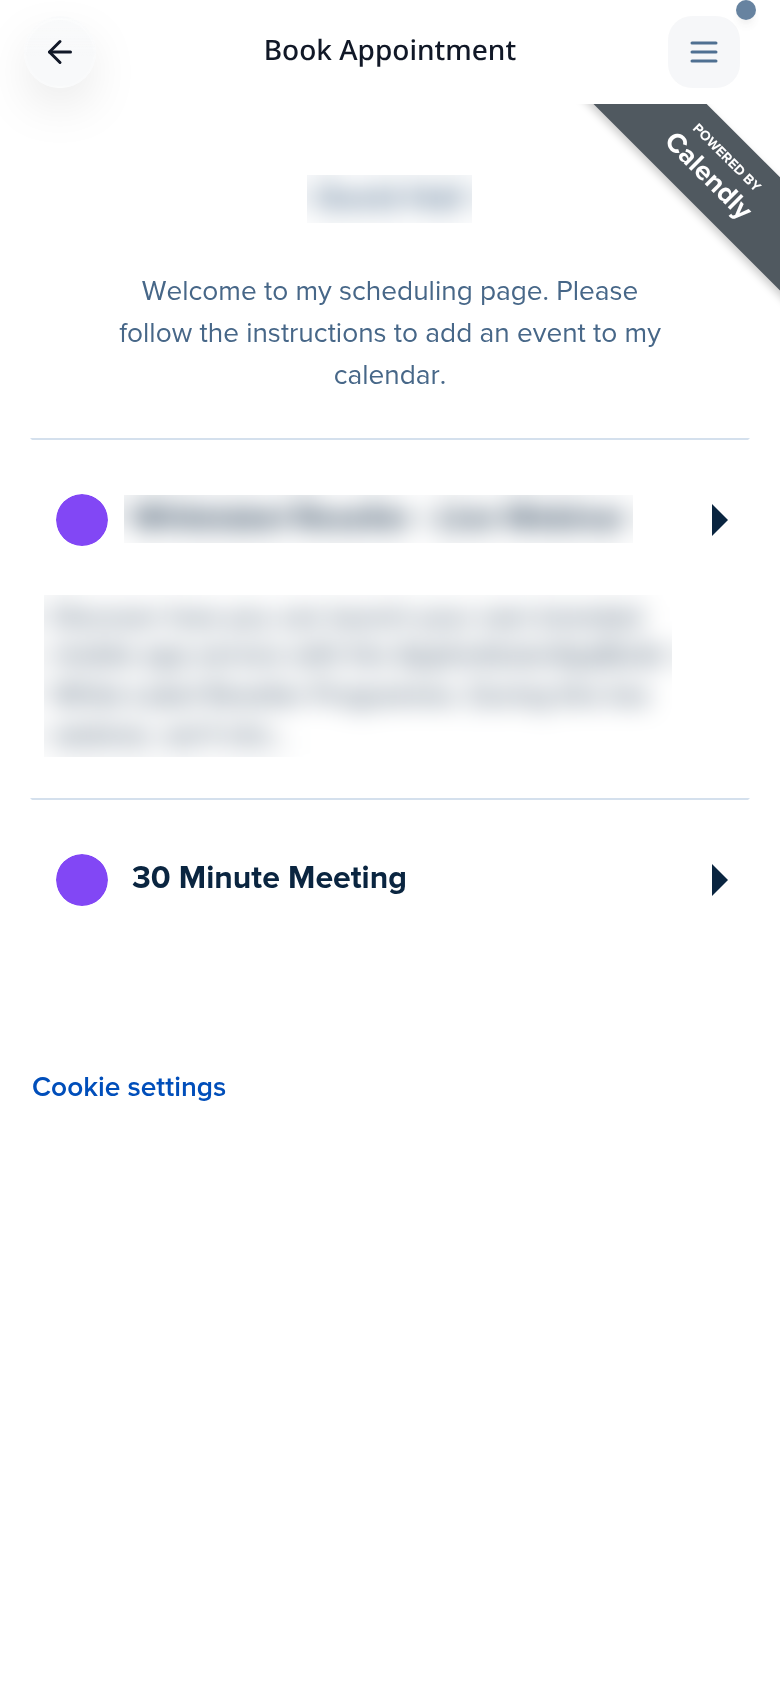
Your Calendly page opens inside the app, showing your meeting types.
- 9
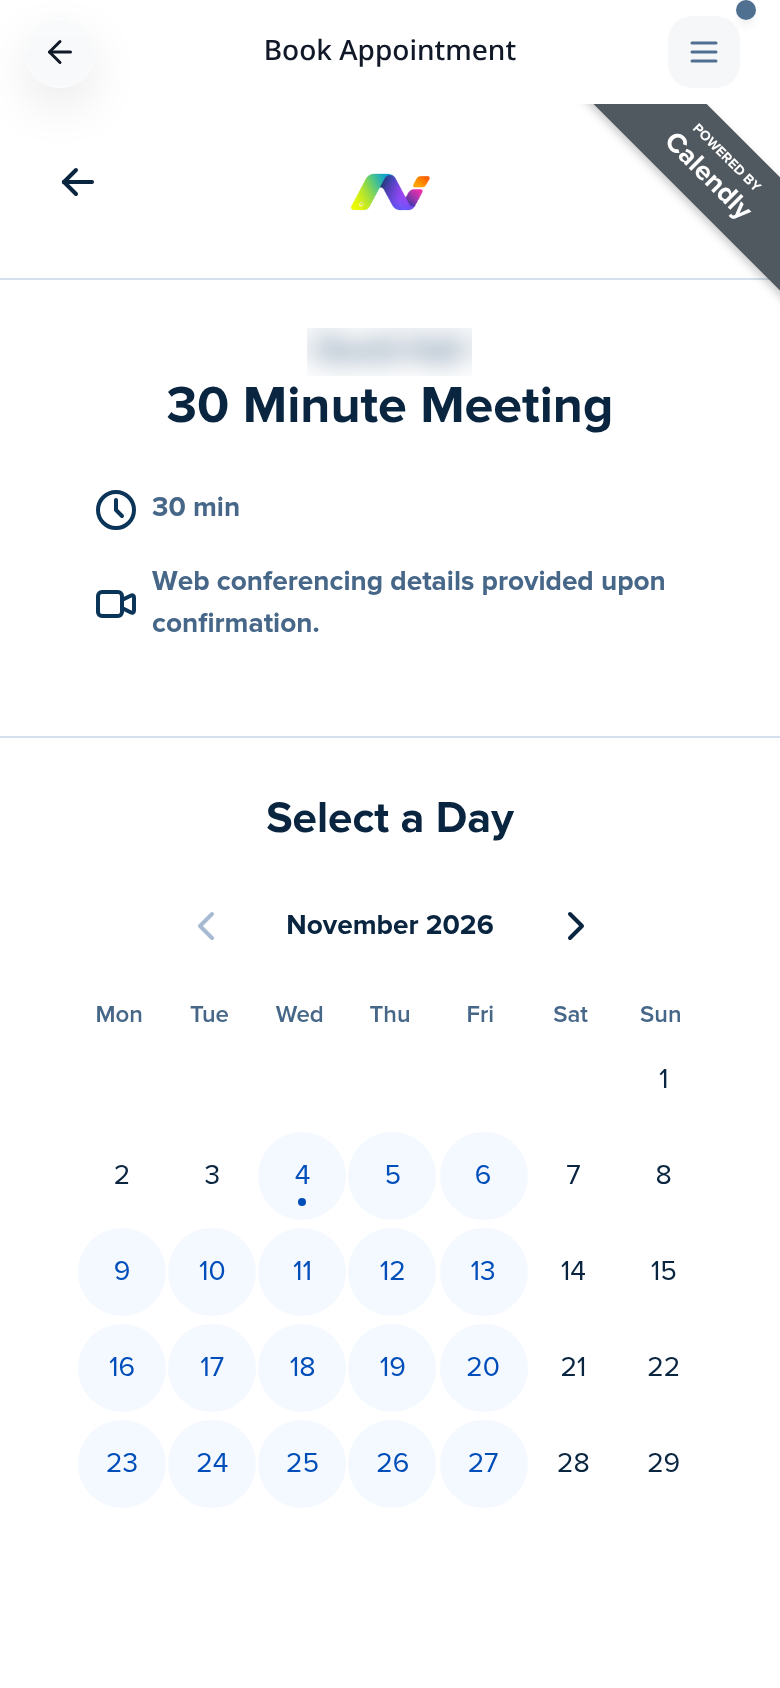
They pick a time
Customers choose a day and time and confirm, without leaving your app.
New bookings go straight into your Calendly calendar. Add a My Bookings (Calendly) page so customers can see, reschedule or cancel their appointments.