Take bookings with Fresha
Add a booking page that sends customers straight to your Fresha booking page.
Step-by-step guide
Follow these steps, then download the PDF to keep.
- 1
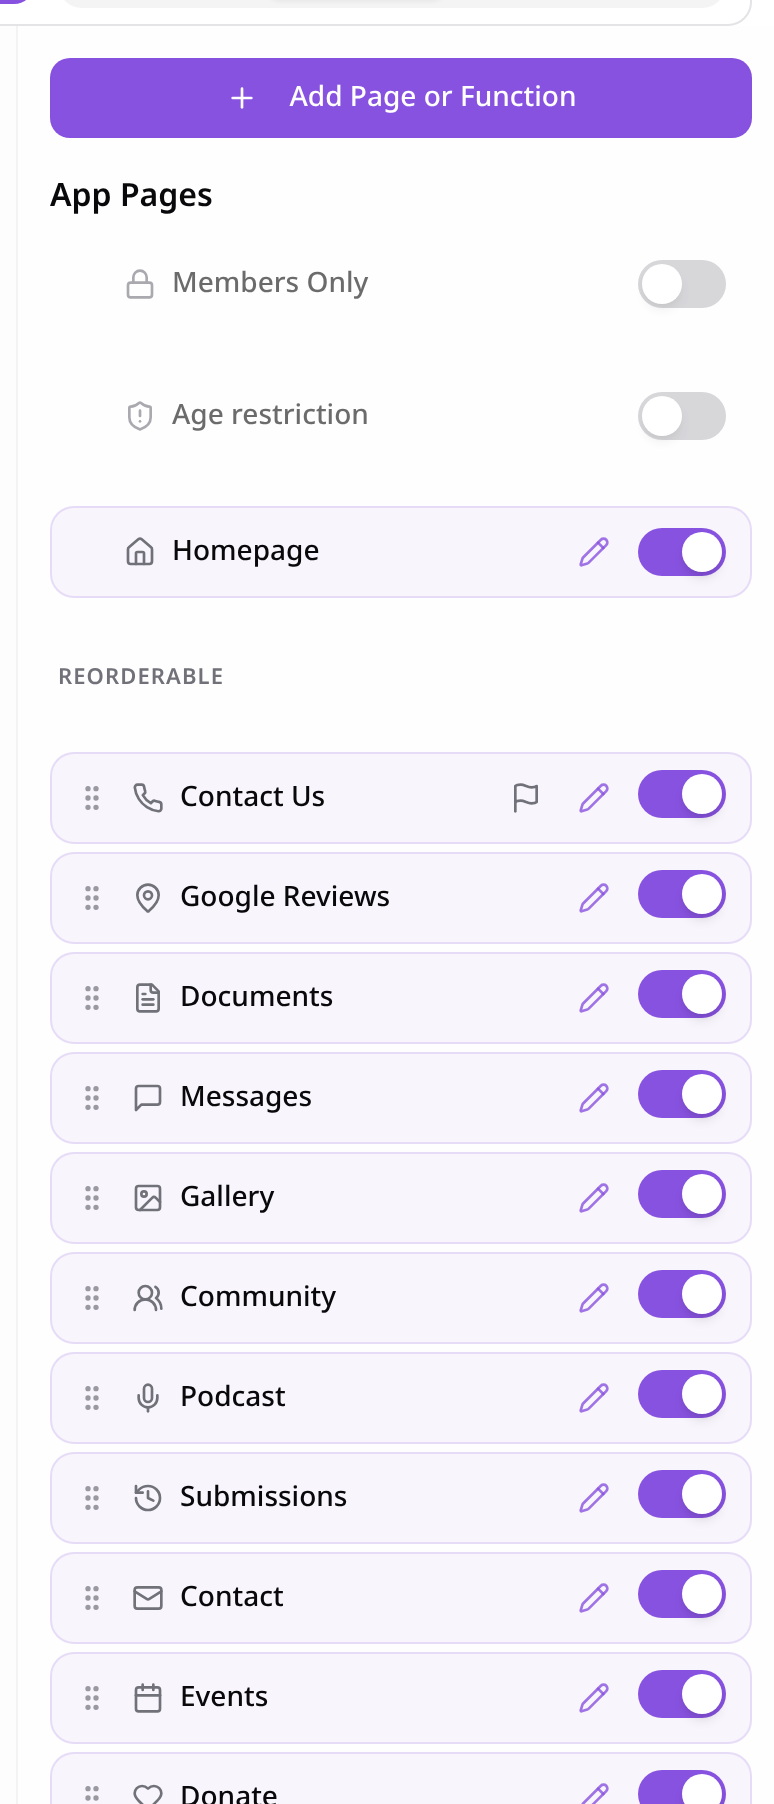
Open Pages
In your app editor, open Pages and tap Add Page or Function.
- 2
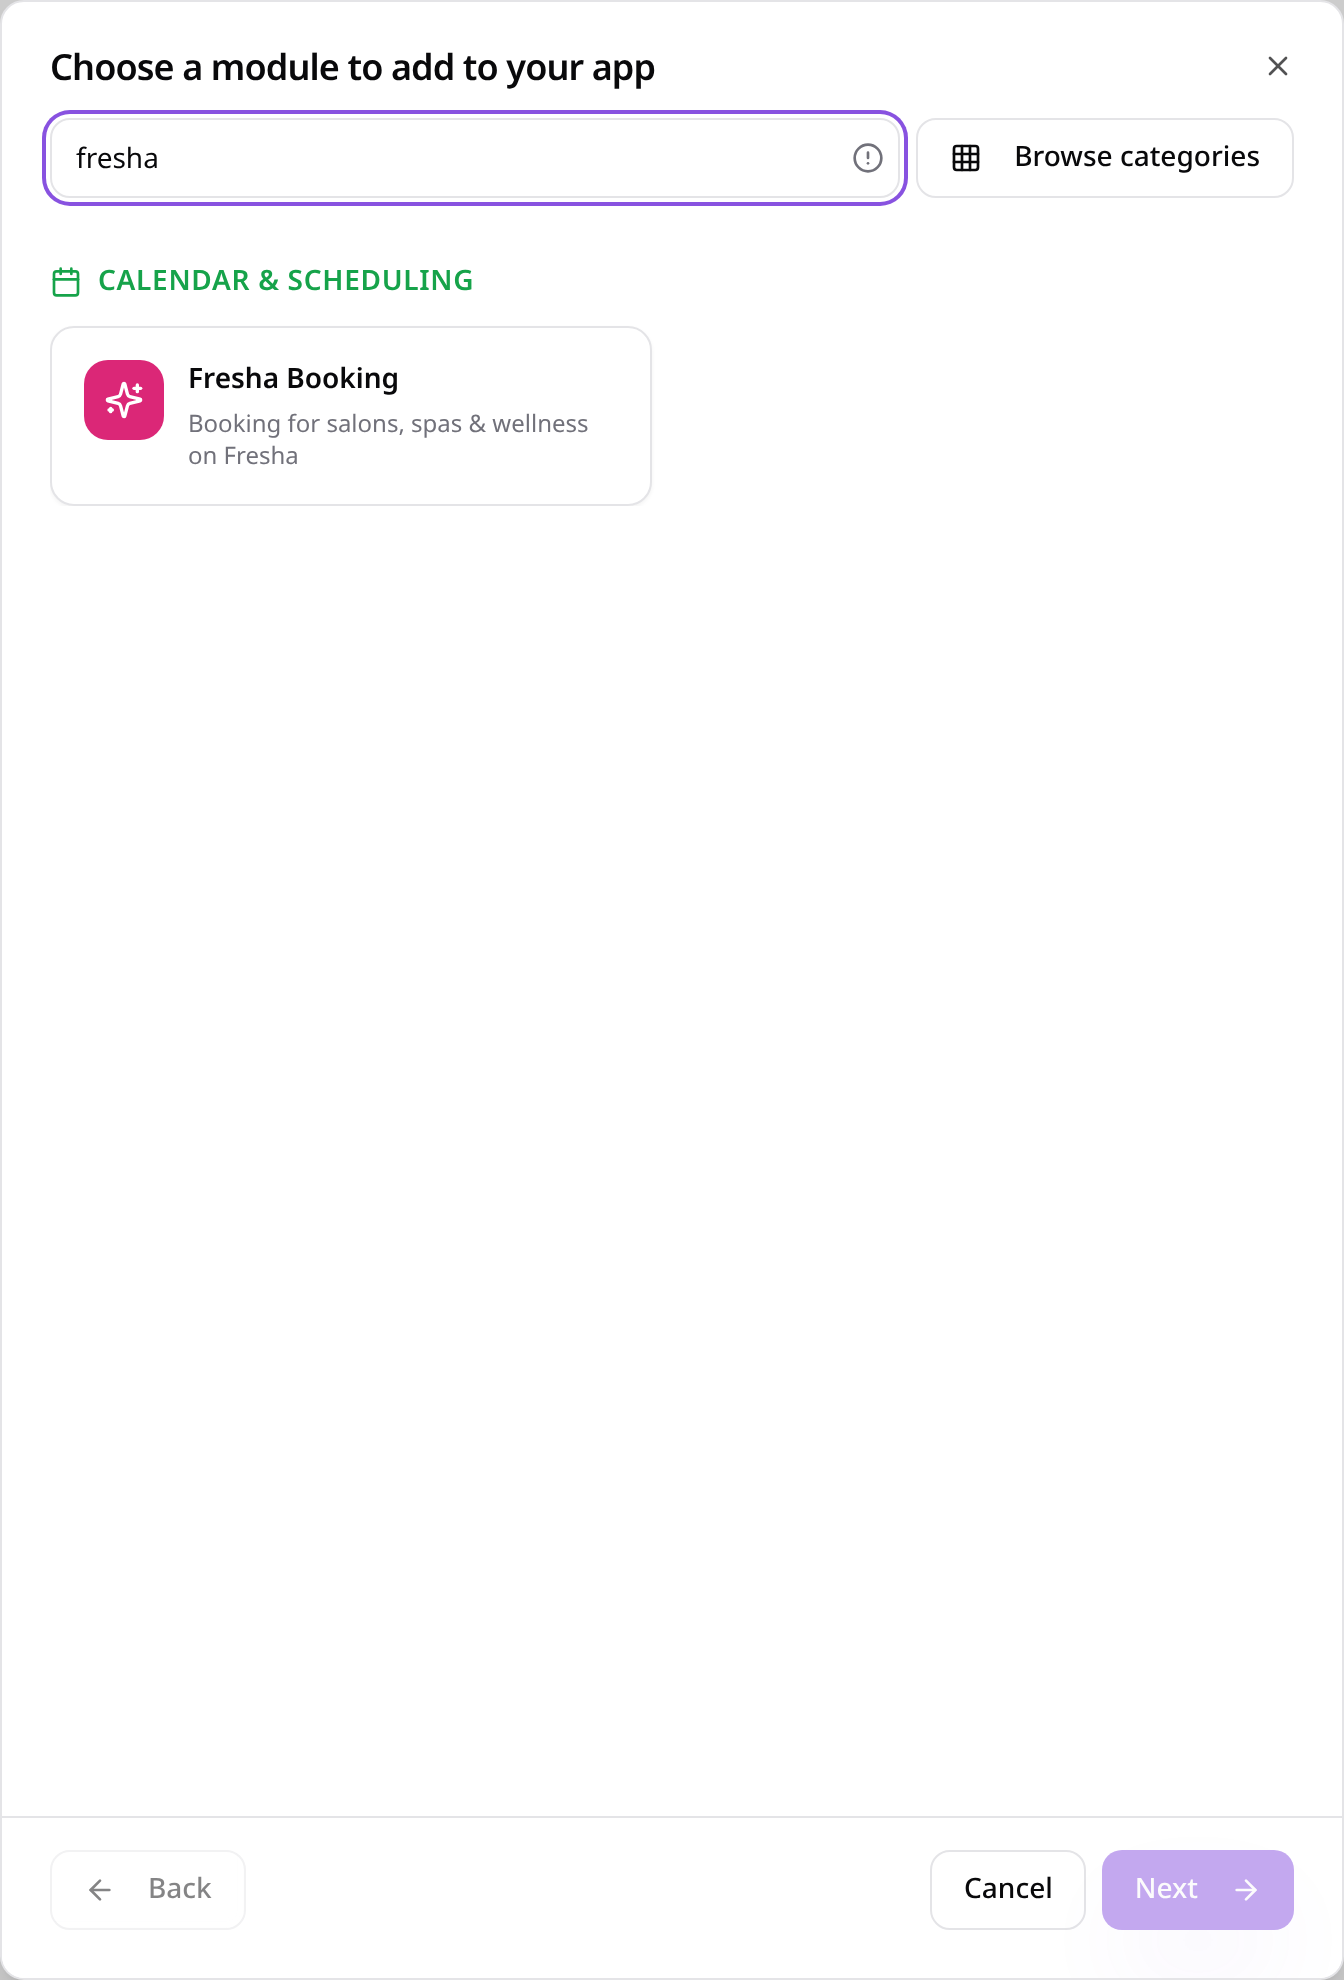
Choose Fresha Booking
Search “fresha” and tap Fresha Booking.
- 3
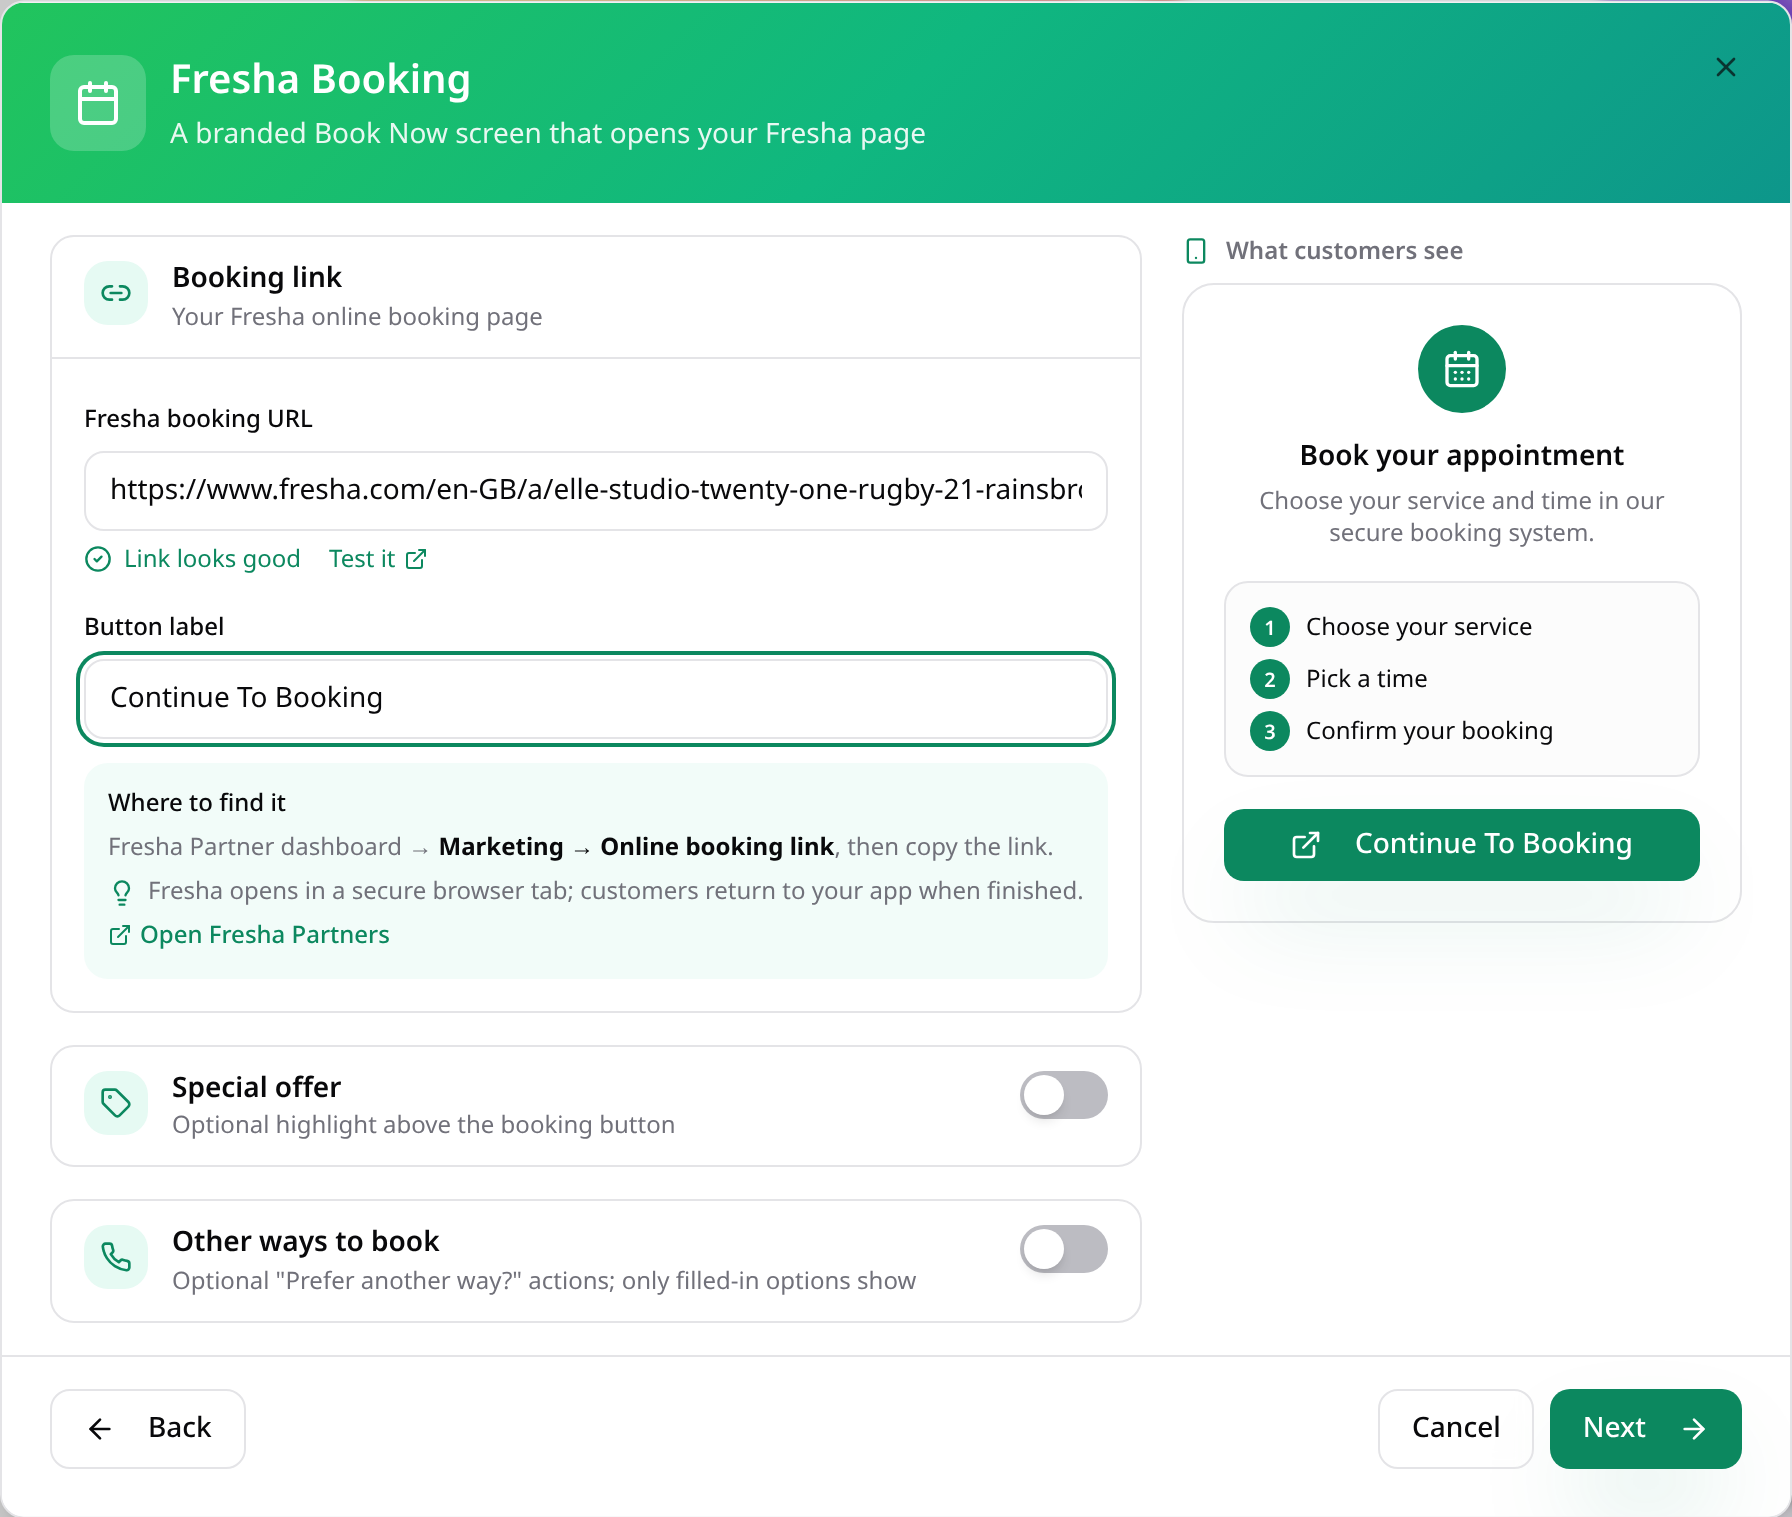
Paste your Fresha link
Paste your Fresha booking link and check the button label. The preview shows what customers will see. Tap Next.
- 4
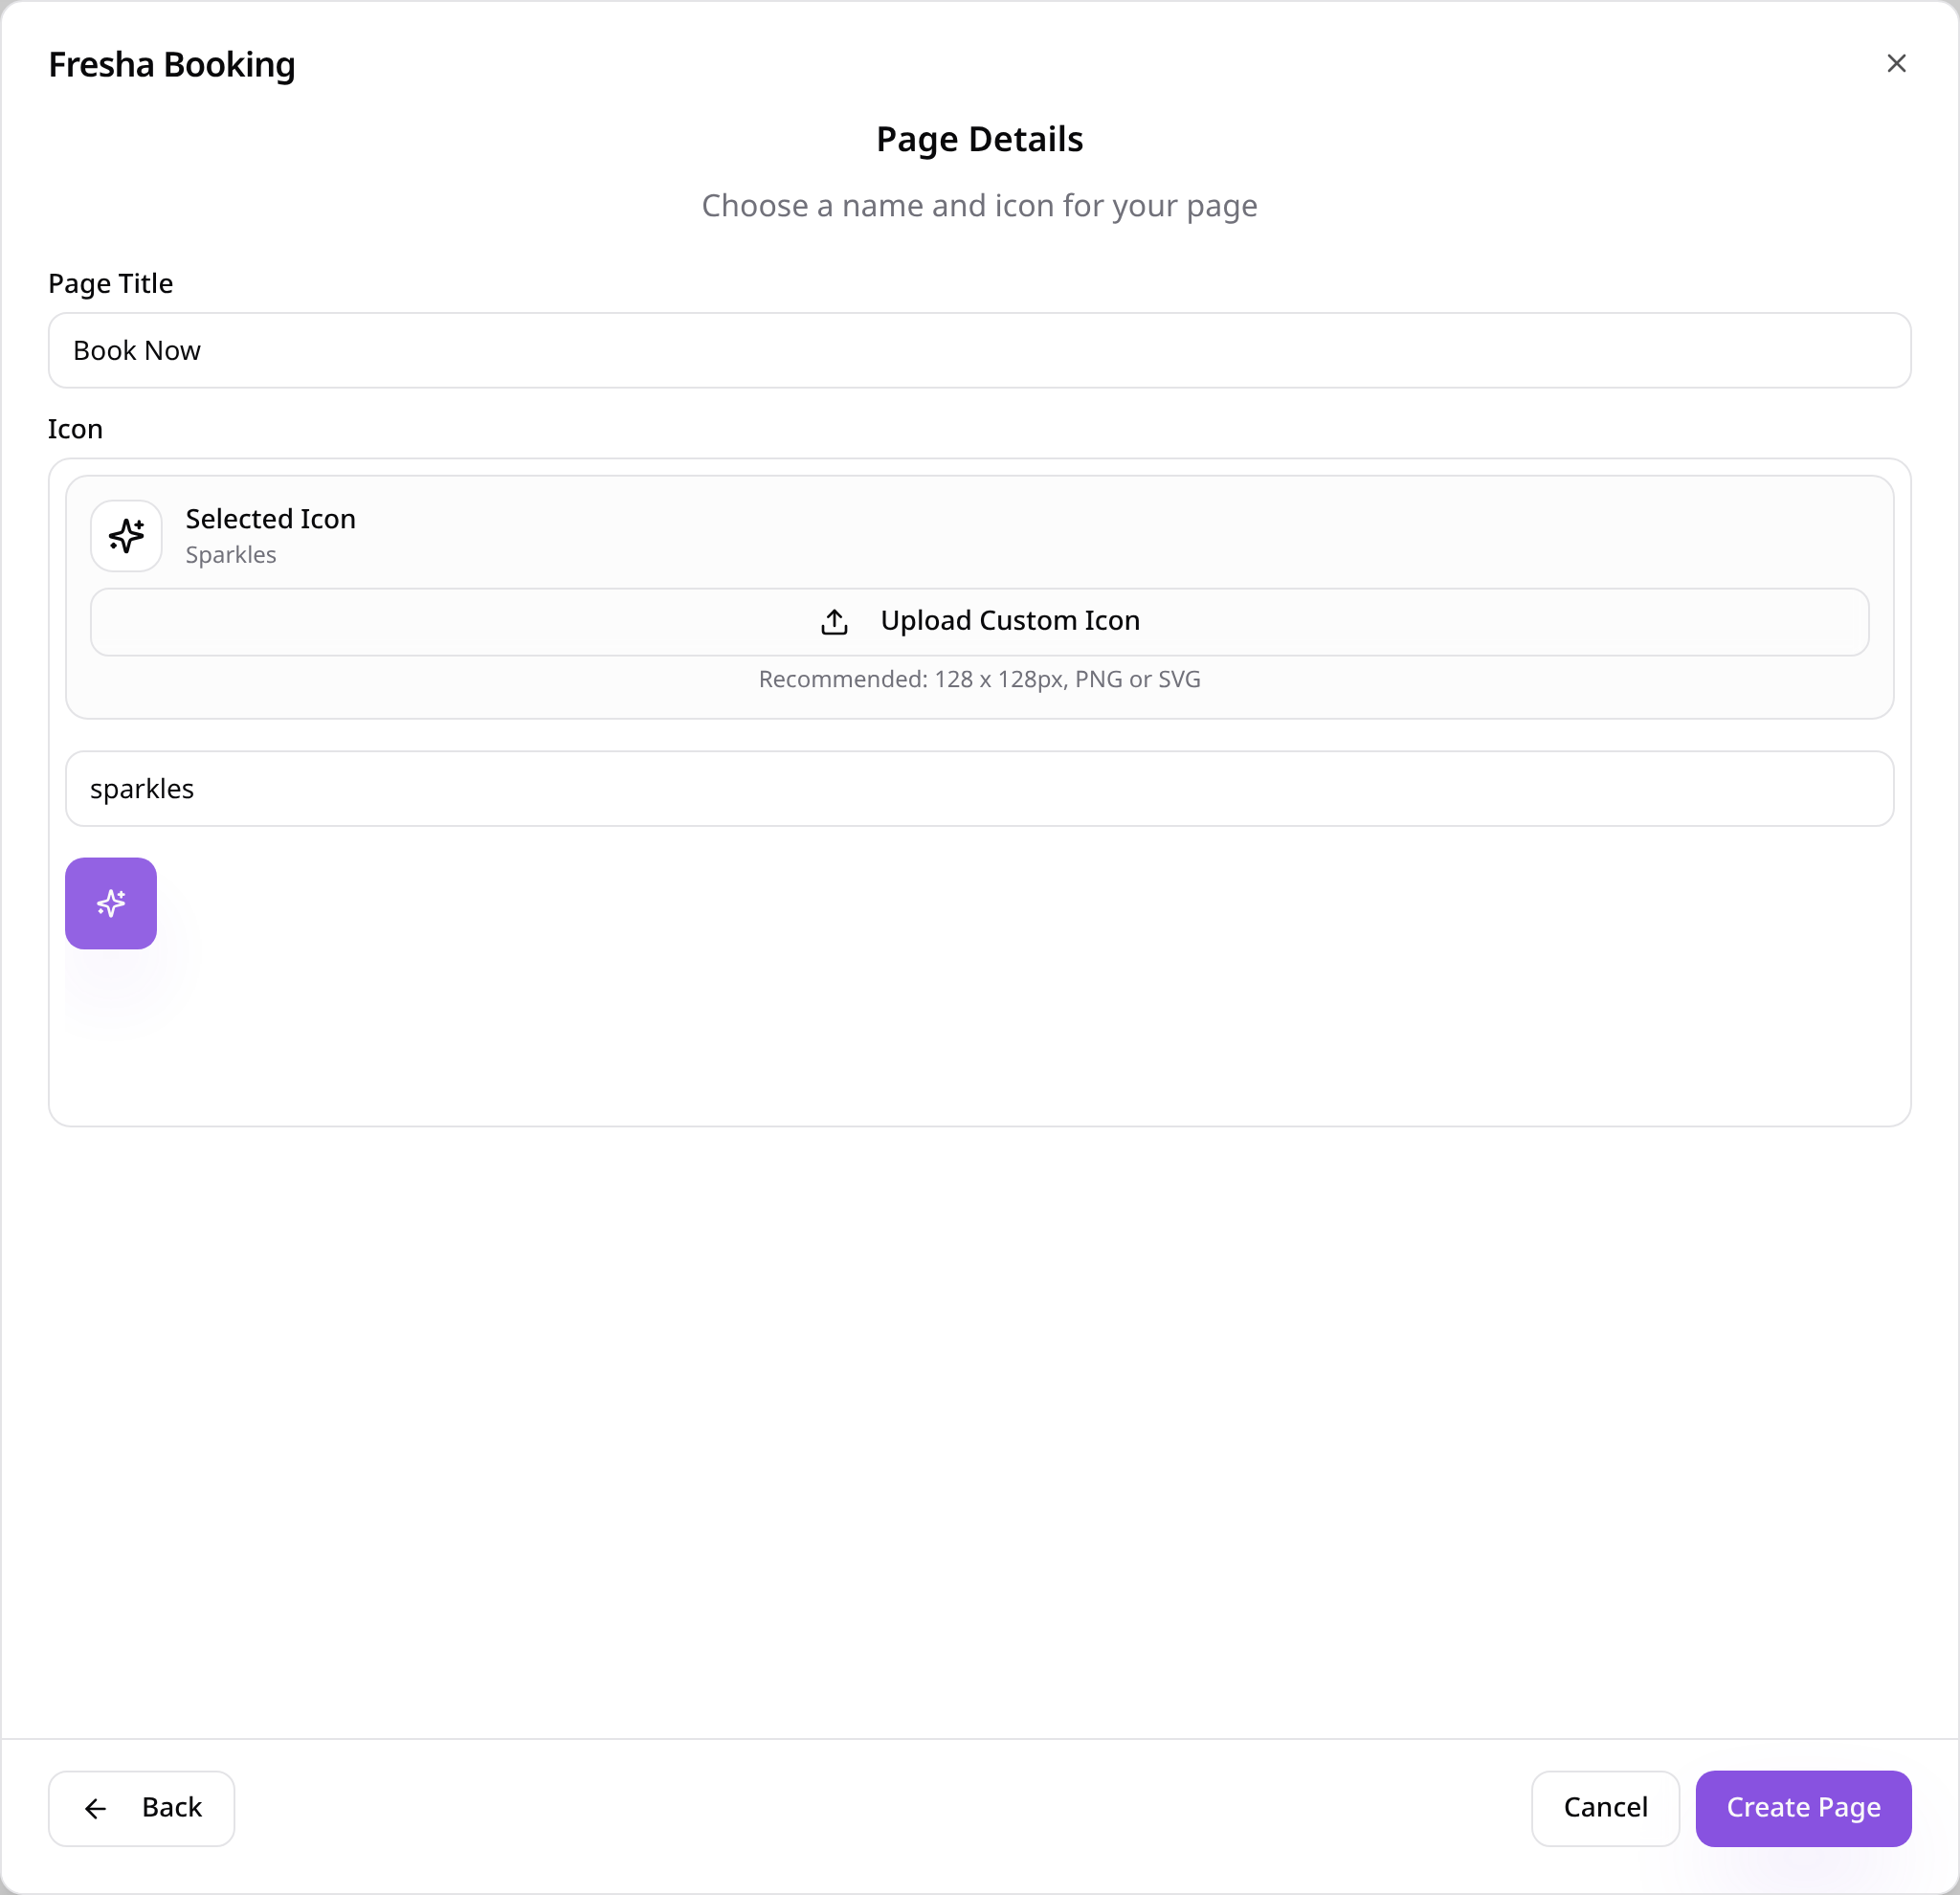
Name the page
Give the page a name, choose an icon and tap Create Page.
- 5
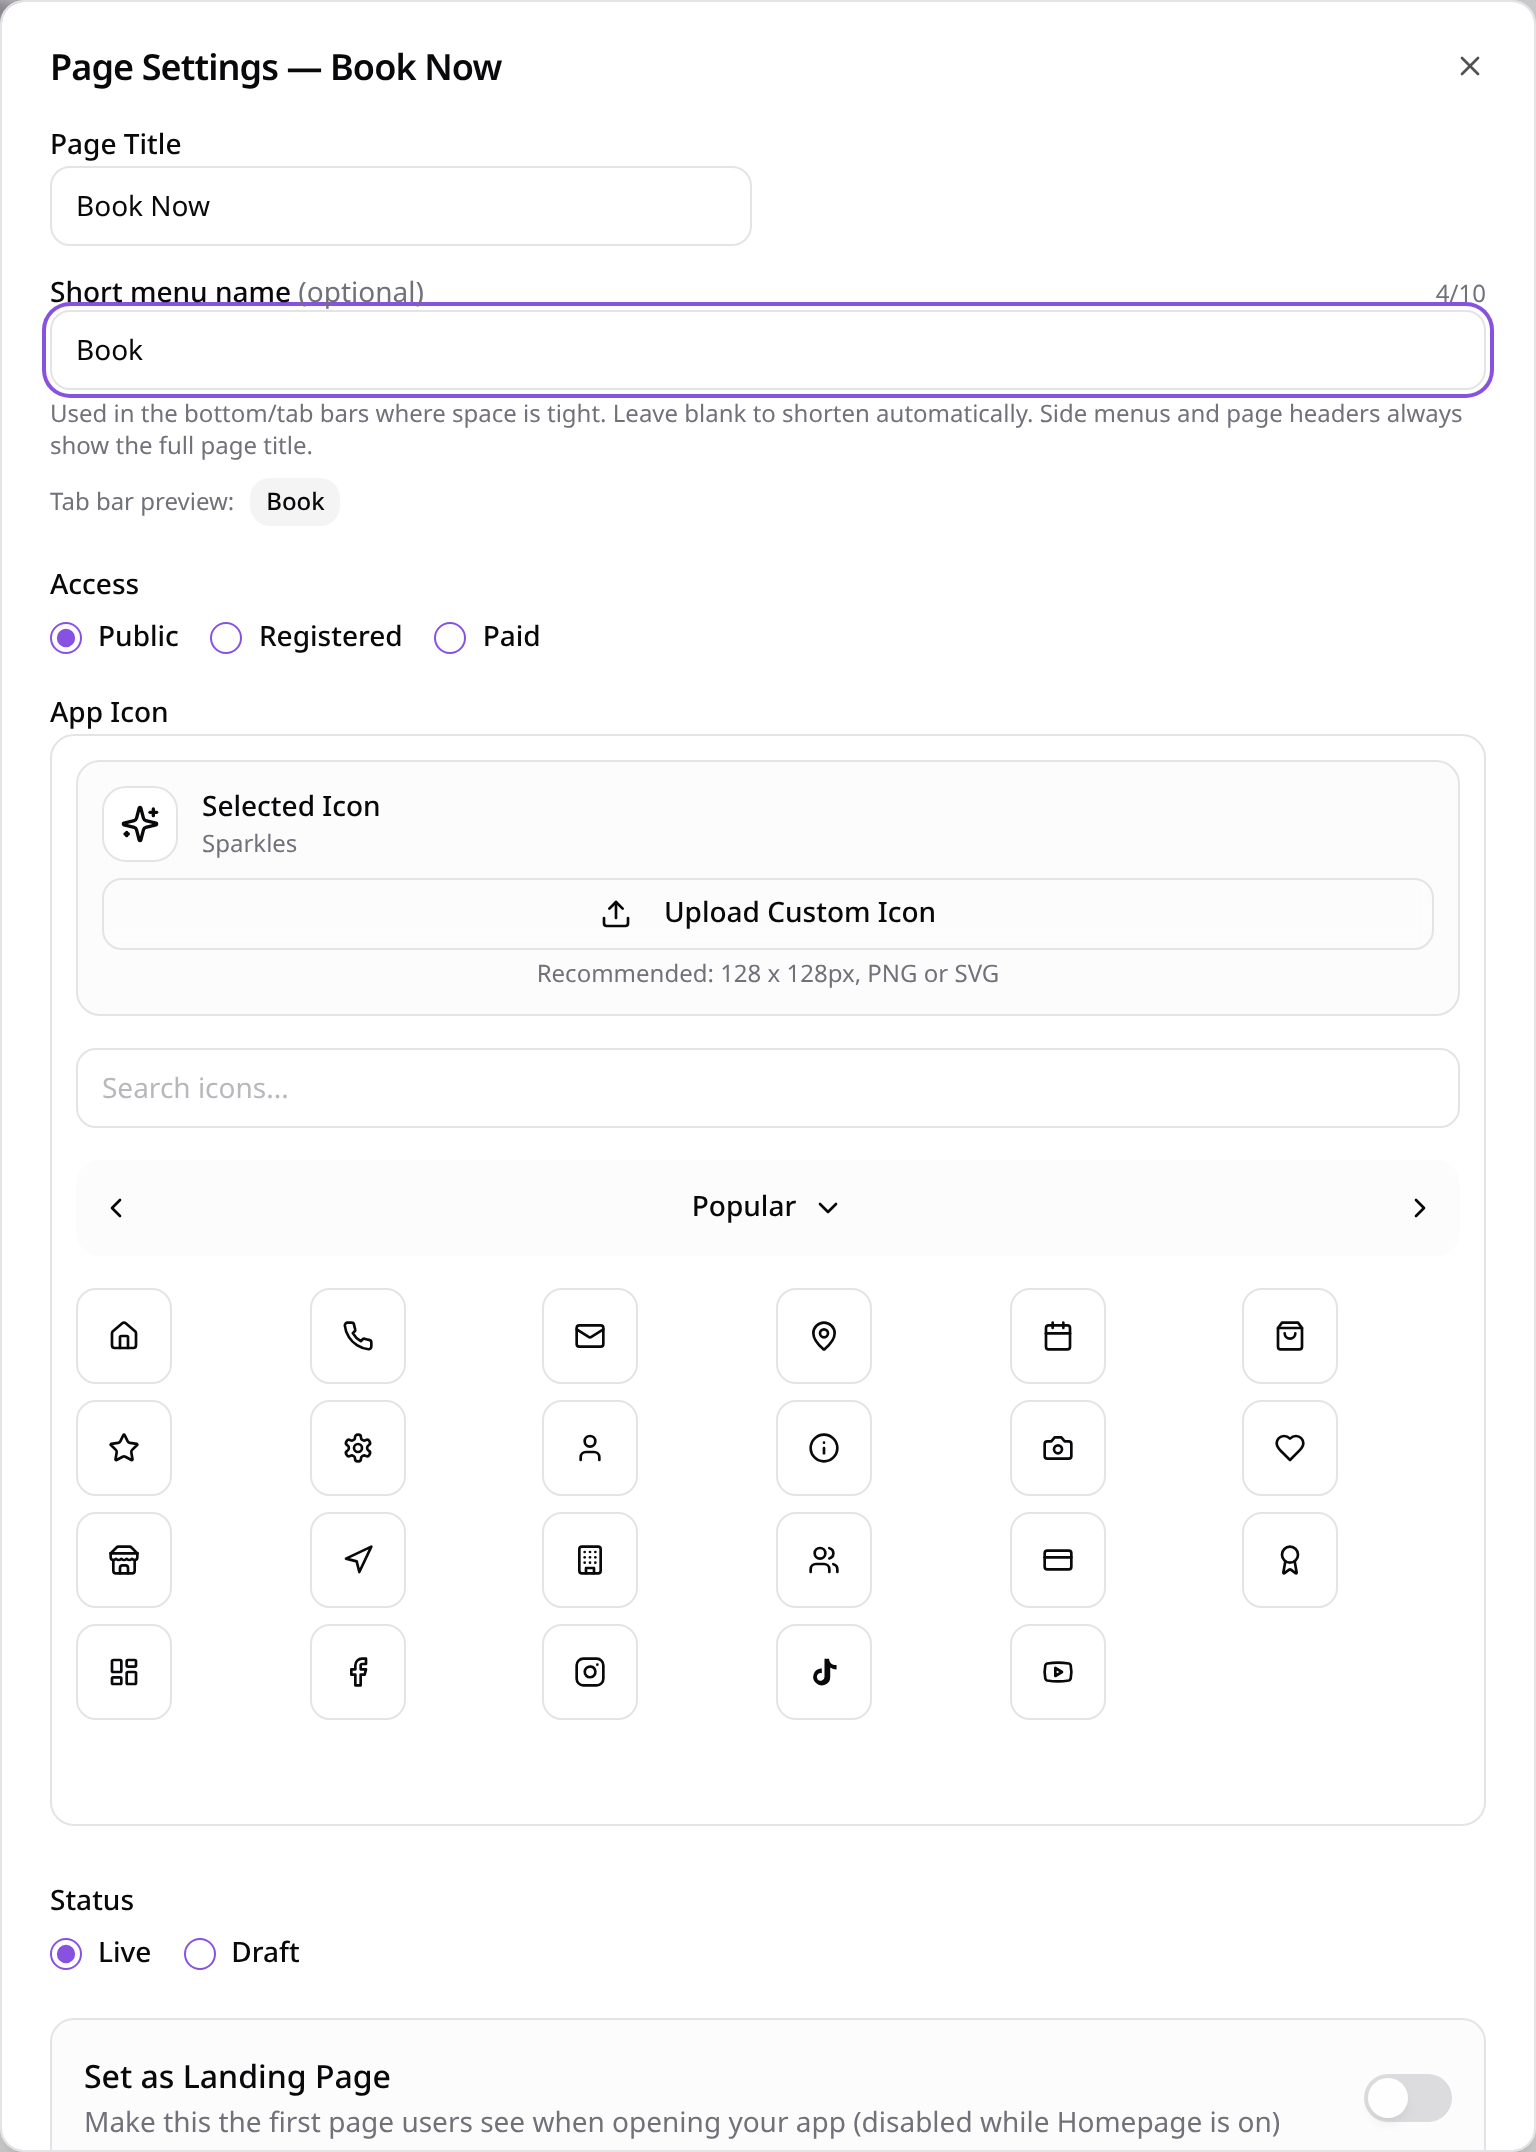
Set a short tab name
Tap the page in Pages, choose Edit Page Settings and add a short menu name such as Book.
- 6
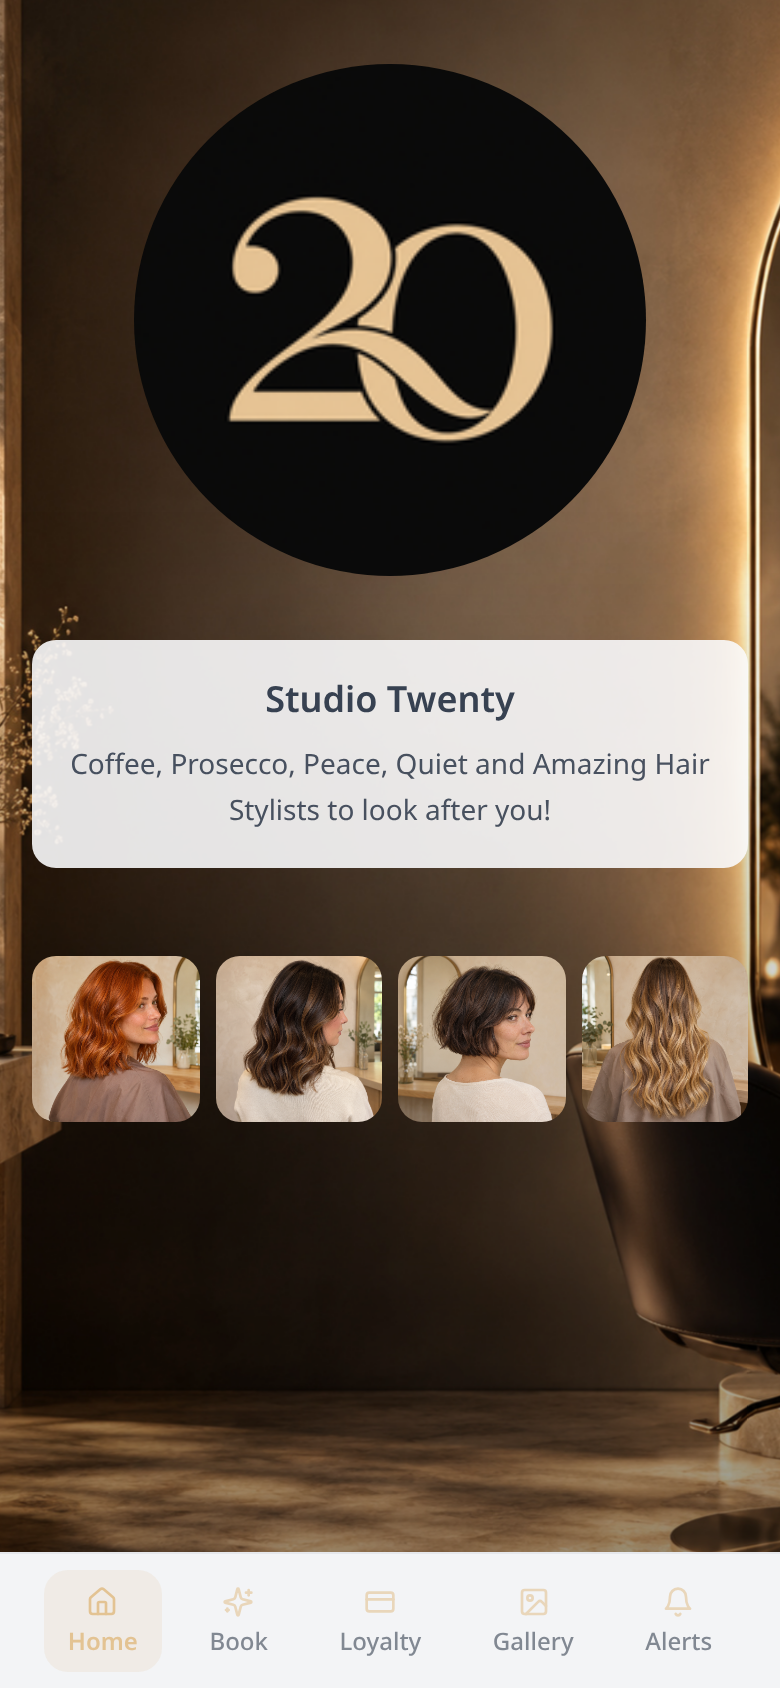
See it in your app
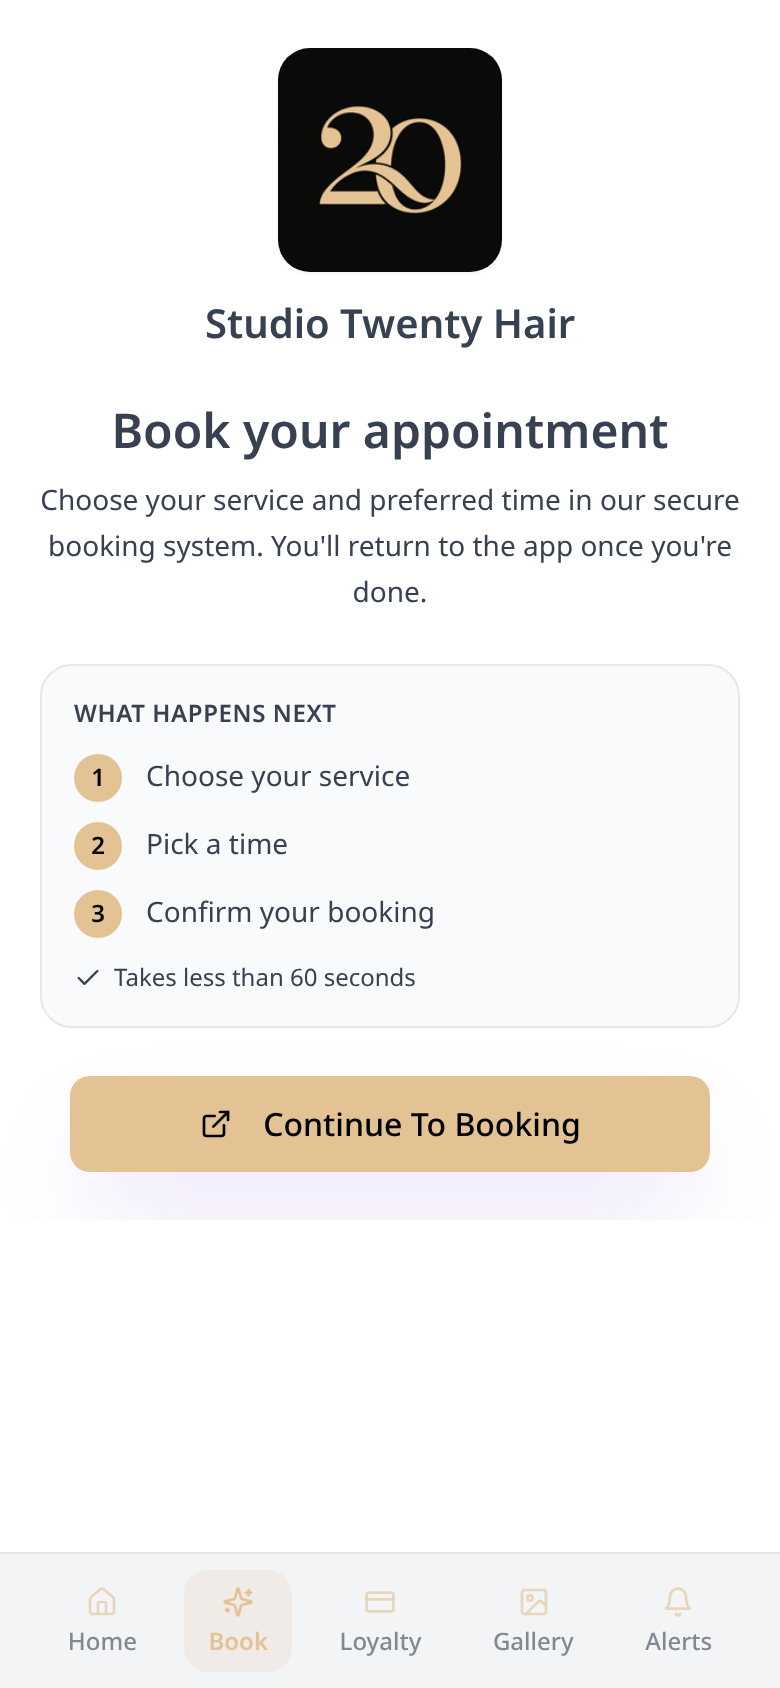
Your booking page appears as a tab in your app.
- 7
Customers tap to book
Customers see what happens next and tap Continue To Booking.
- 8
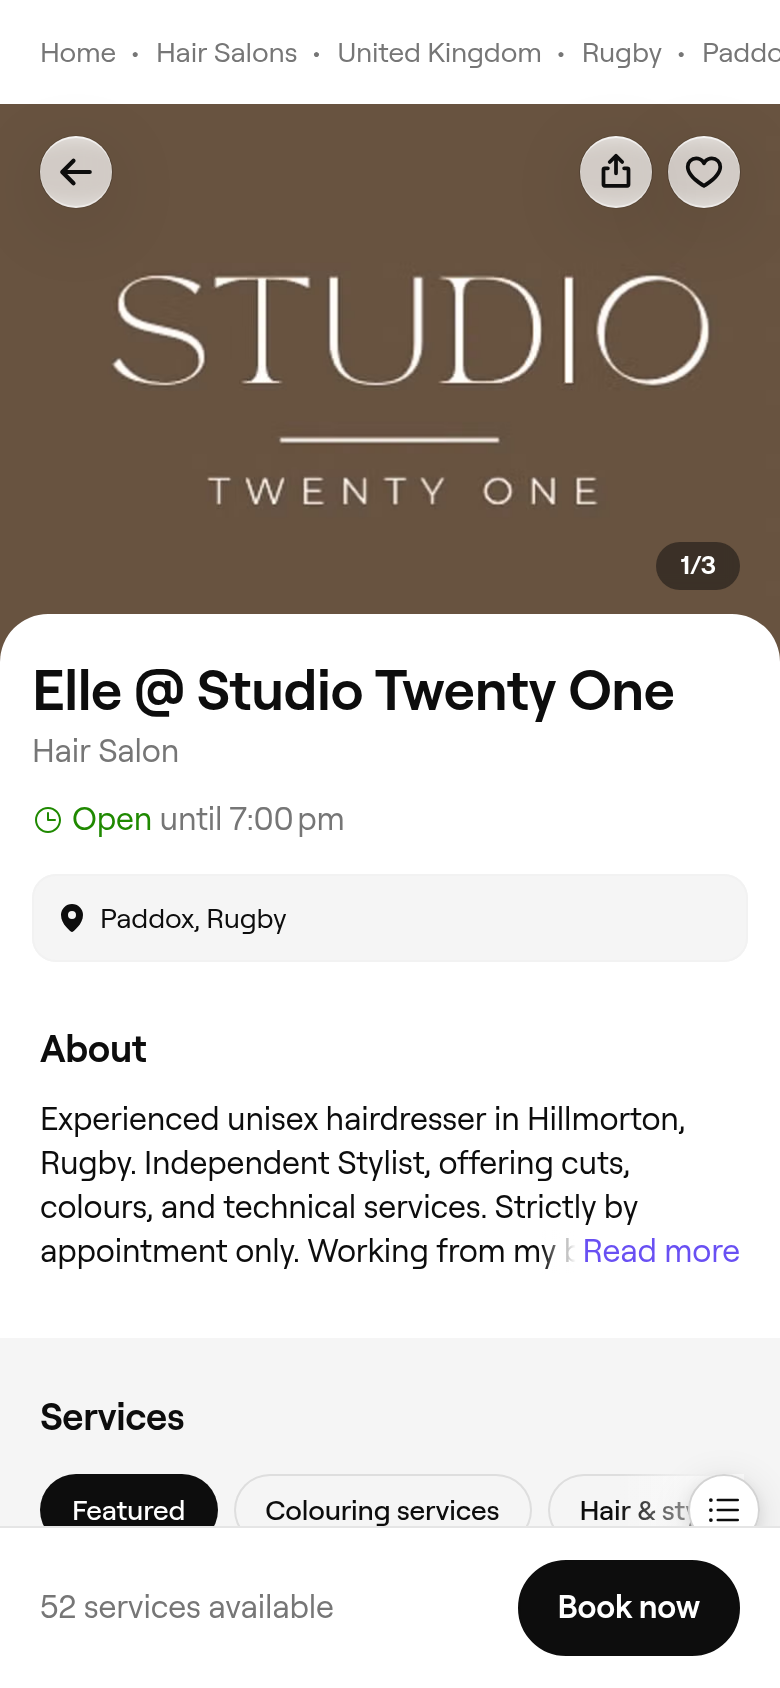
They book on Fresha
Your Fresha page opens, where customers choose a service and time, then return to your app.
To change your link or button label, open the page in Pages and choose Edit Page Content. You can also add a special offer or other ways to book, such as phone or WhatsApp.