Show customers their Acuity bookings
Add a My Bookings page so customers can see, reschedule or cancel their Acuity appointments in your app.
Step-by-step guide
Follow these steps, then download the PDF to keep.
- 1
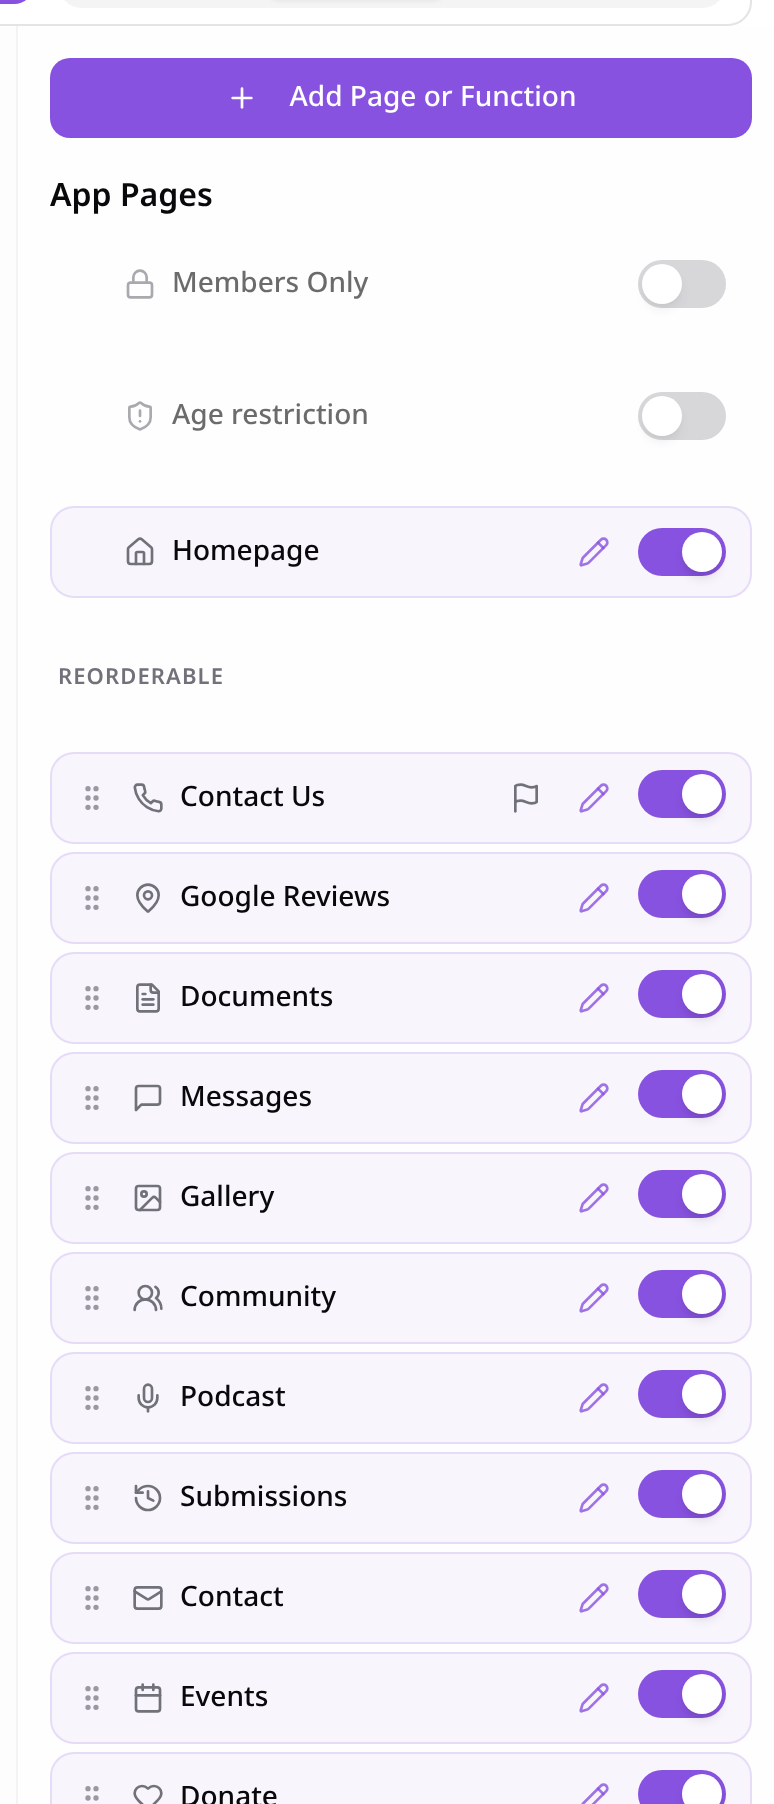
Open Pages
In your app editor, open Pages and tap Add Page or Function.
- 2
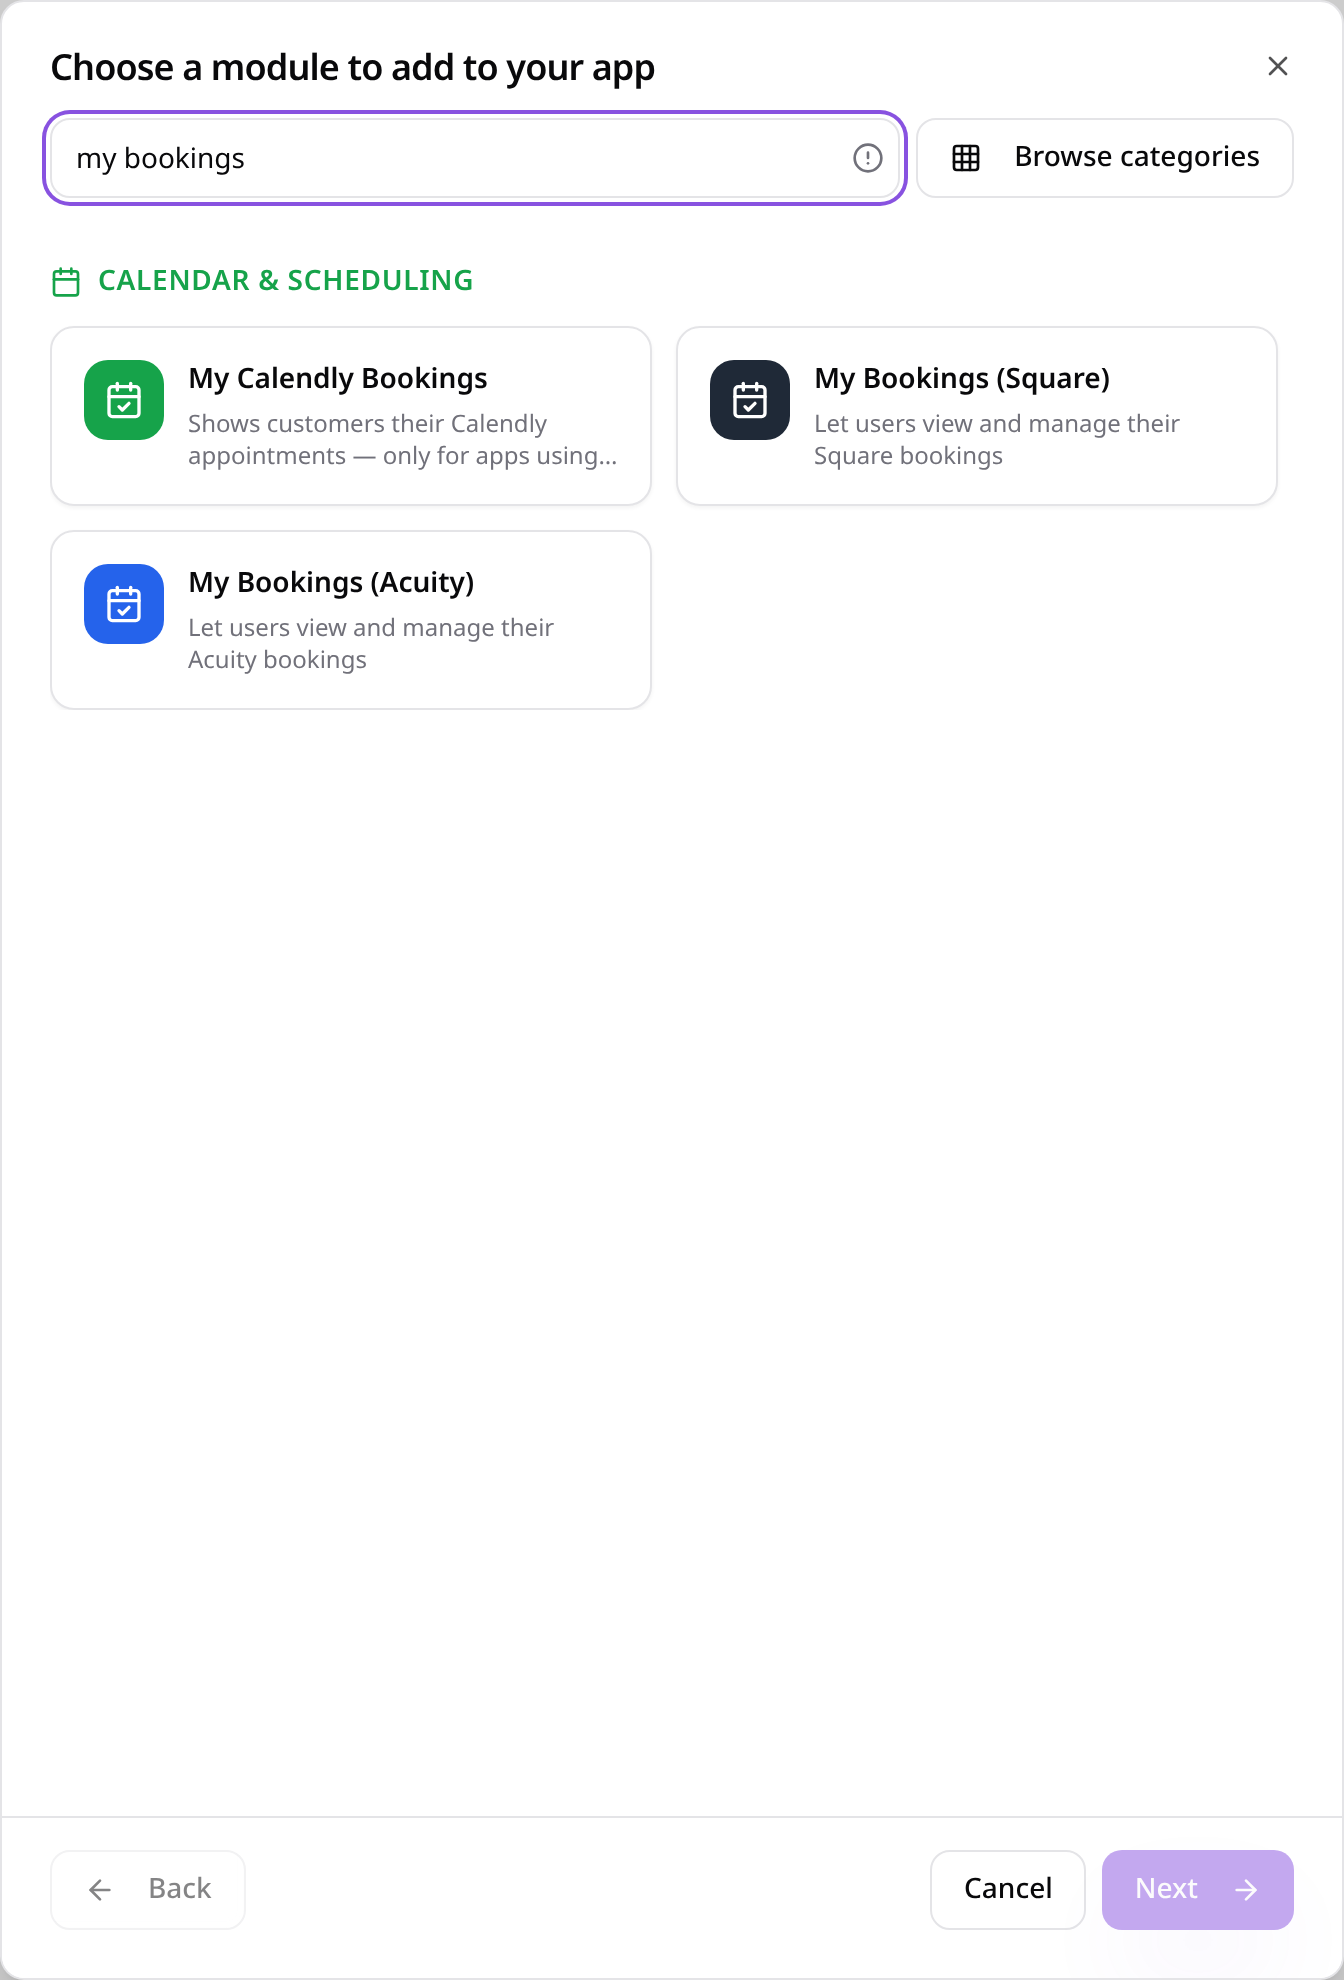
Choose My Bookings (Acuity)
Search “my bookings” and tap My Bookings (Acuity).
- 3
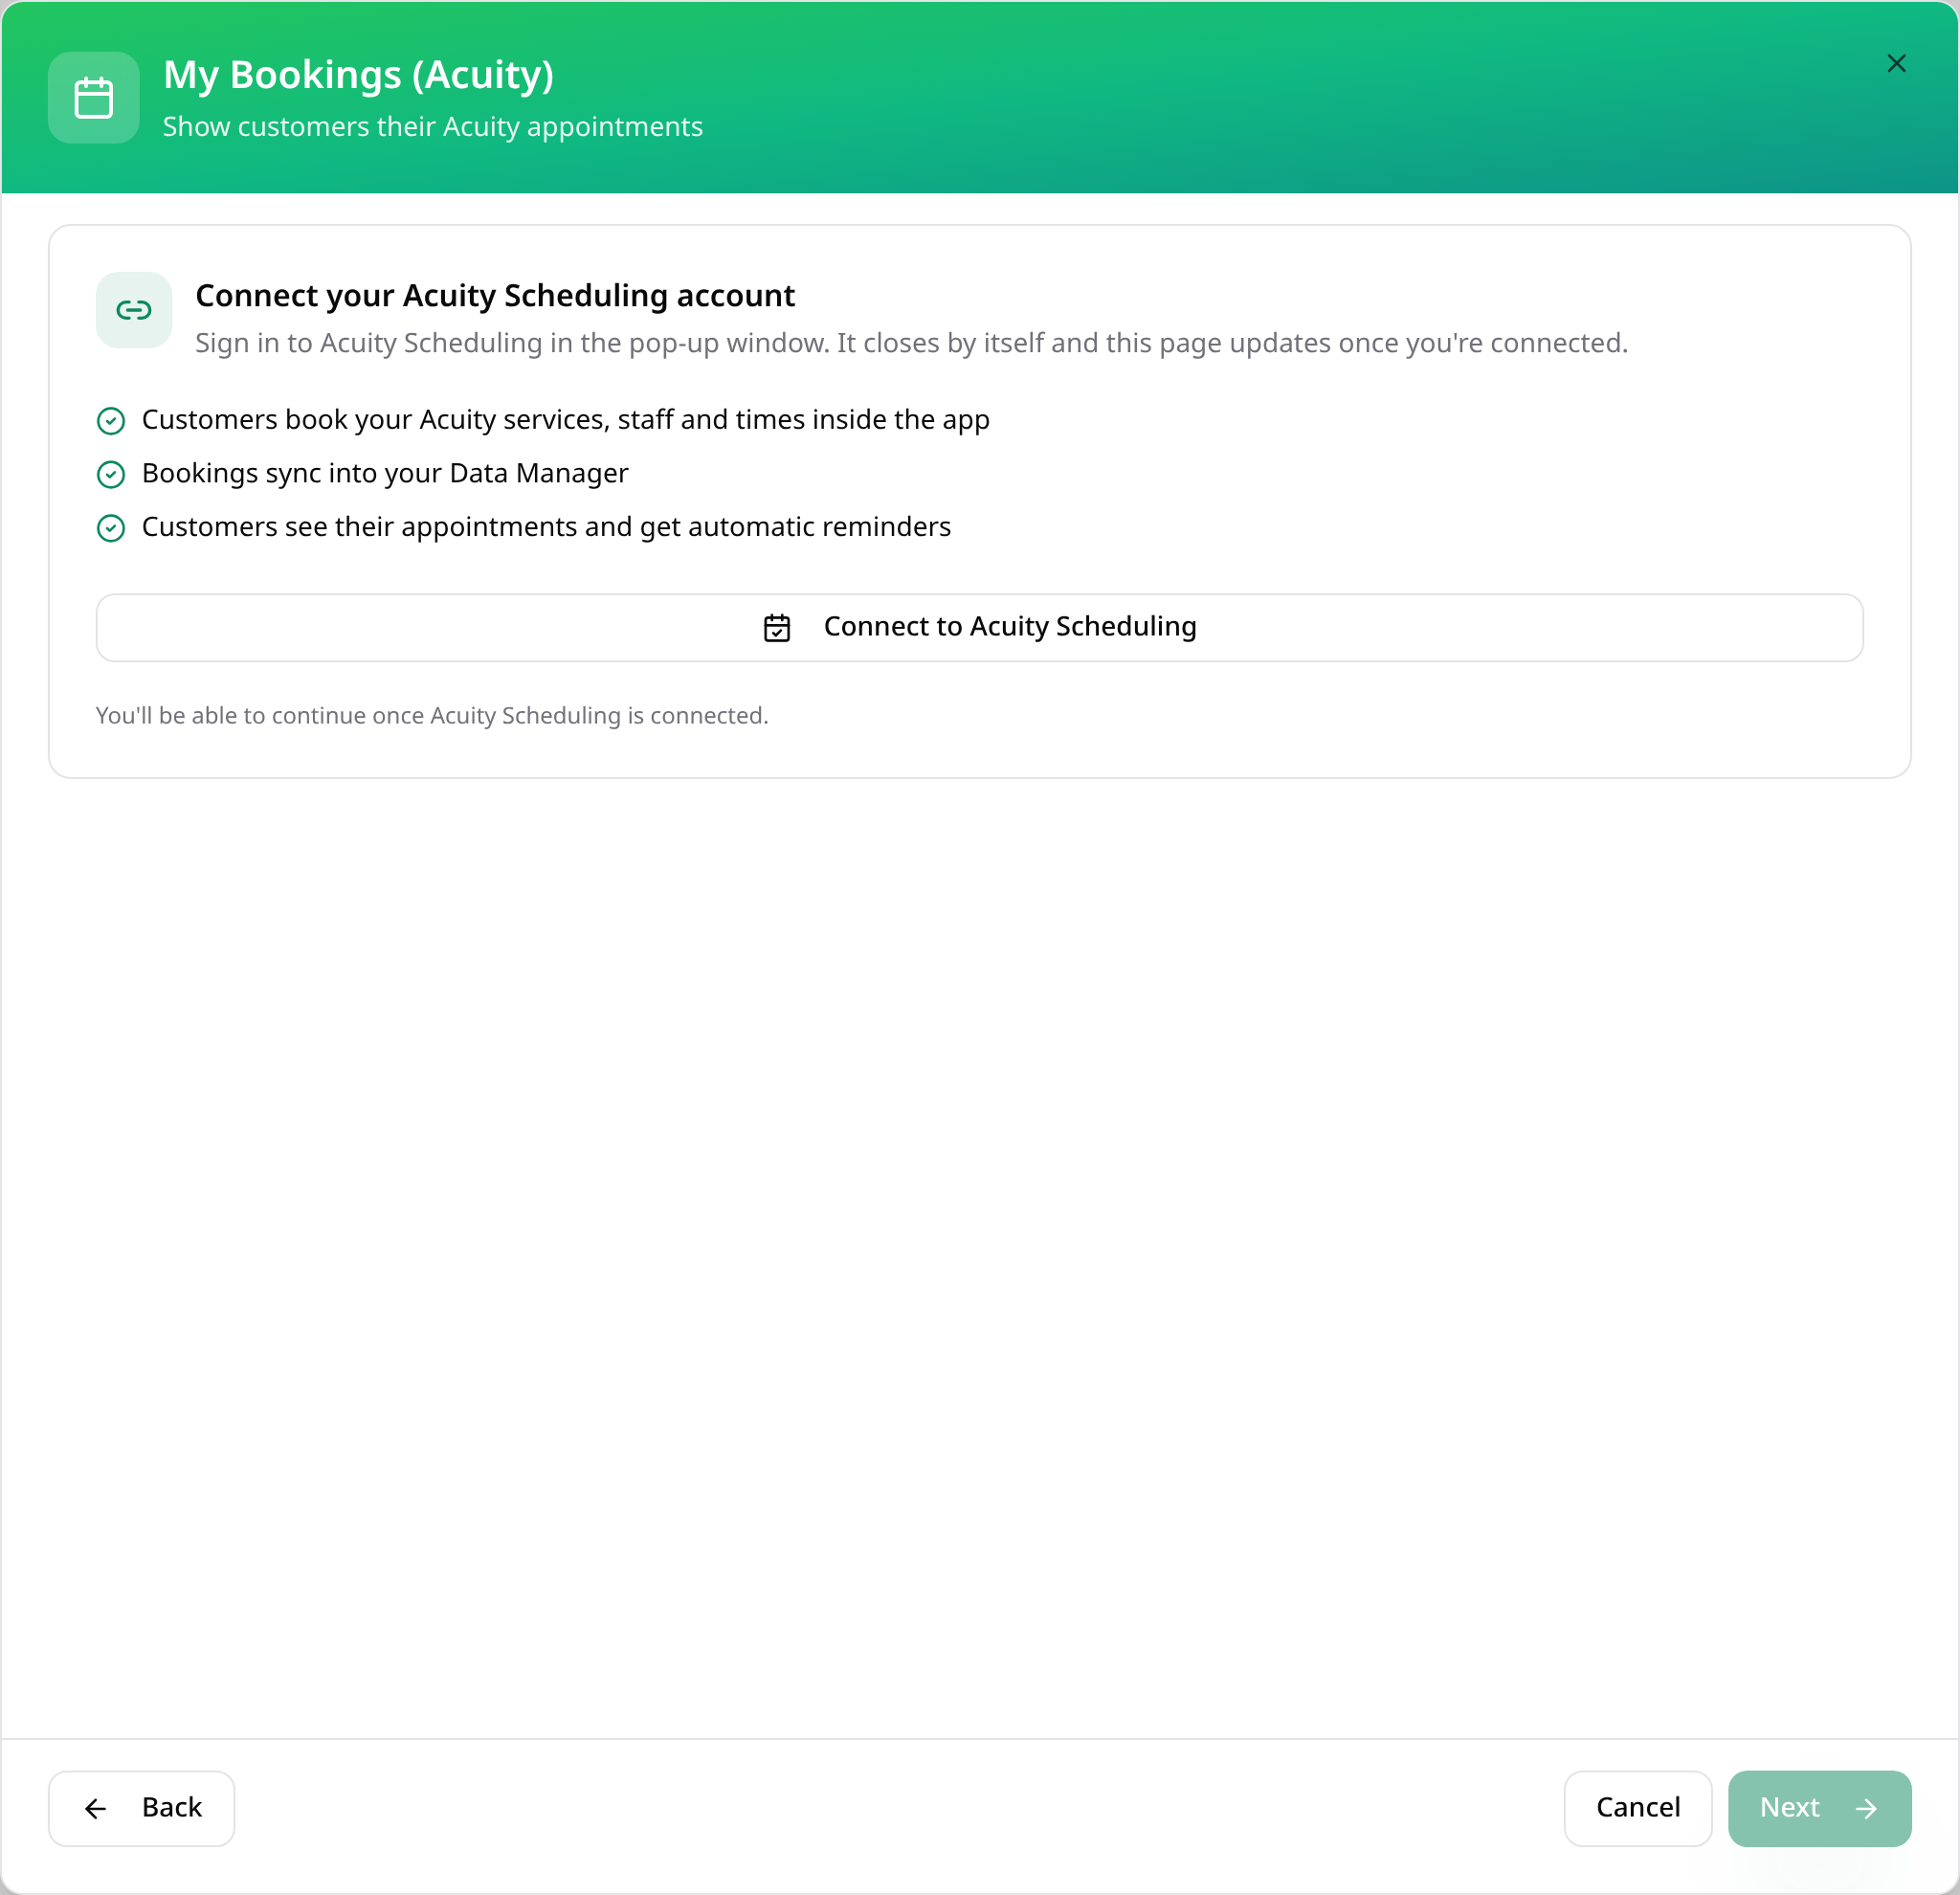
Connect Acuity if asked
If Acuity isn't connected to this app yet, tap Connect to Acuity Scheduling and sign in.
- 4
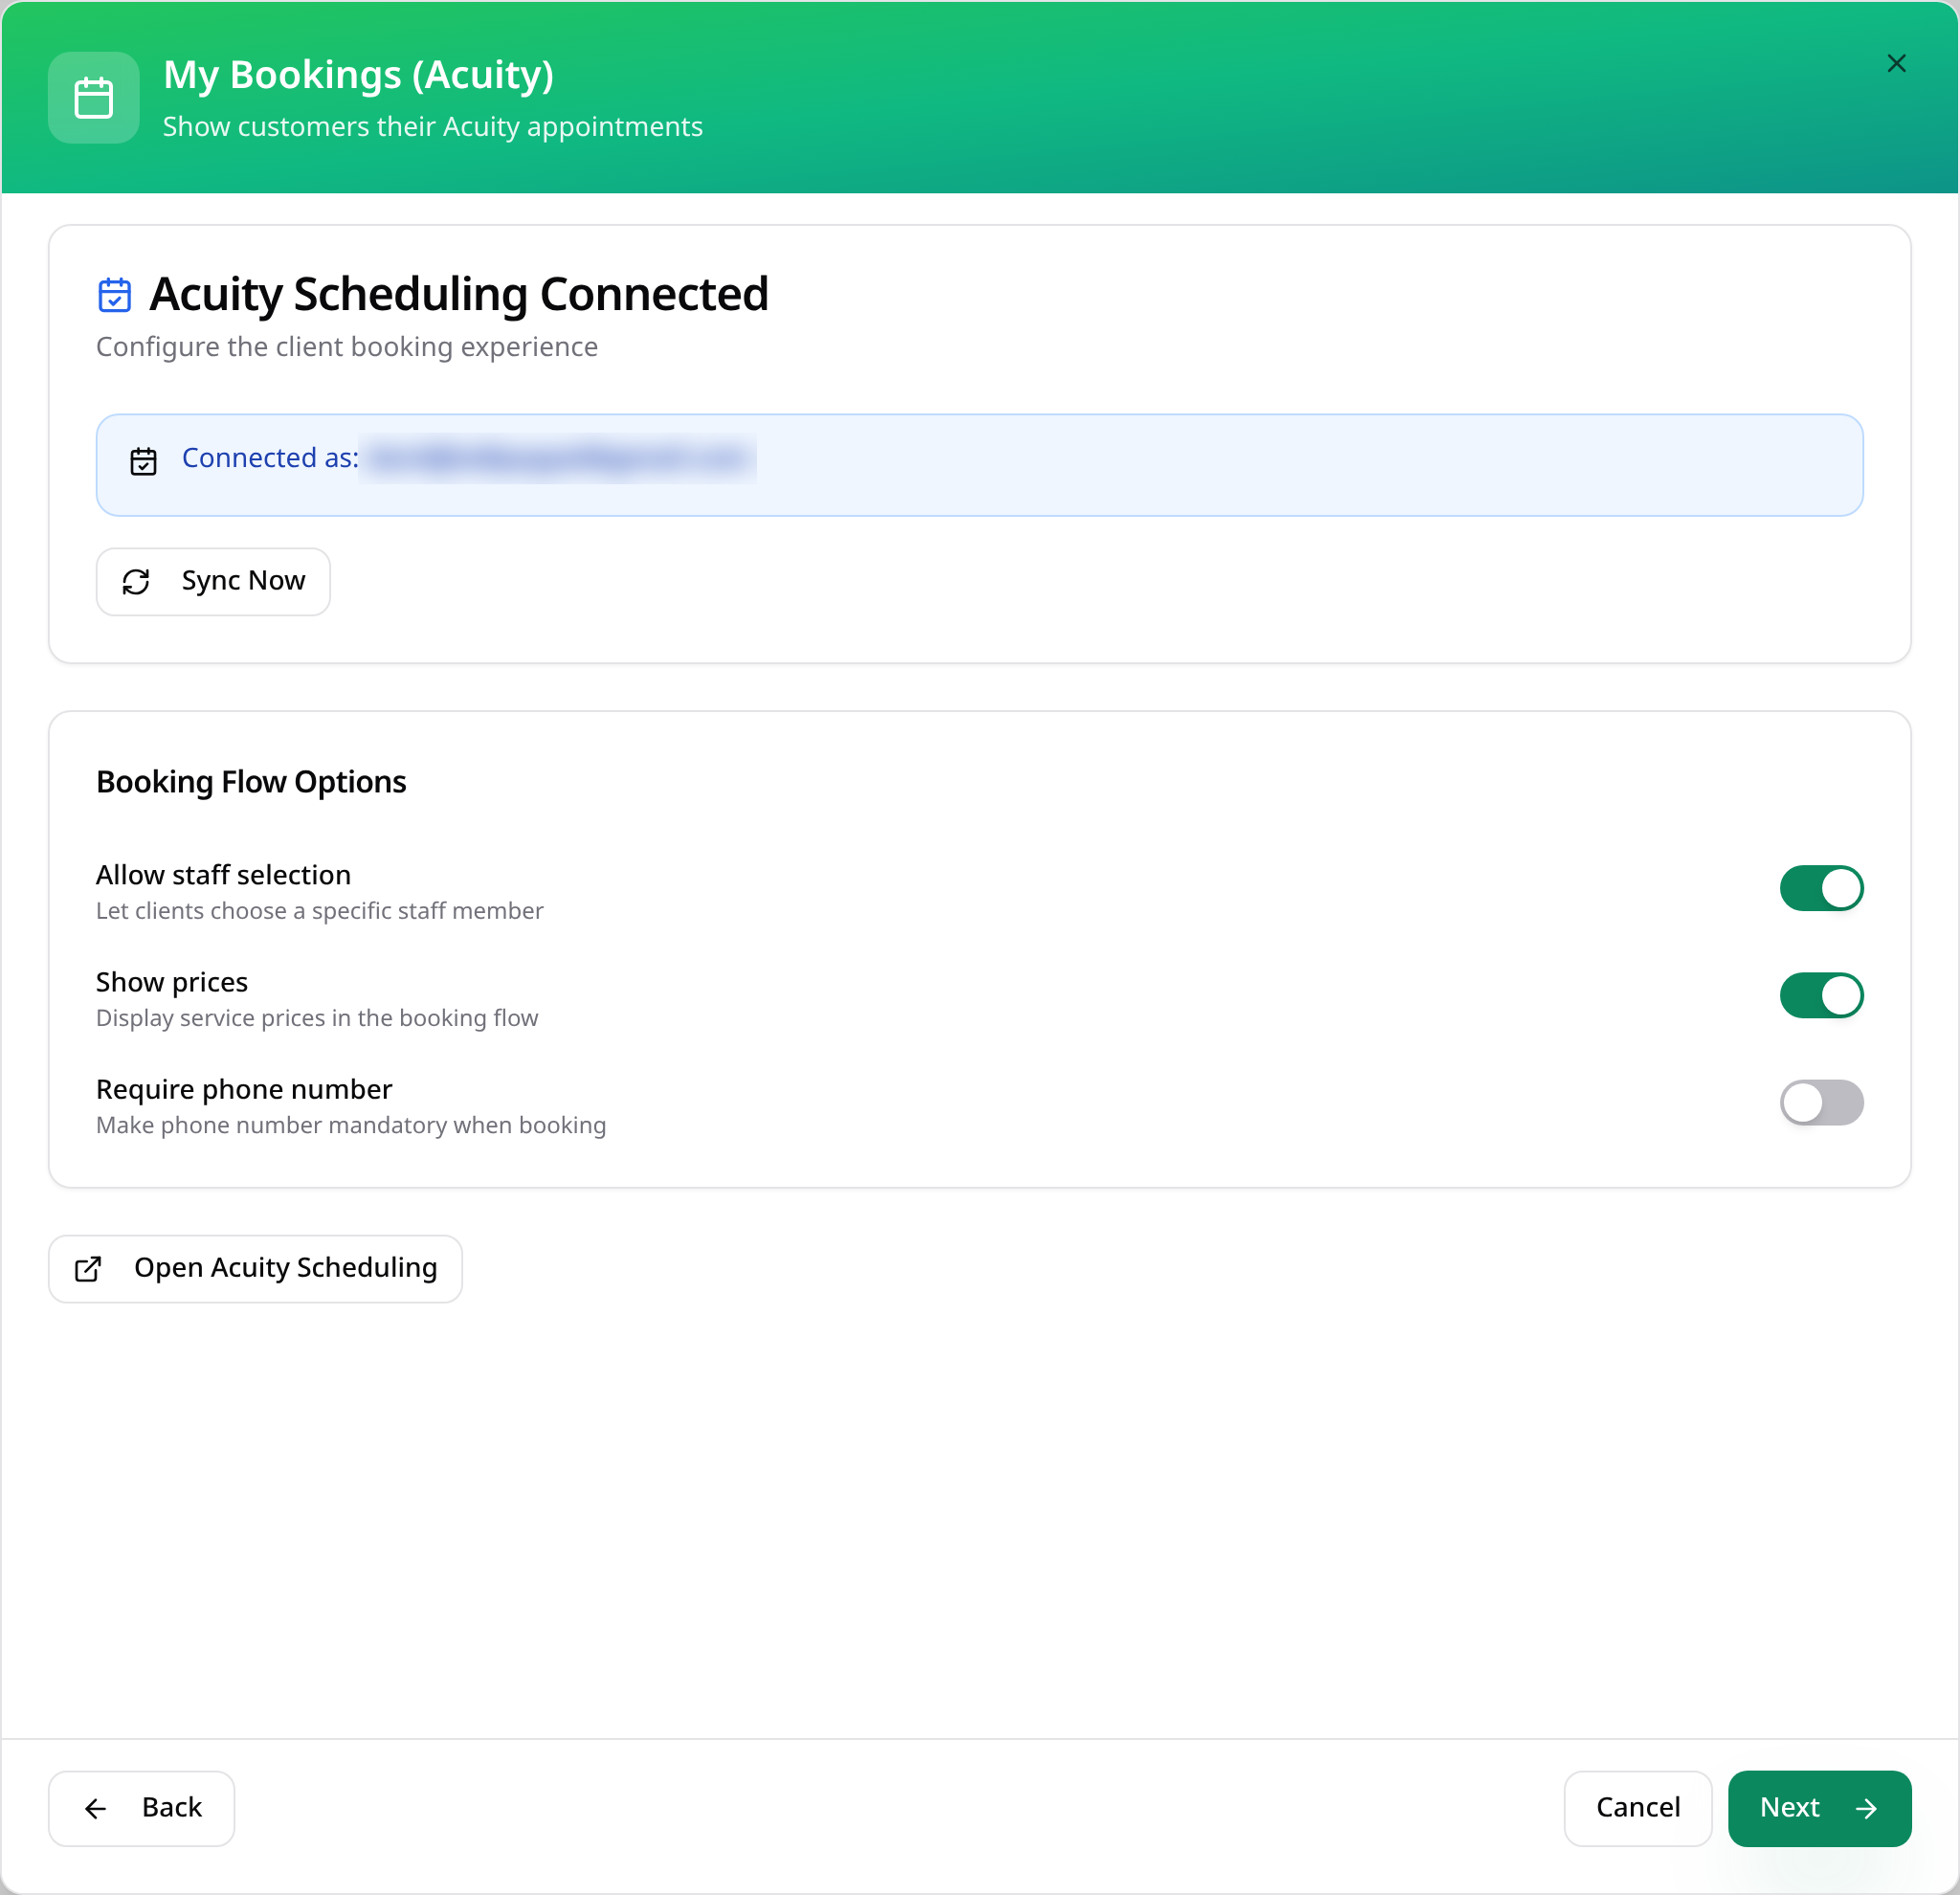
Check the connection
When Acuity is connected you'll see your account here. Tap Next.
- 5
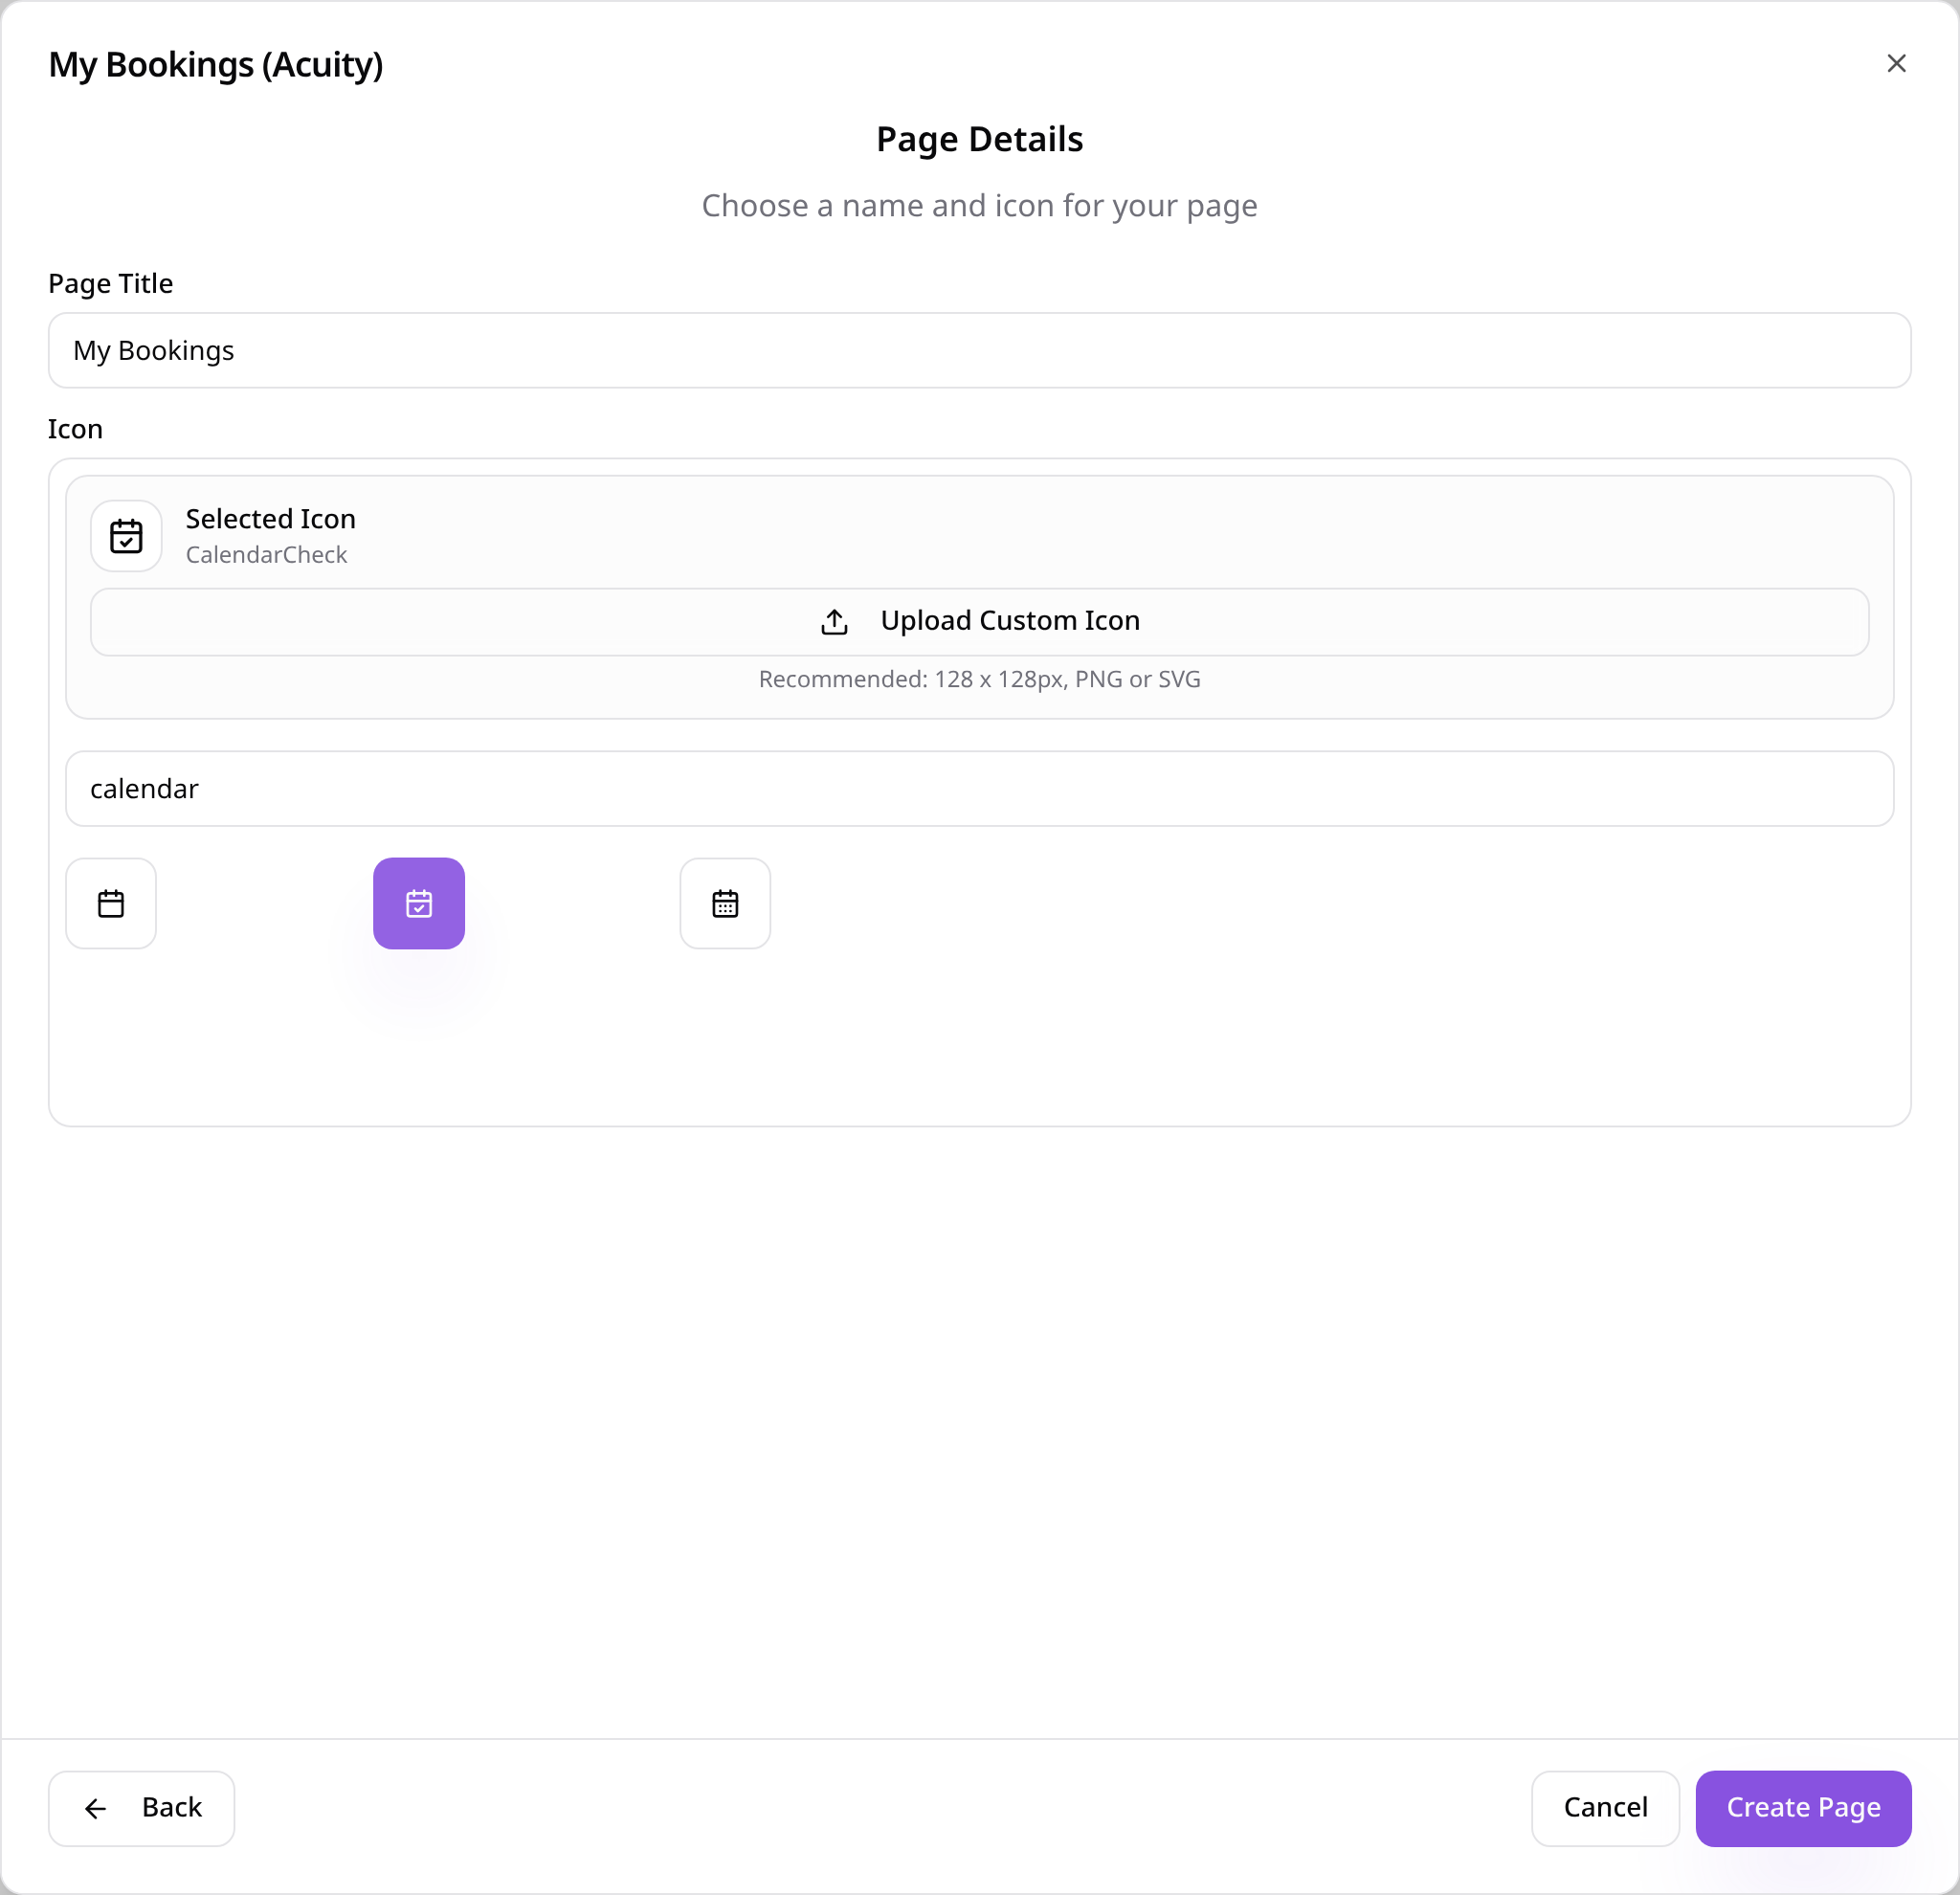
Name the page
Give the page a name, choose an icon and tap Create Page.
- 6
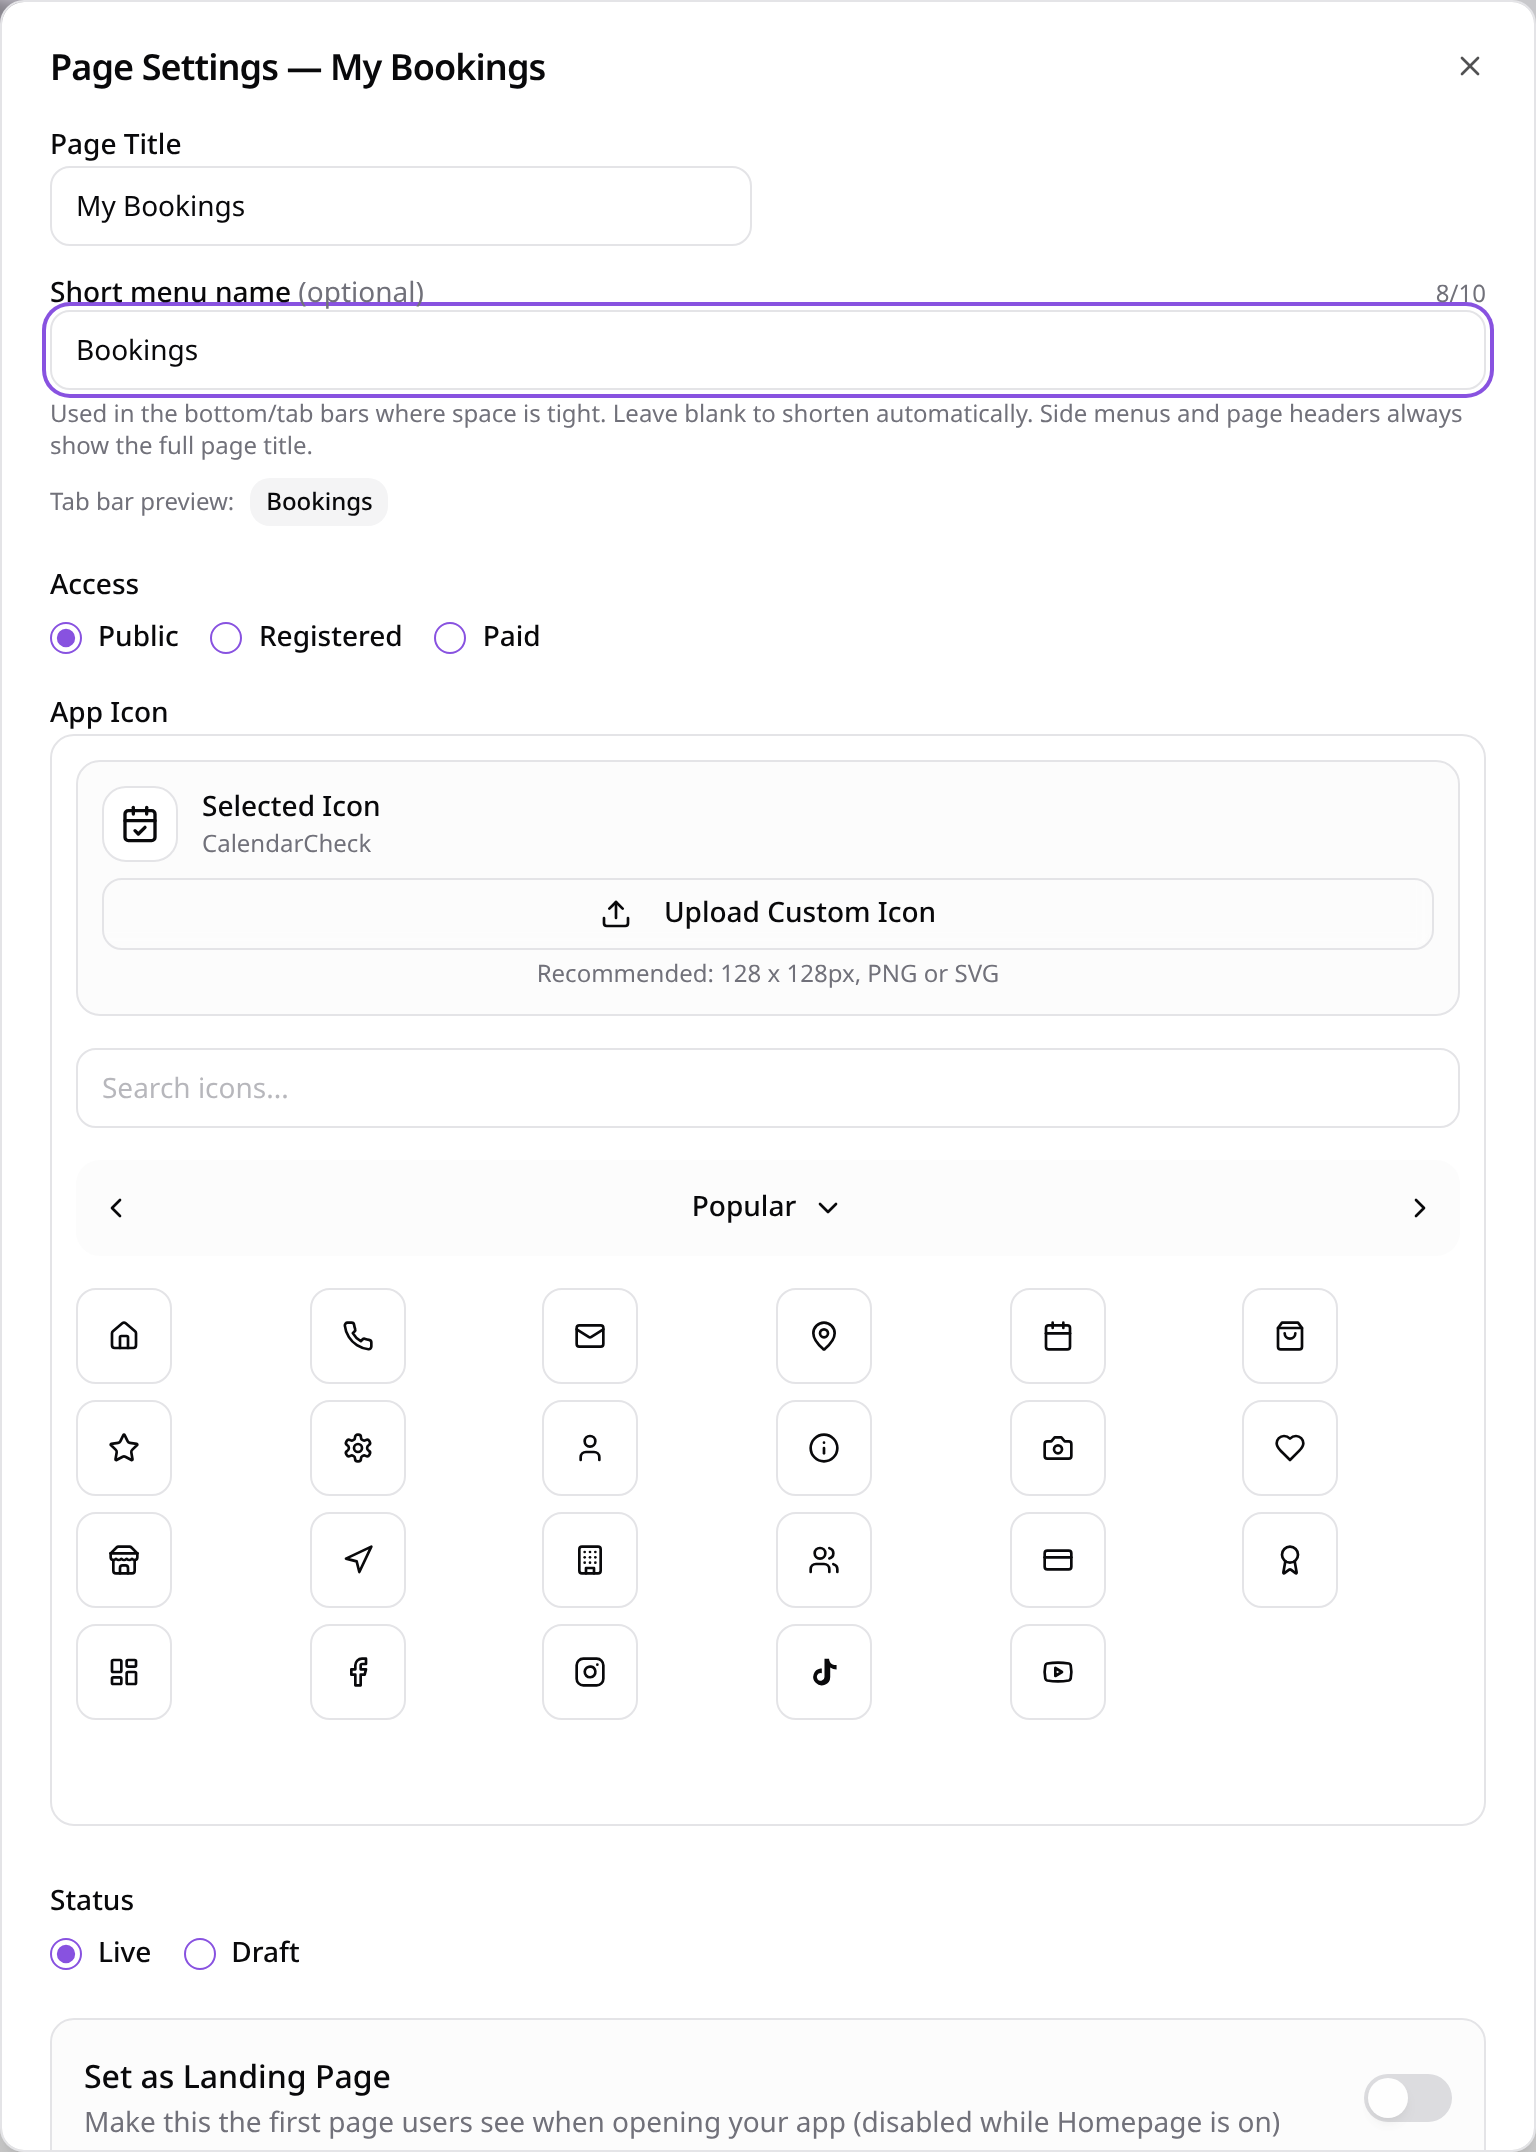
Set a short tab name
Tap the page in Pages, choose Edit Page Settings and add a short menu name such as Bookings.
- 7
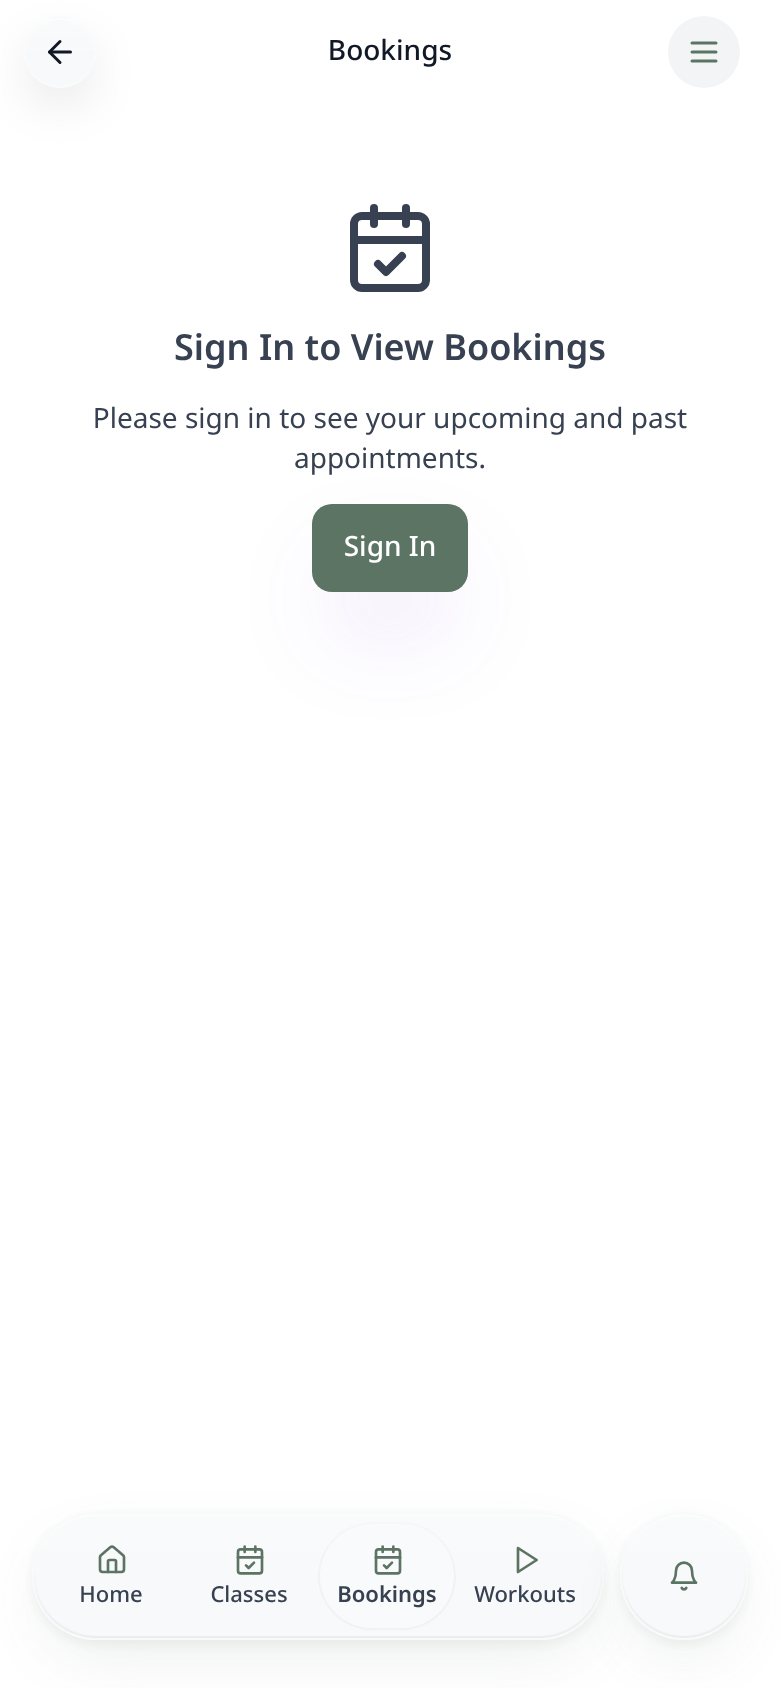
Customers open My Bookings
Customers tap Bookings and sign in to see their appointments.
- 8
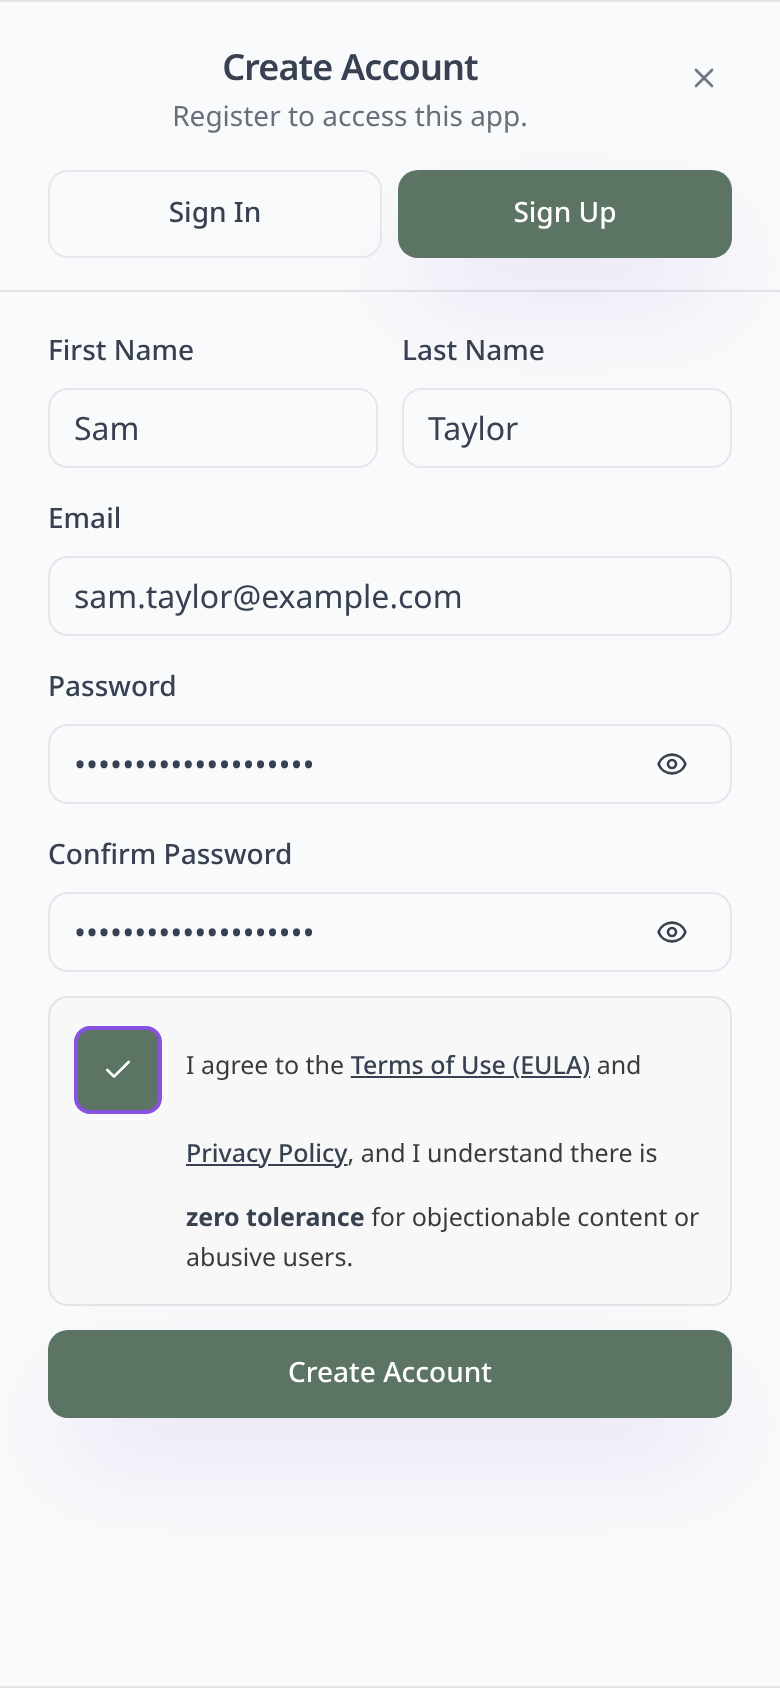
They sign in or sign up
Customers use the same email they book with, so their appointments are found automatically.
- 9
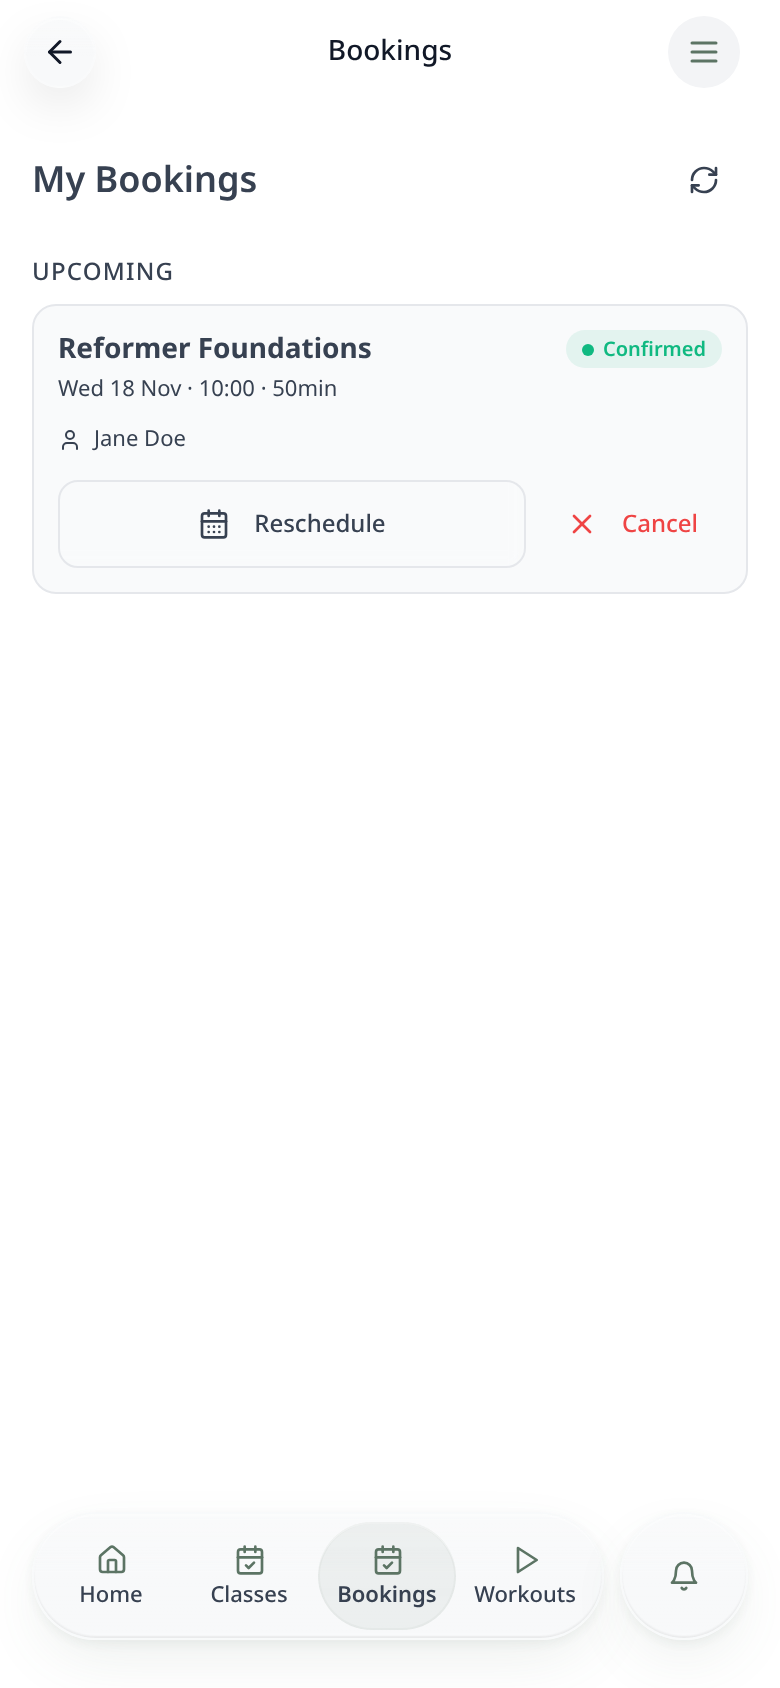
They see their bookings
Upcoming appointments show the class, day, time and staff member.
- 10
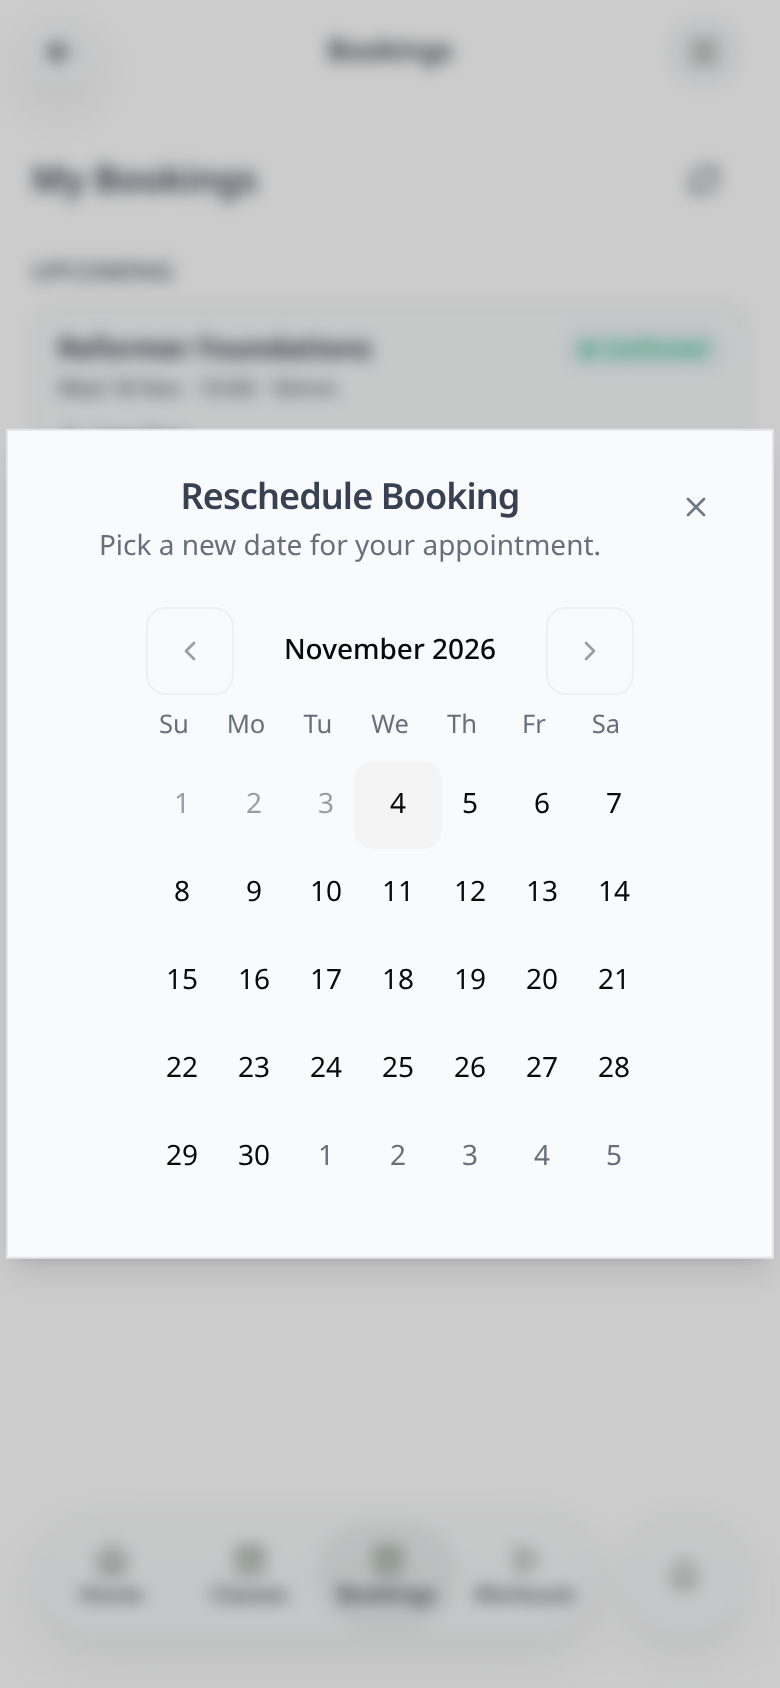
Reschedule or cancel
Customers pick a new day and time, or cancel, and Acuity updates straight away.
Bookings made through your Acuity Scheduling page appear here automatically. Changes customers make also show in Acuity and in Data Manager.