Show customers their Square bookings
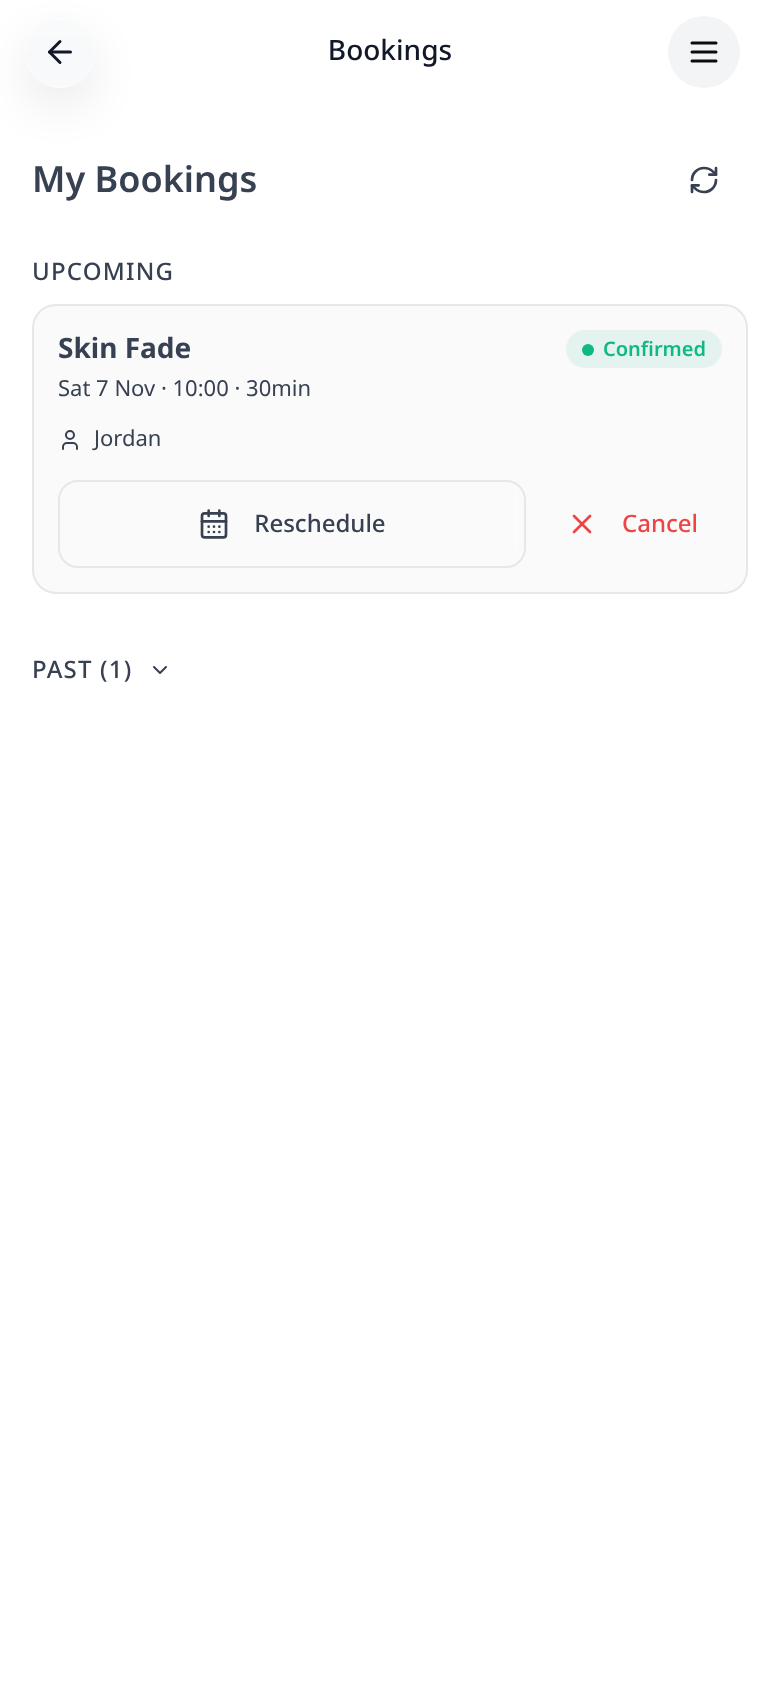
Add a My Bookings page so customers can see, reschedule or cancel their Square appointments in your app.
Step-by-step guide
Follow these steps, then download the PDF to keep.
- 1
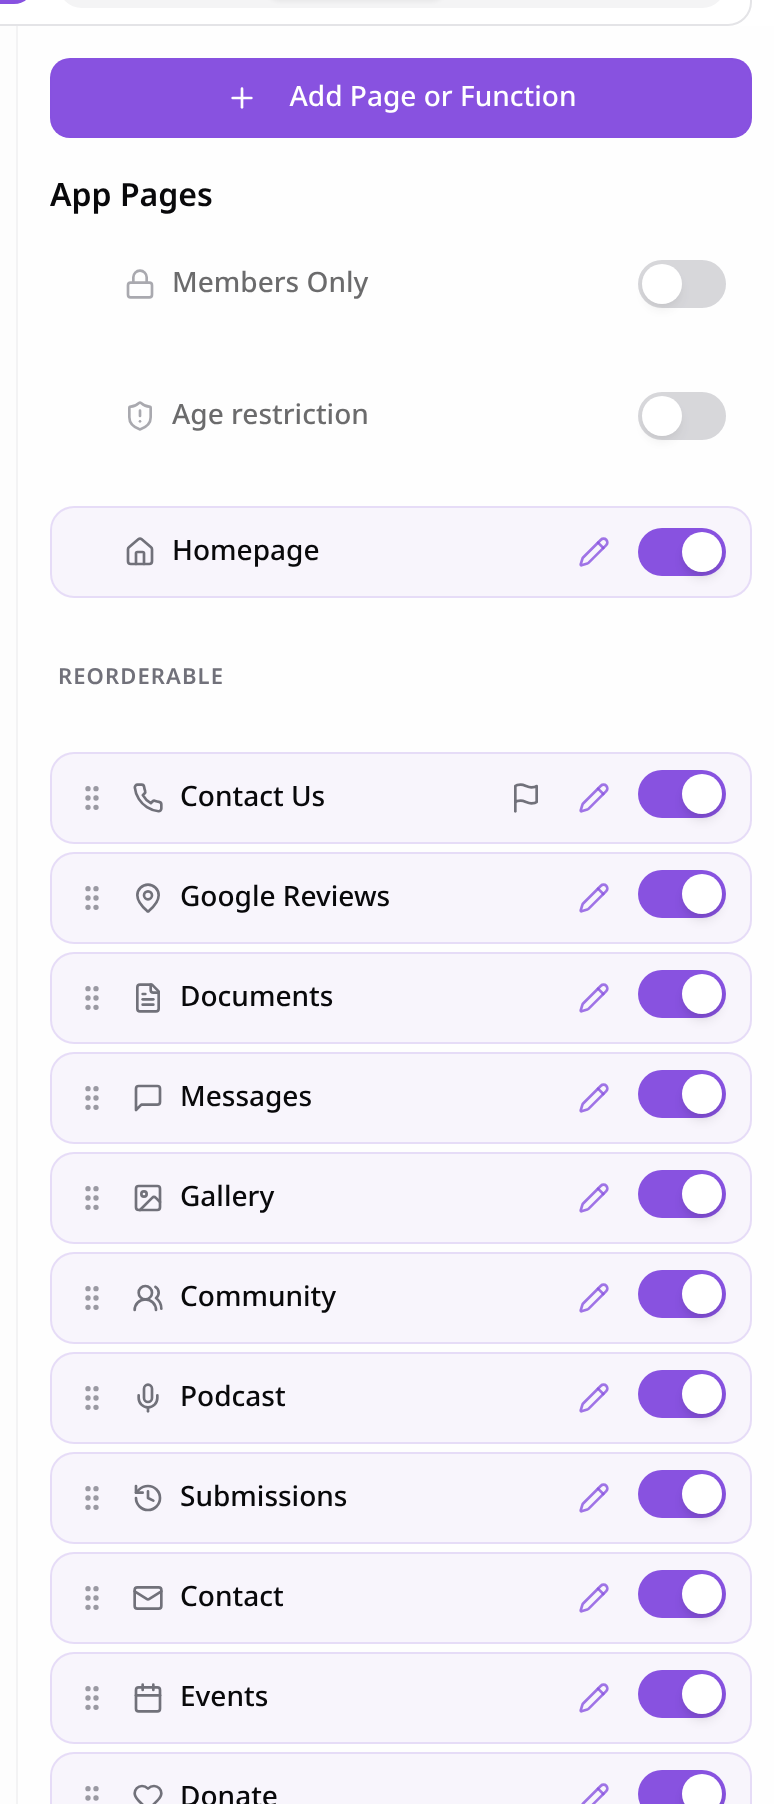
Open Pages
In your app editor, open Pages and tap Add Page or Function.
- 2
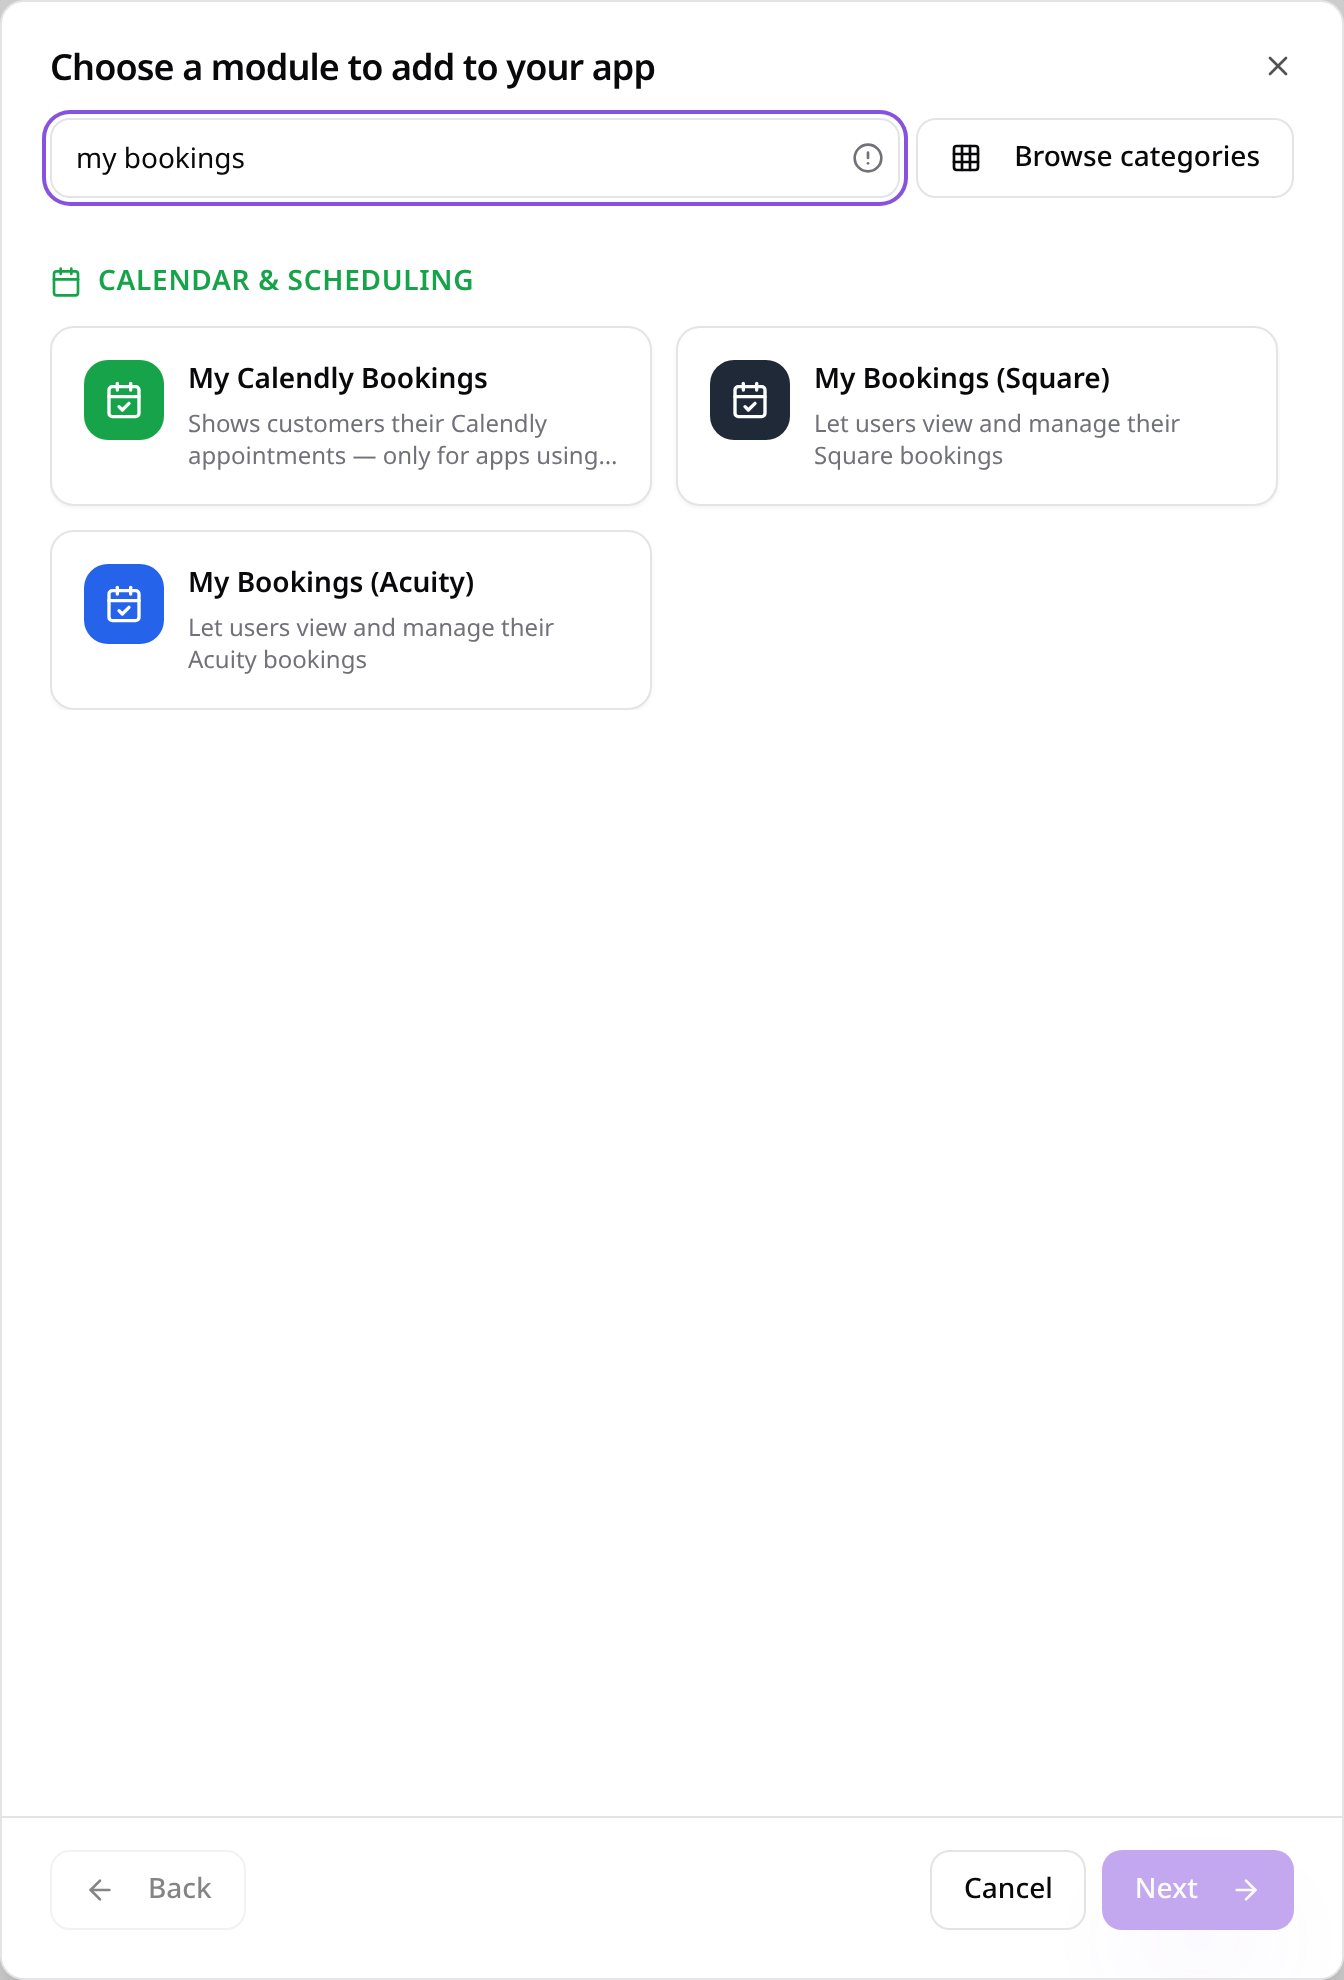
Choose My Bookings (Square)
Search “my bookings” and tap My Bookings (Square).
- 3
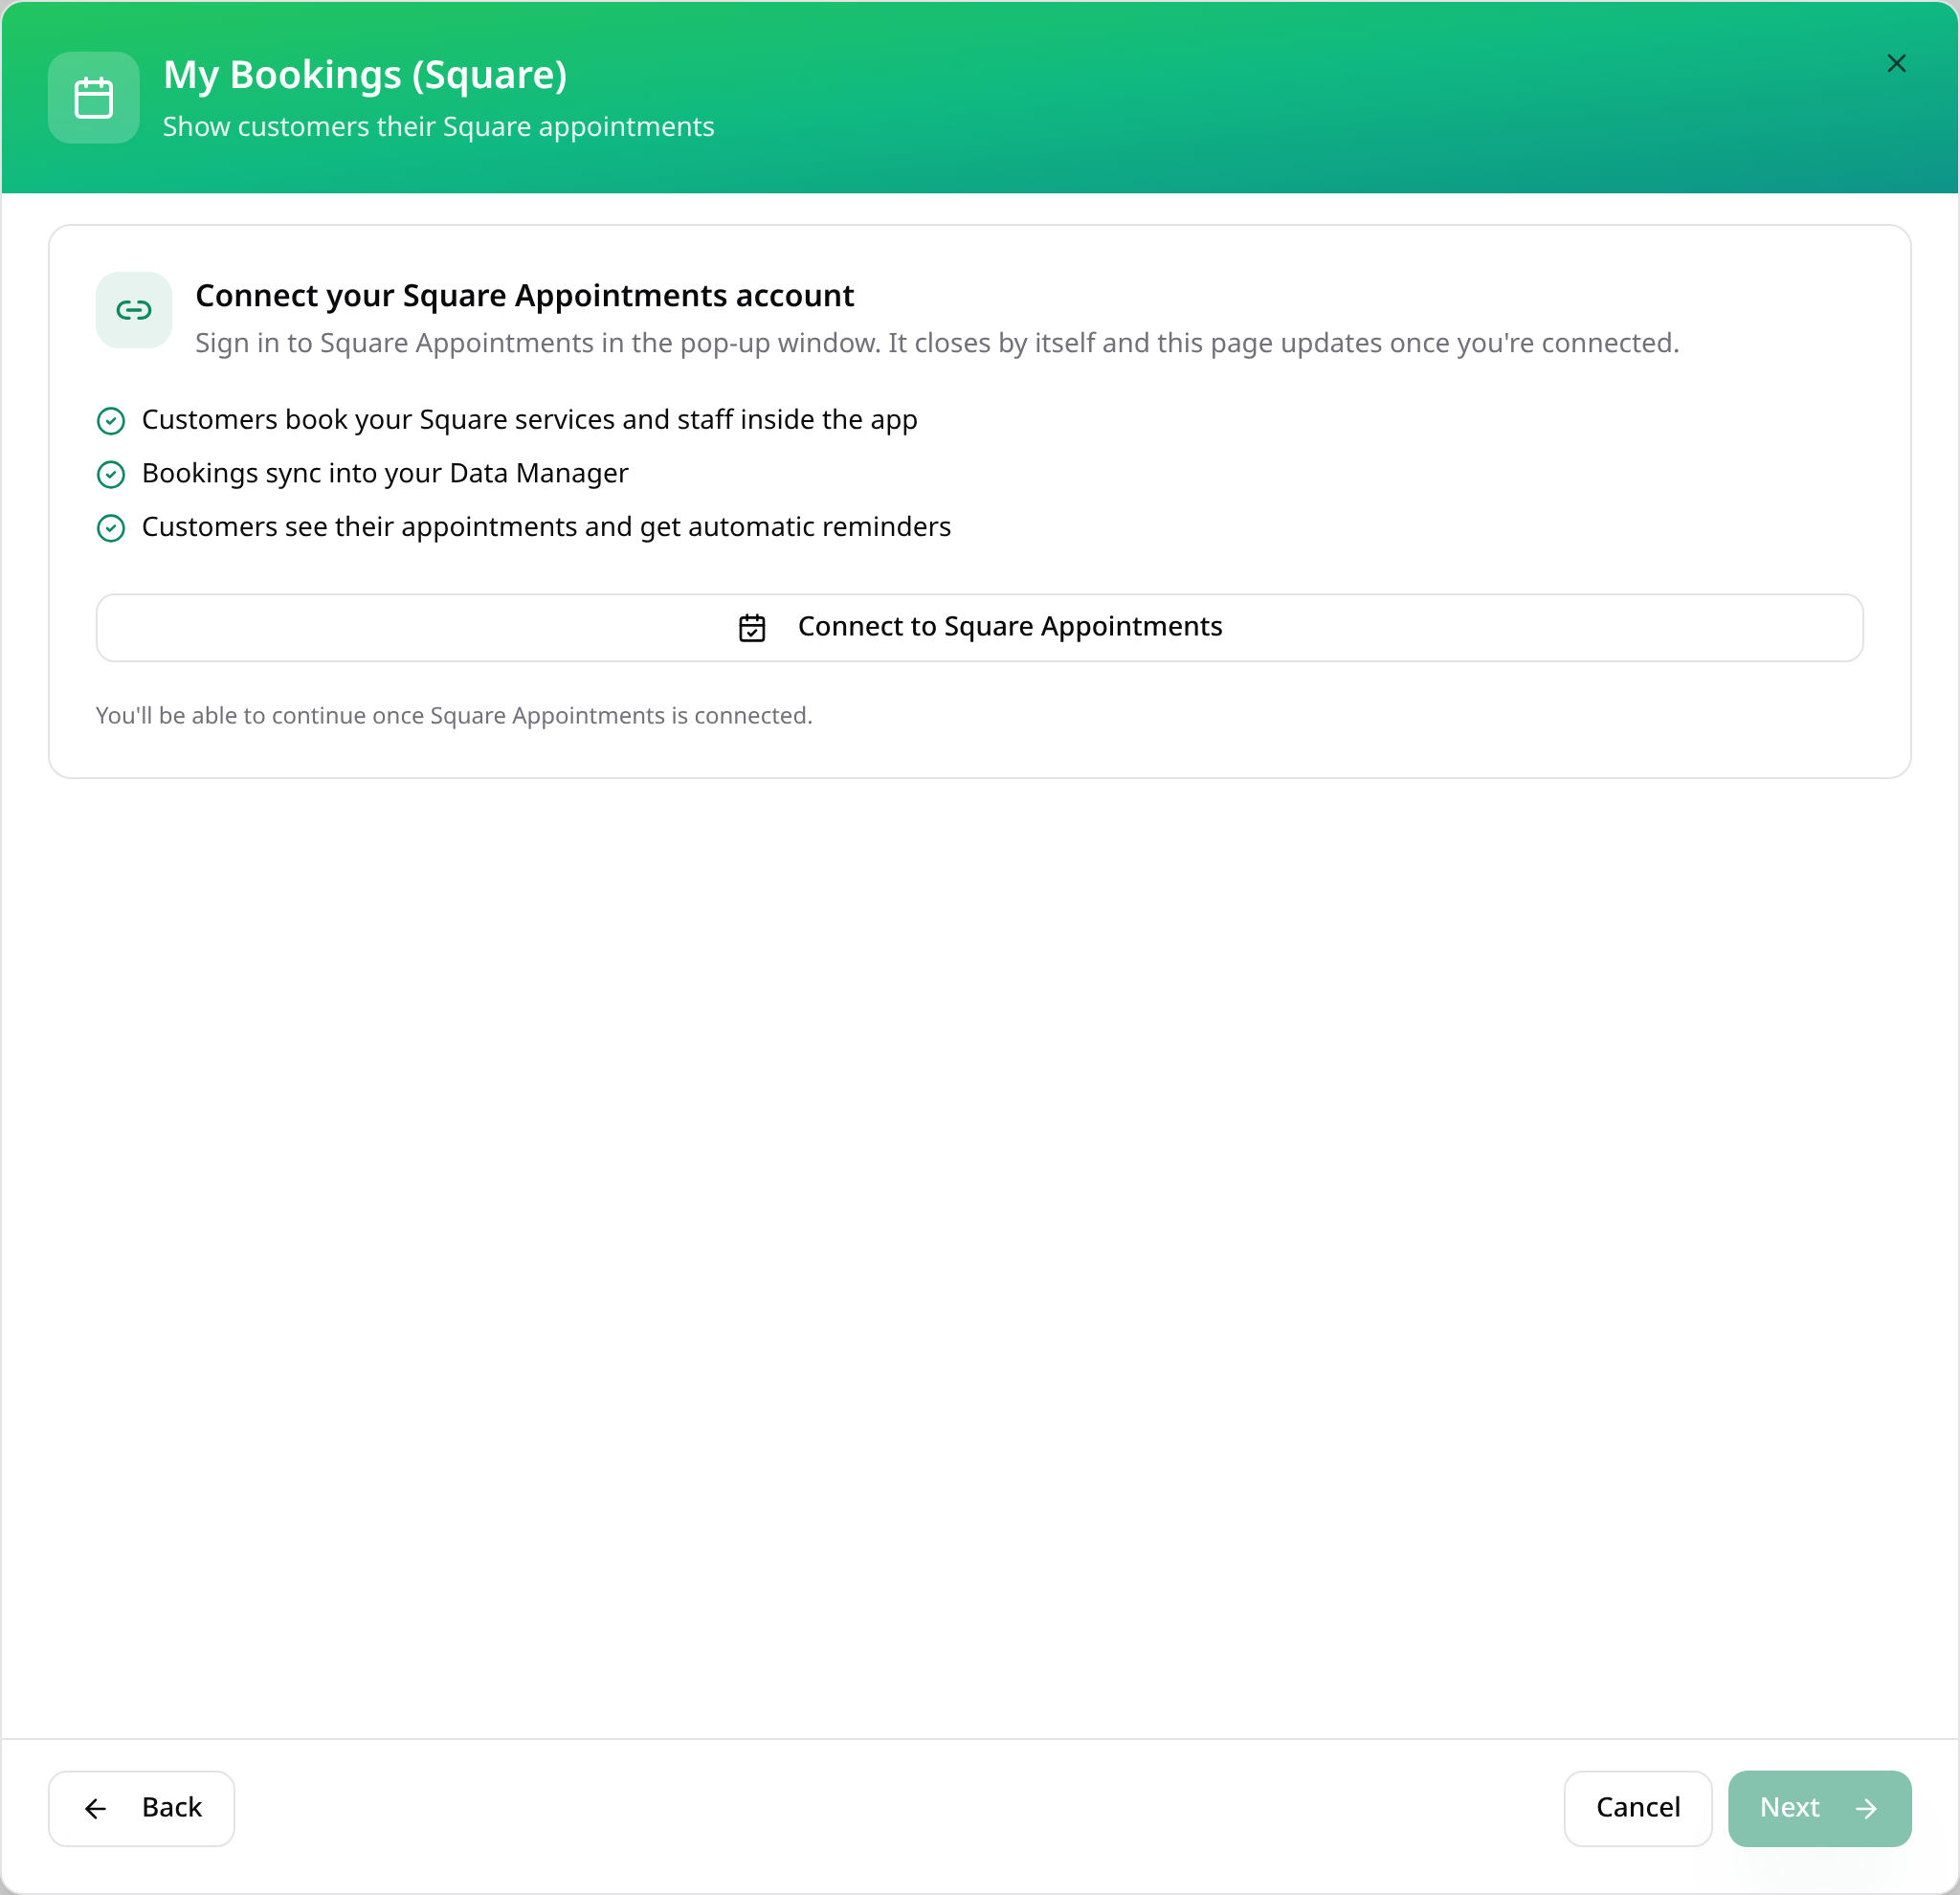
Connect Square if asked
If Square isn't connected to this app yet, tap Connect to Square Appointments and sign in.
- 4
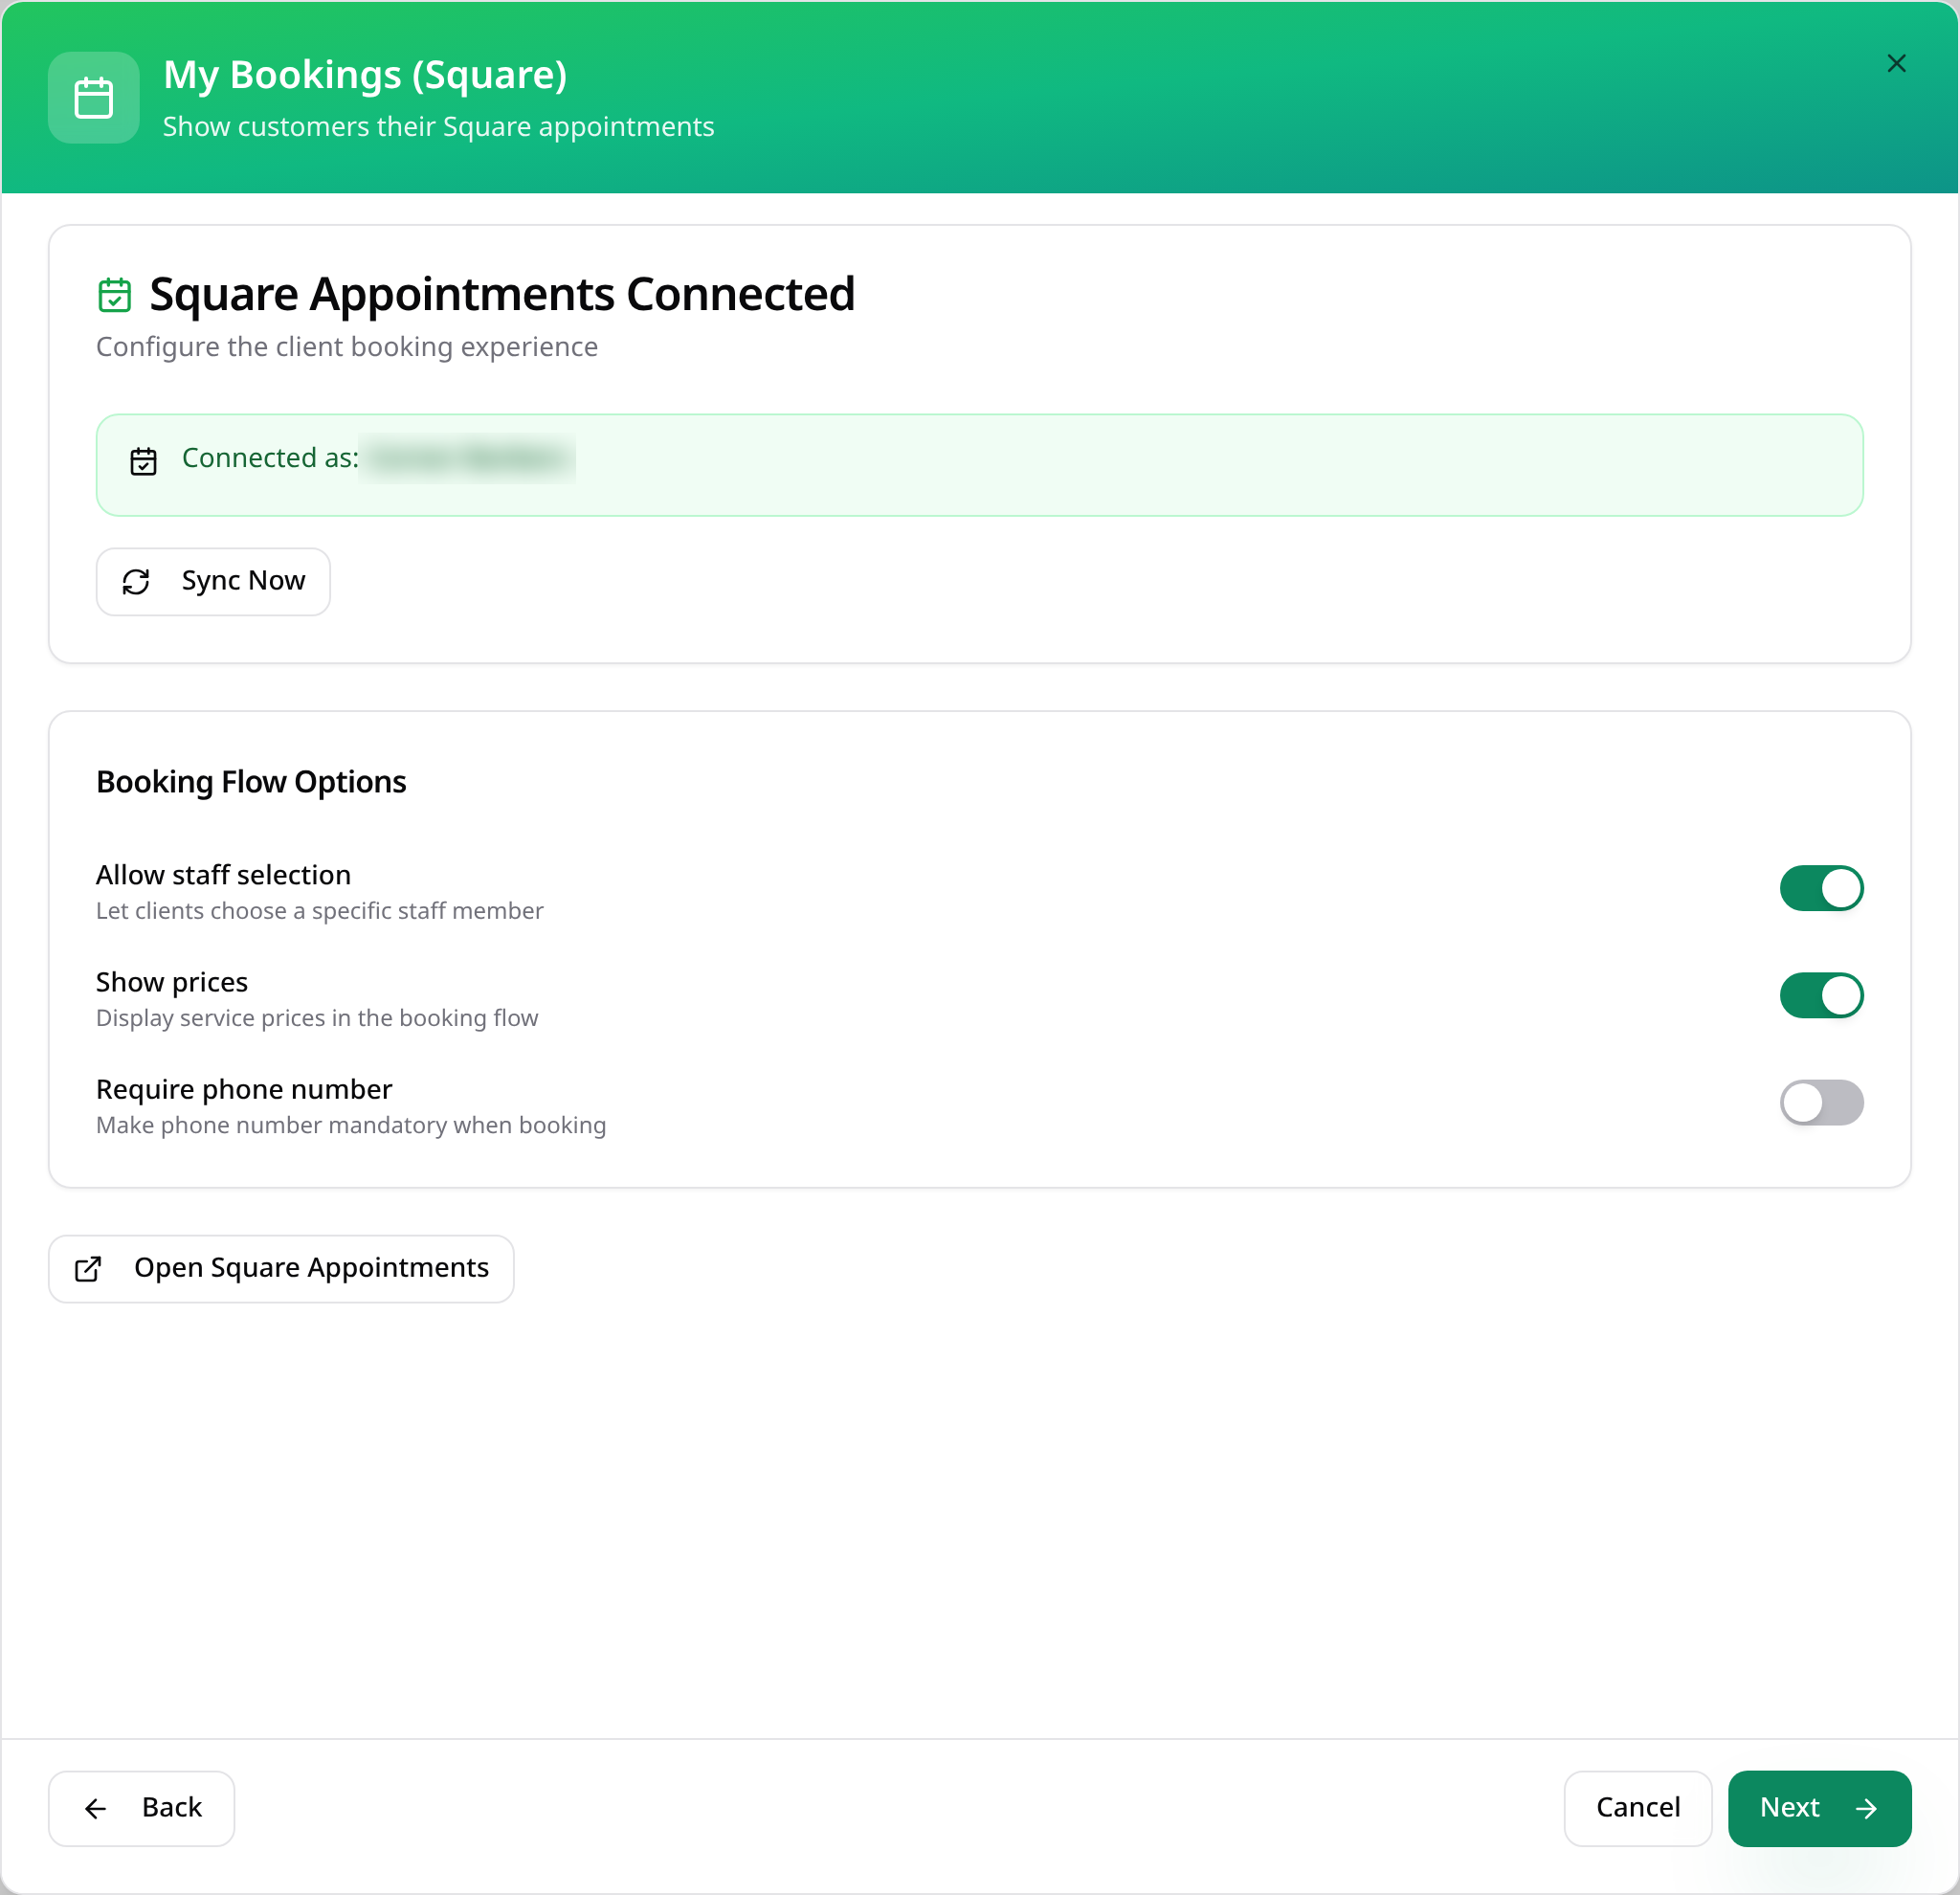
Check the connection
When Square is connected you'll see your business here. Tap Next.
- 5
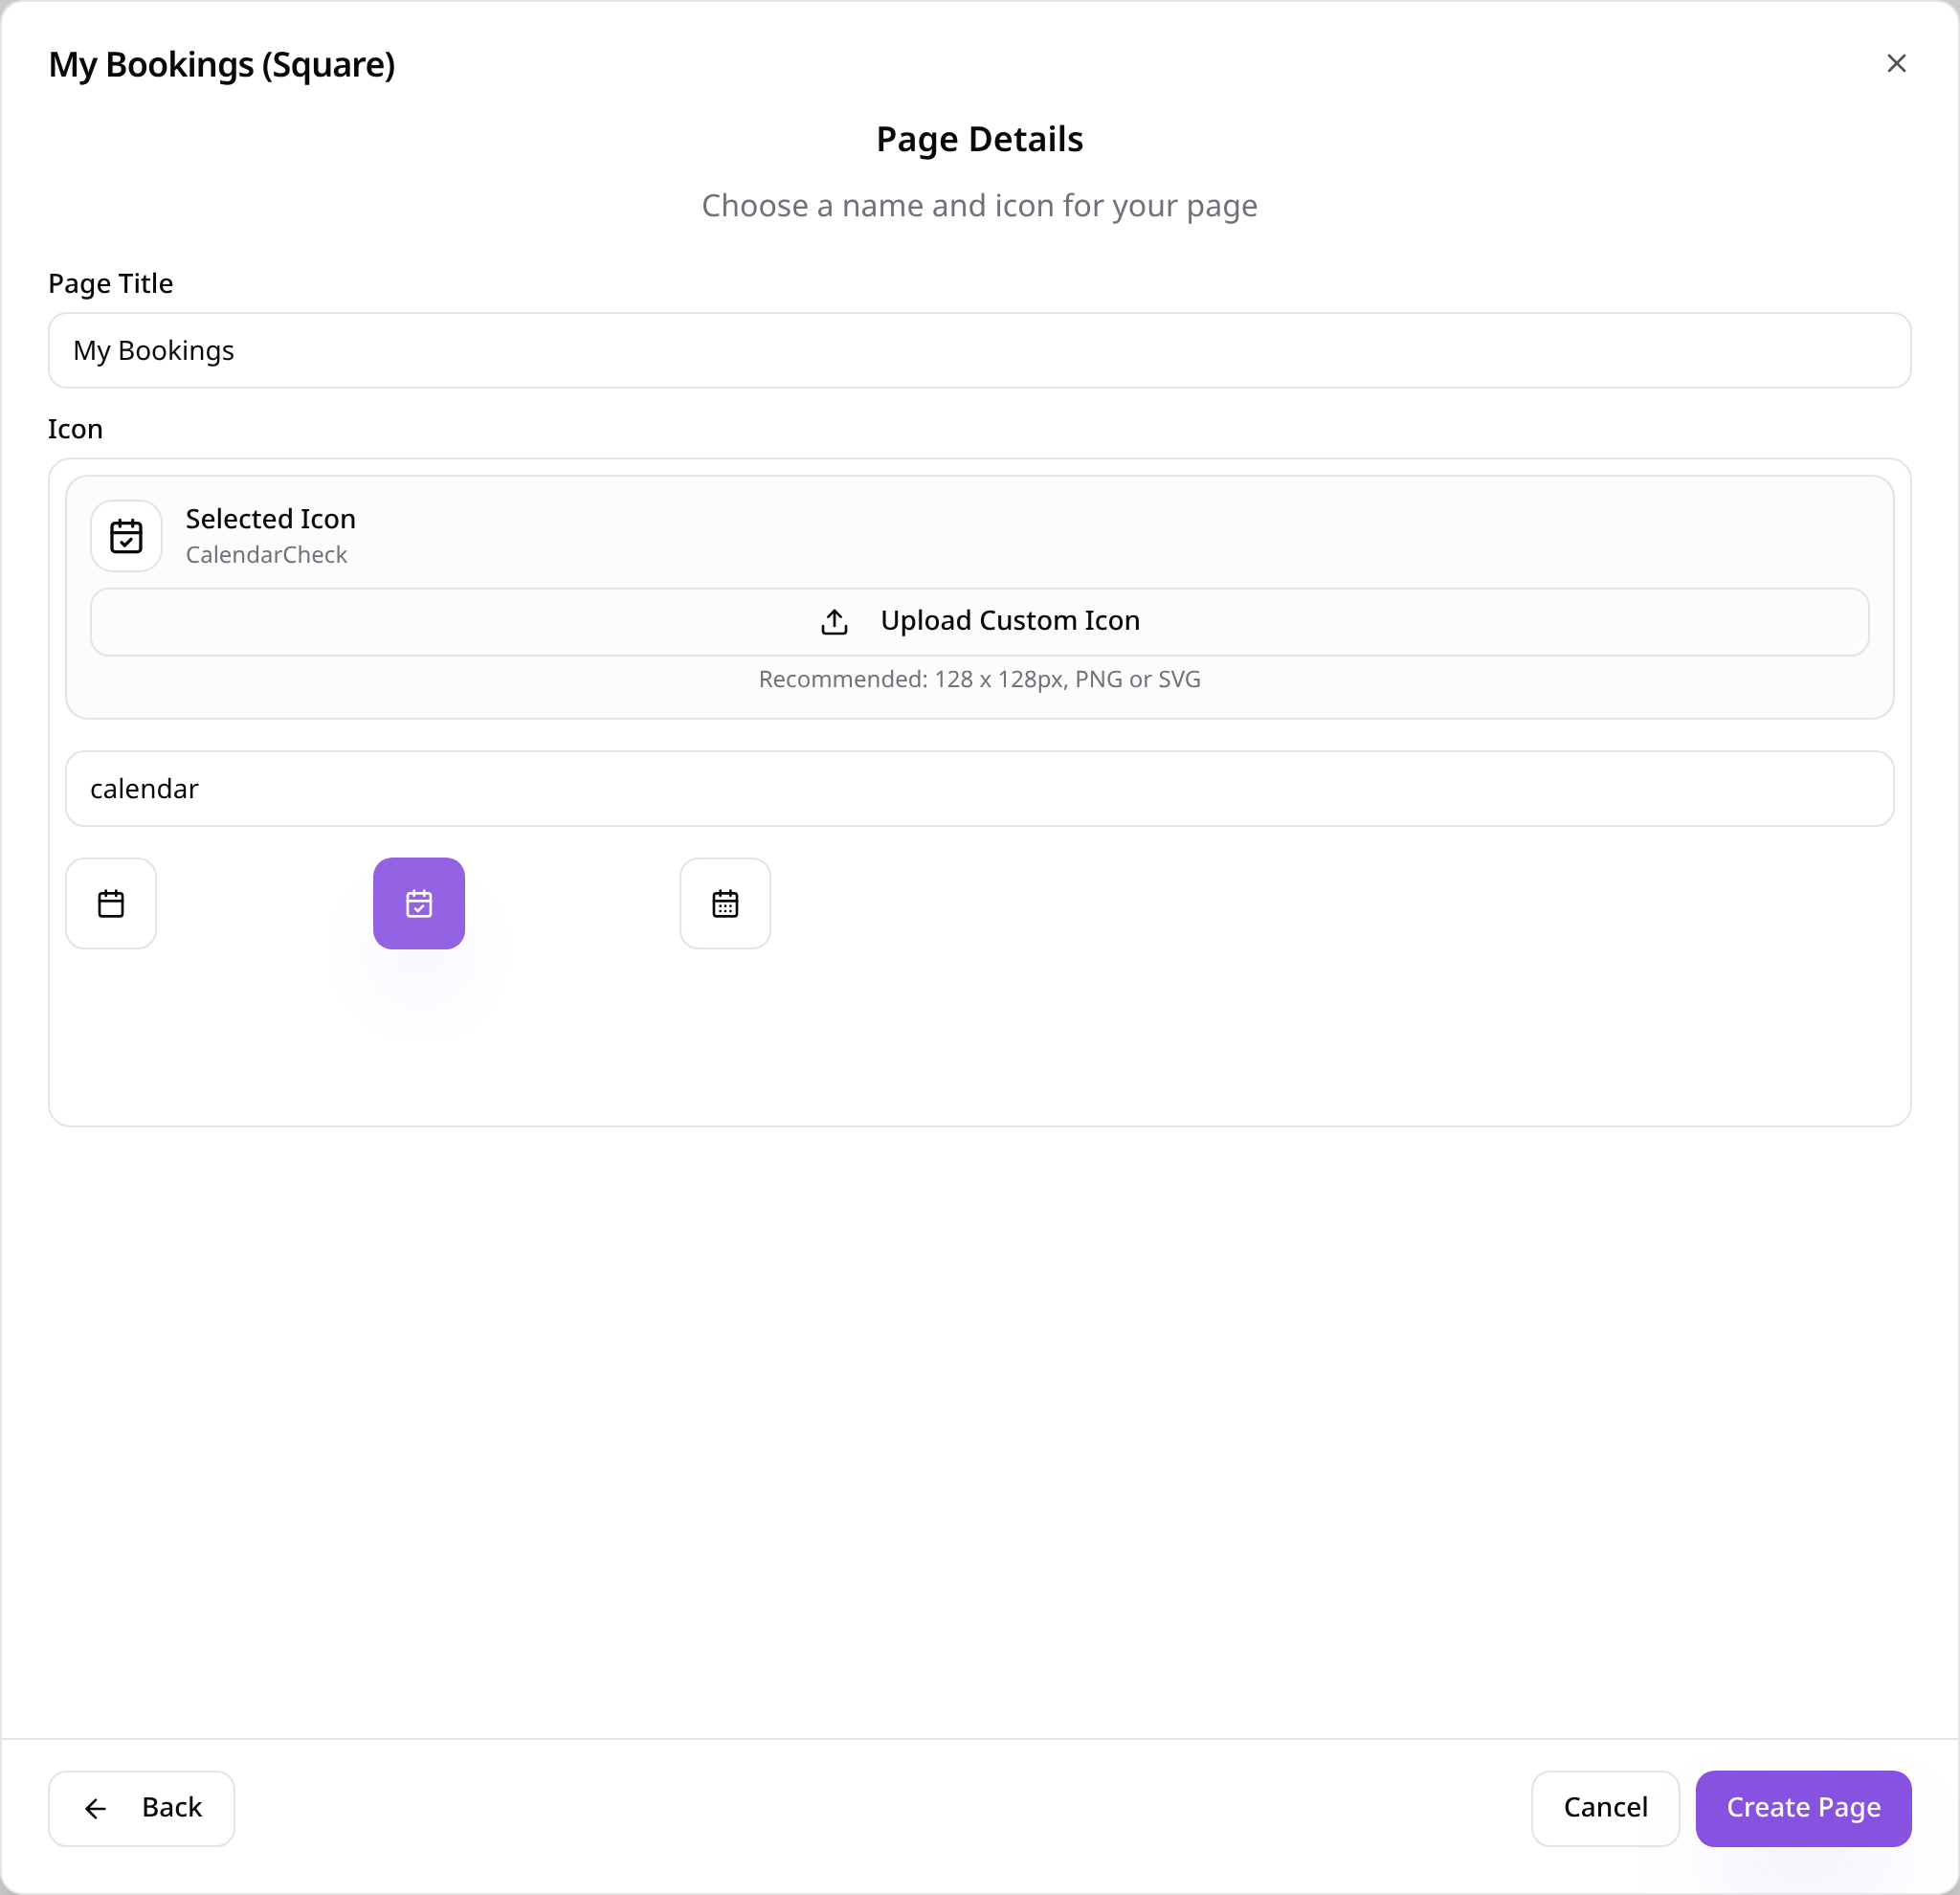
Name the page
Give the page a name, choose an icon and tap Create Page.
- 6
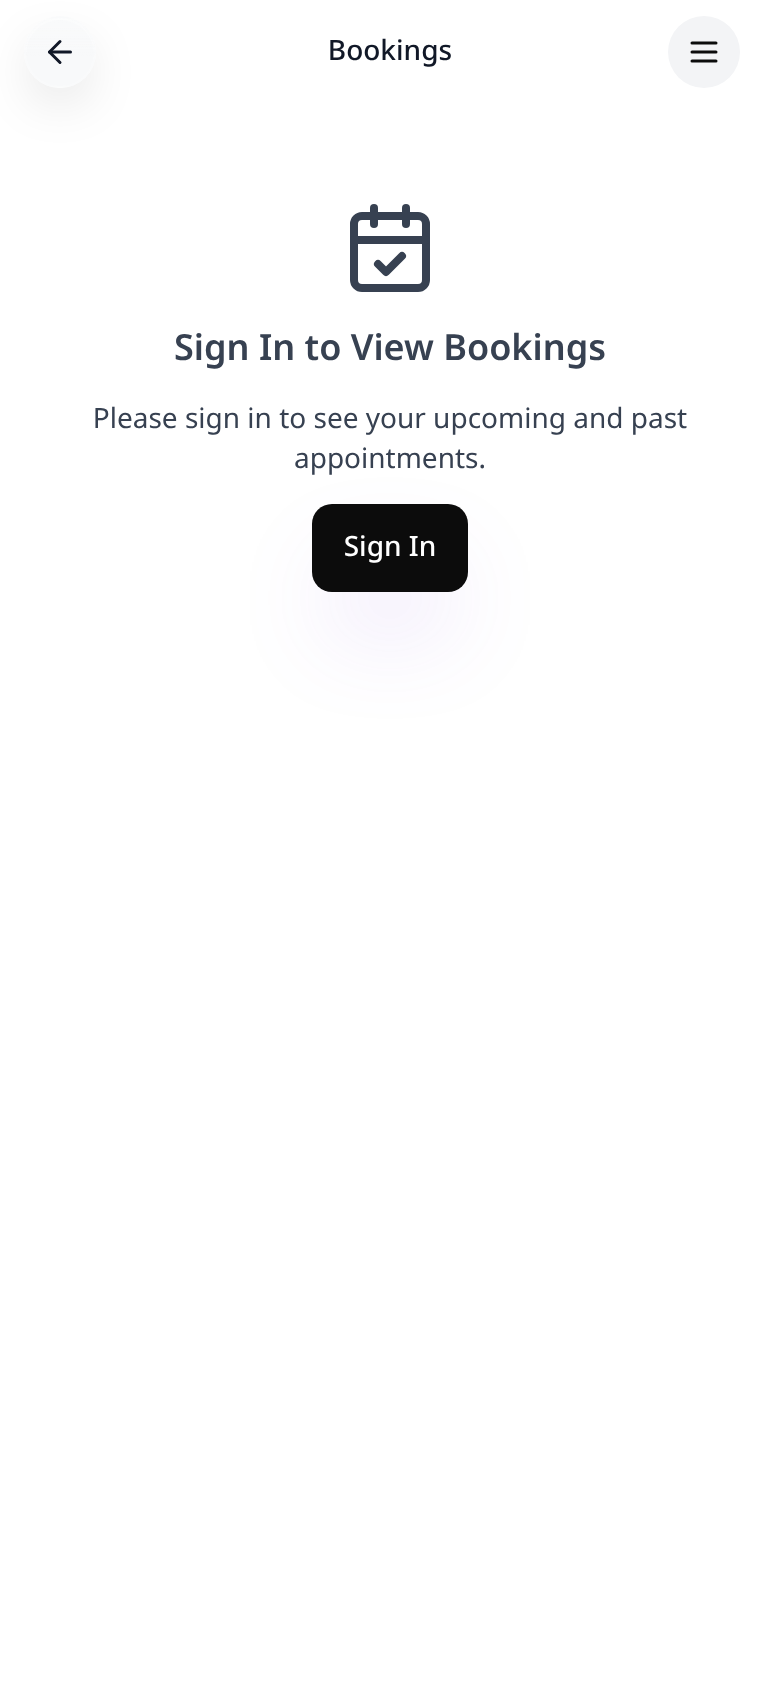
Customers sign in
Bookings are private, so customers sign in to see theirs.
- 7
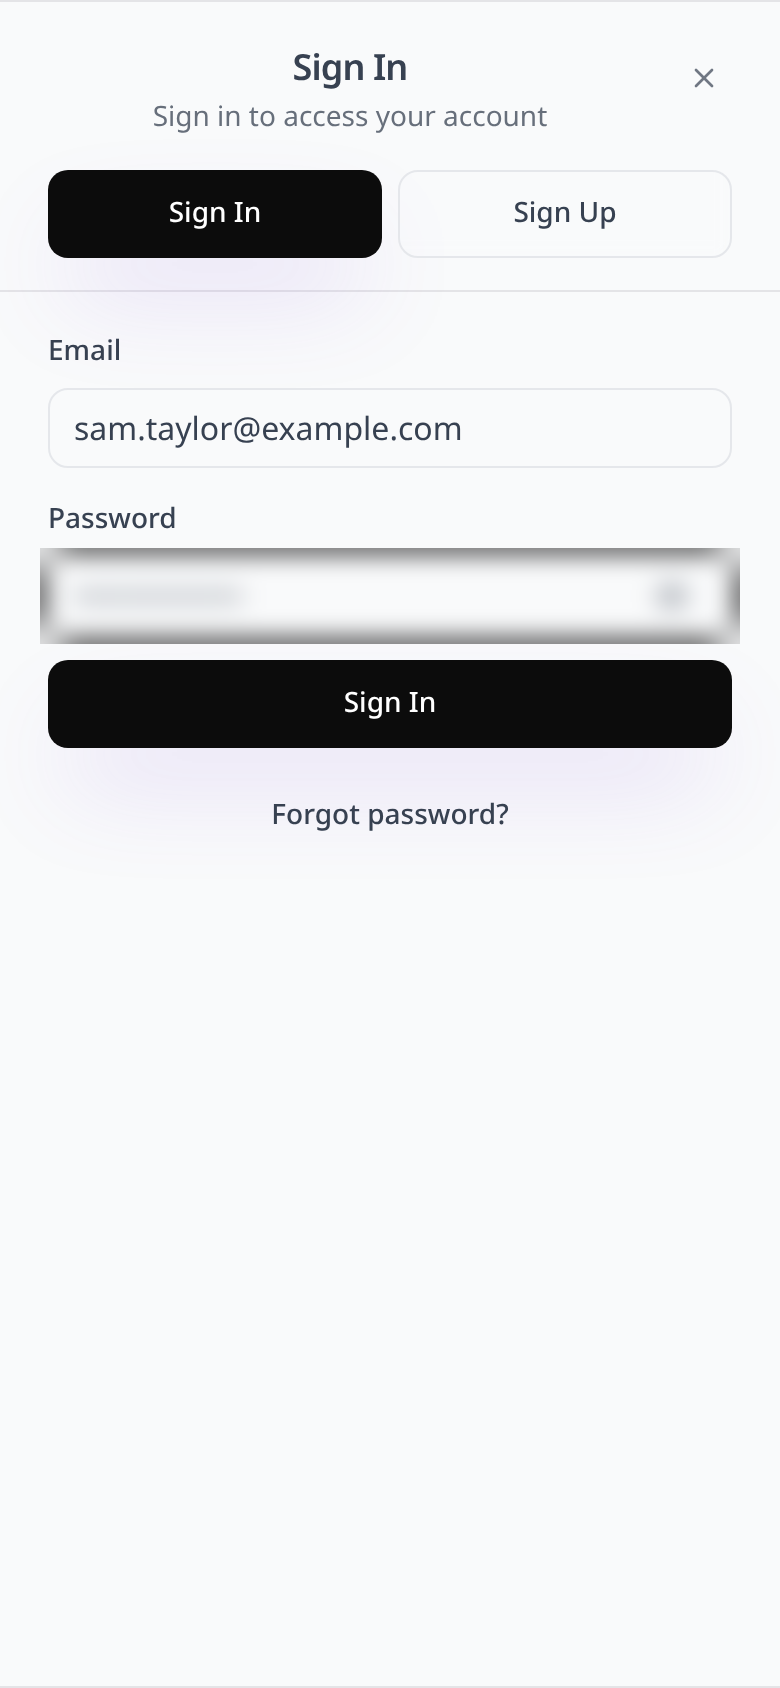
Using their booking email
They sign in or create an account with the email they booked with.
- 8
See upcoming bookings
Their upcoming and past Square appointments appear with the service, time and staff member.
- 9
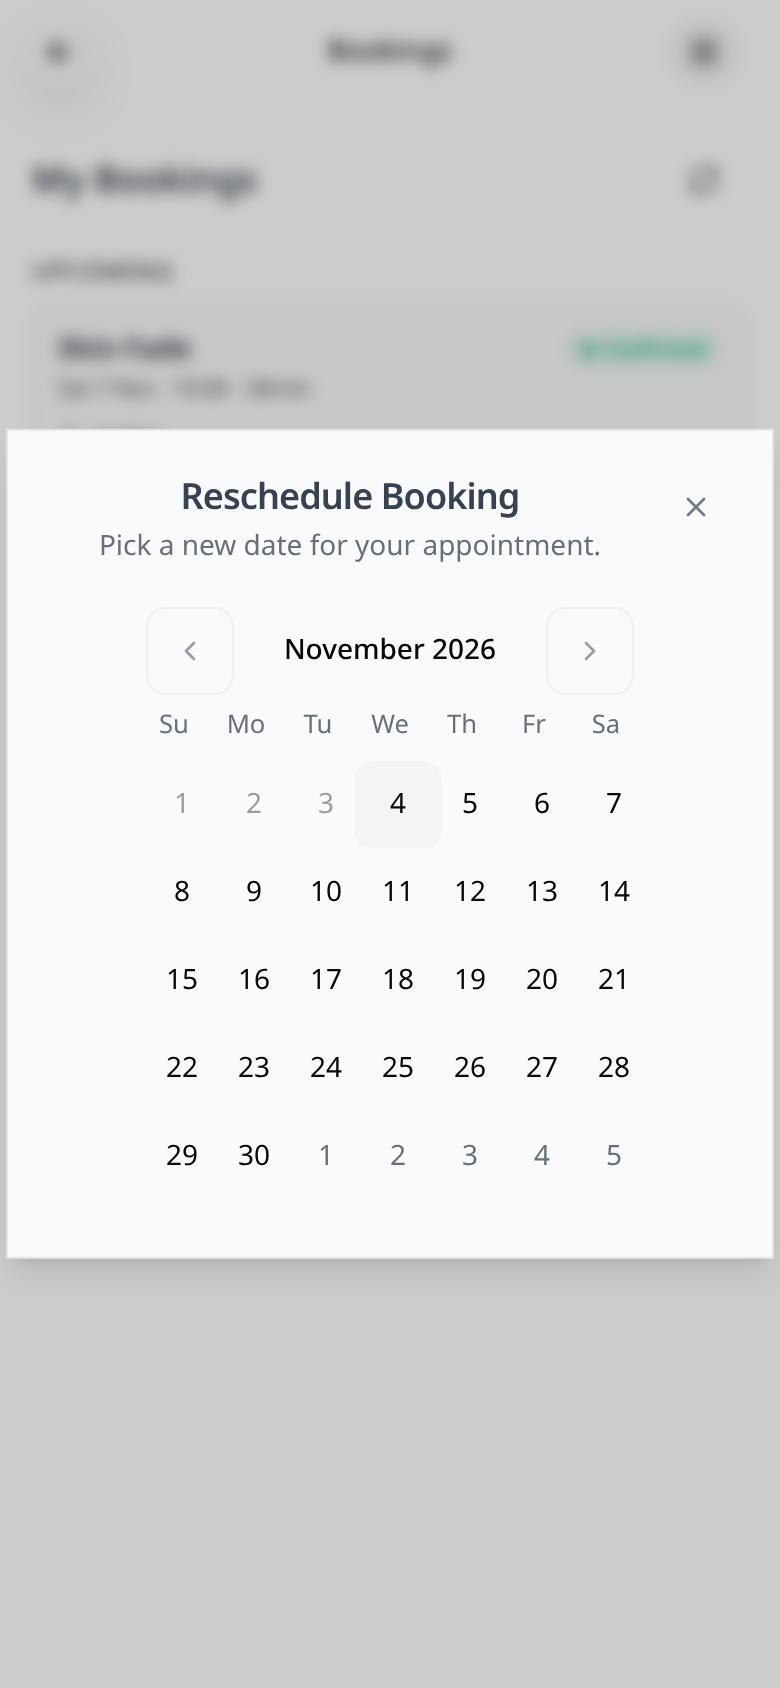
Reschedule or cancel
Customers can move or cancel a booking, and Square updates straight away.
Bookings made in your app or directly in Square both show here, as long as the customer uses the same email.