Take bookings with Acuity Scheduling
Connect Acuity Scheduling so customers can book your services, staff and times inside your app.
Step-by-step guide
Follow these steps, then download the PDF to keep.
- 1
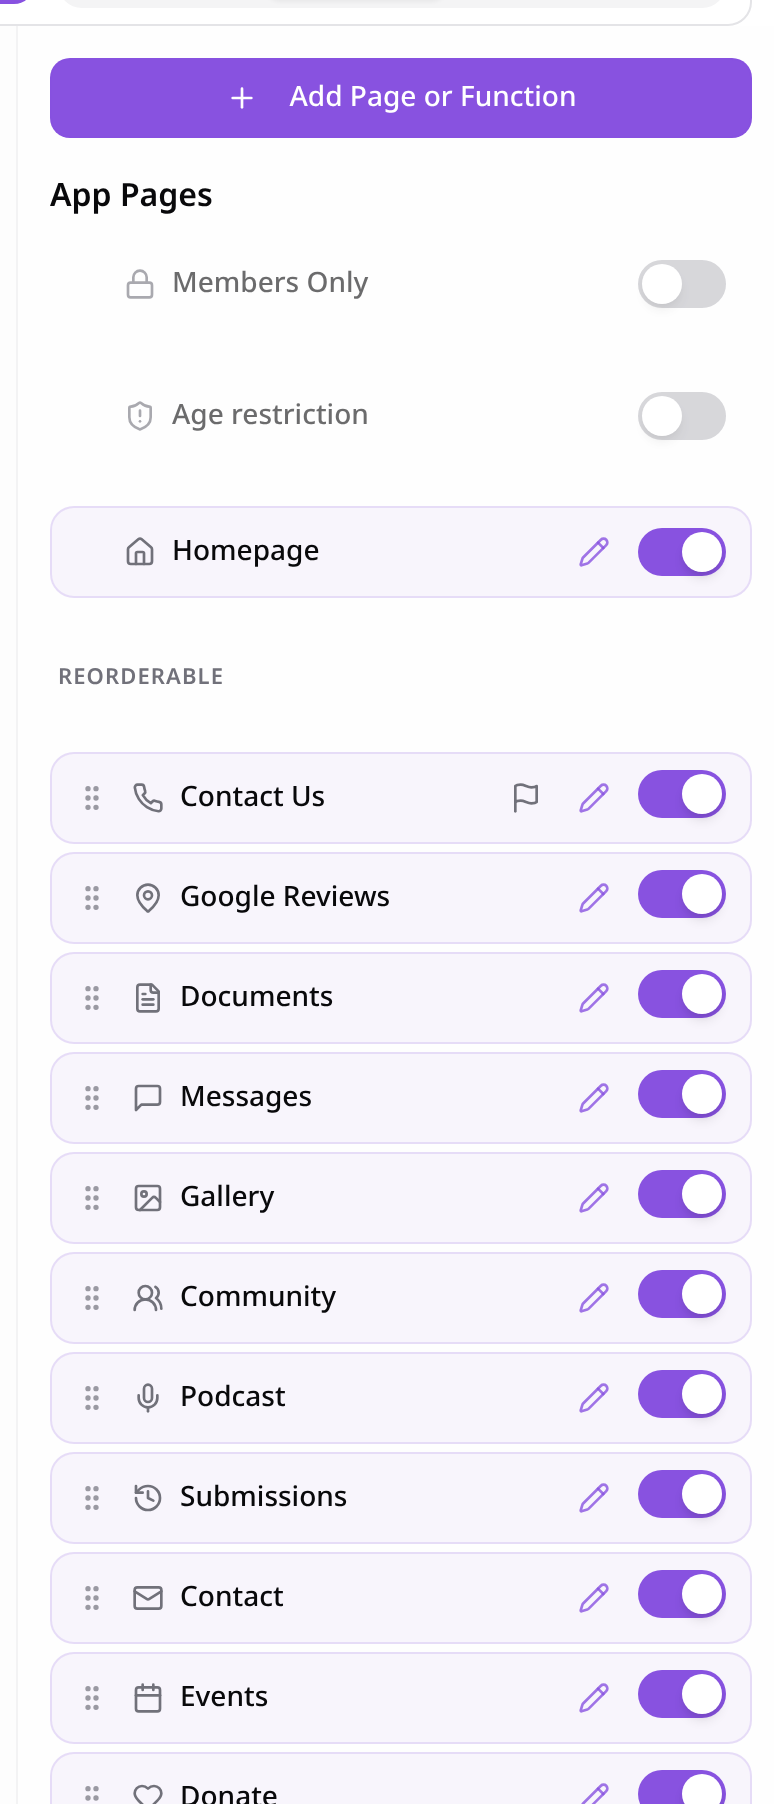
Open Pages
In your app editor, open Pages and tap Add Page or Function.
- 2
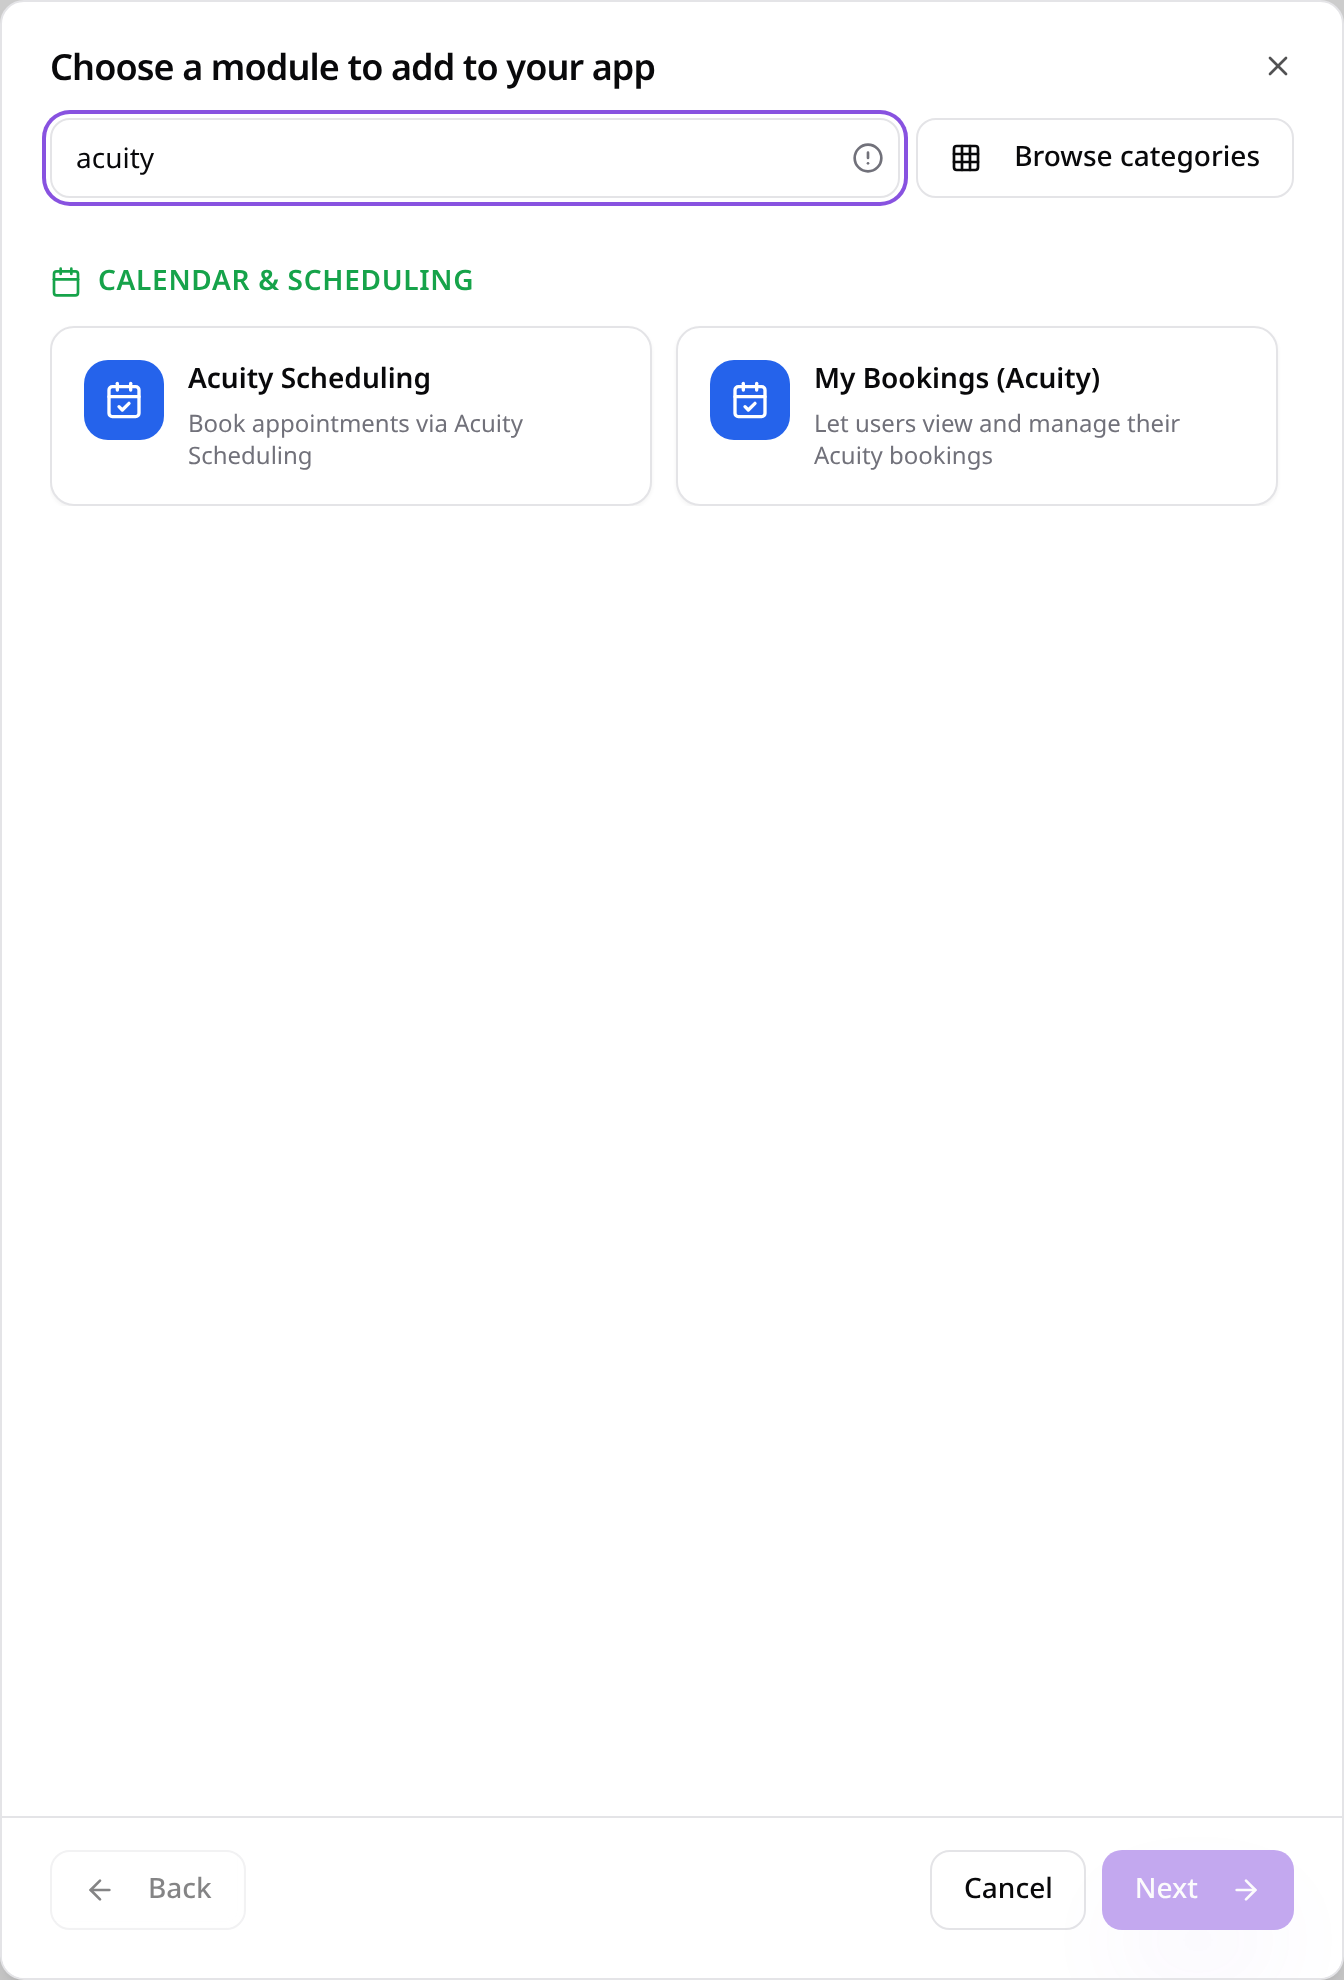
Choose Acuity Scheduling
Search “acuity” and tap Acuity Scheduling.
- 3
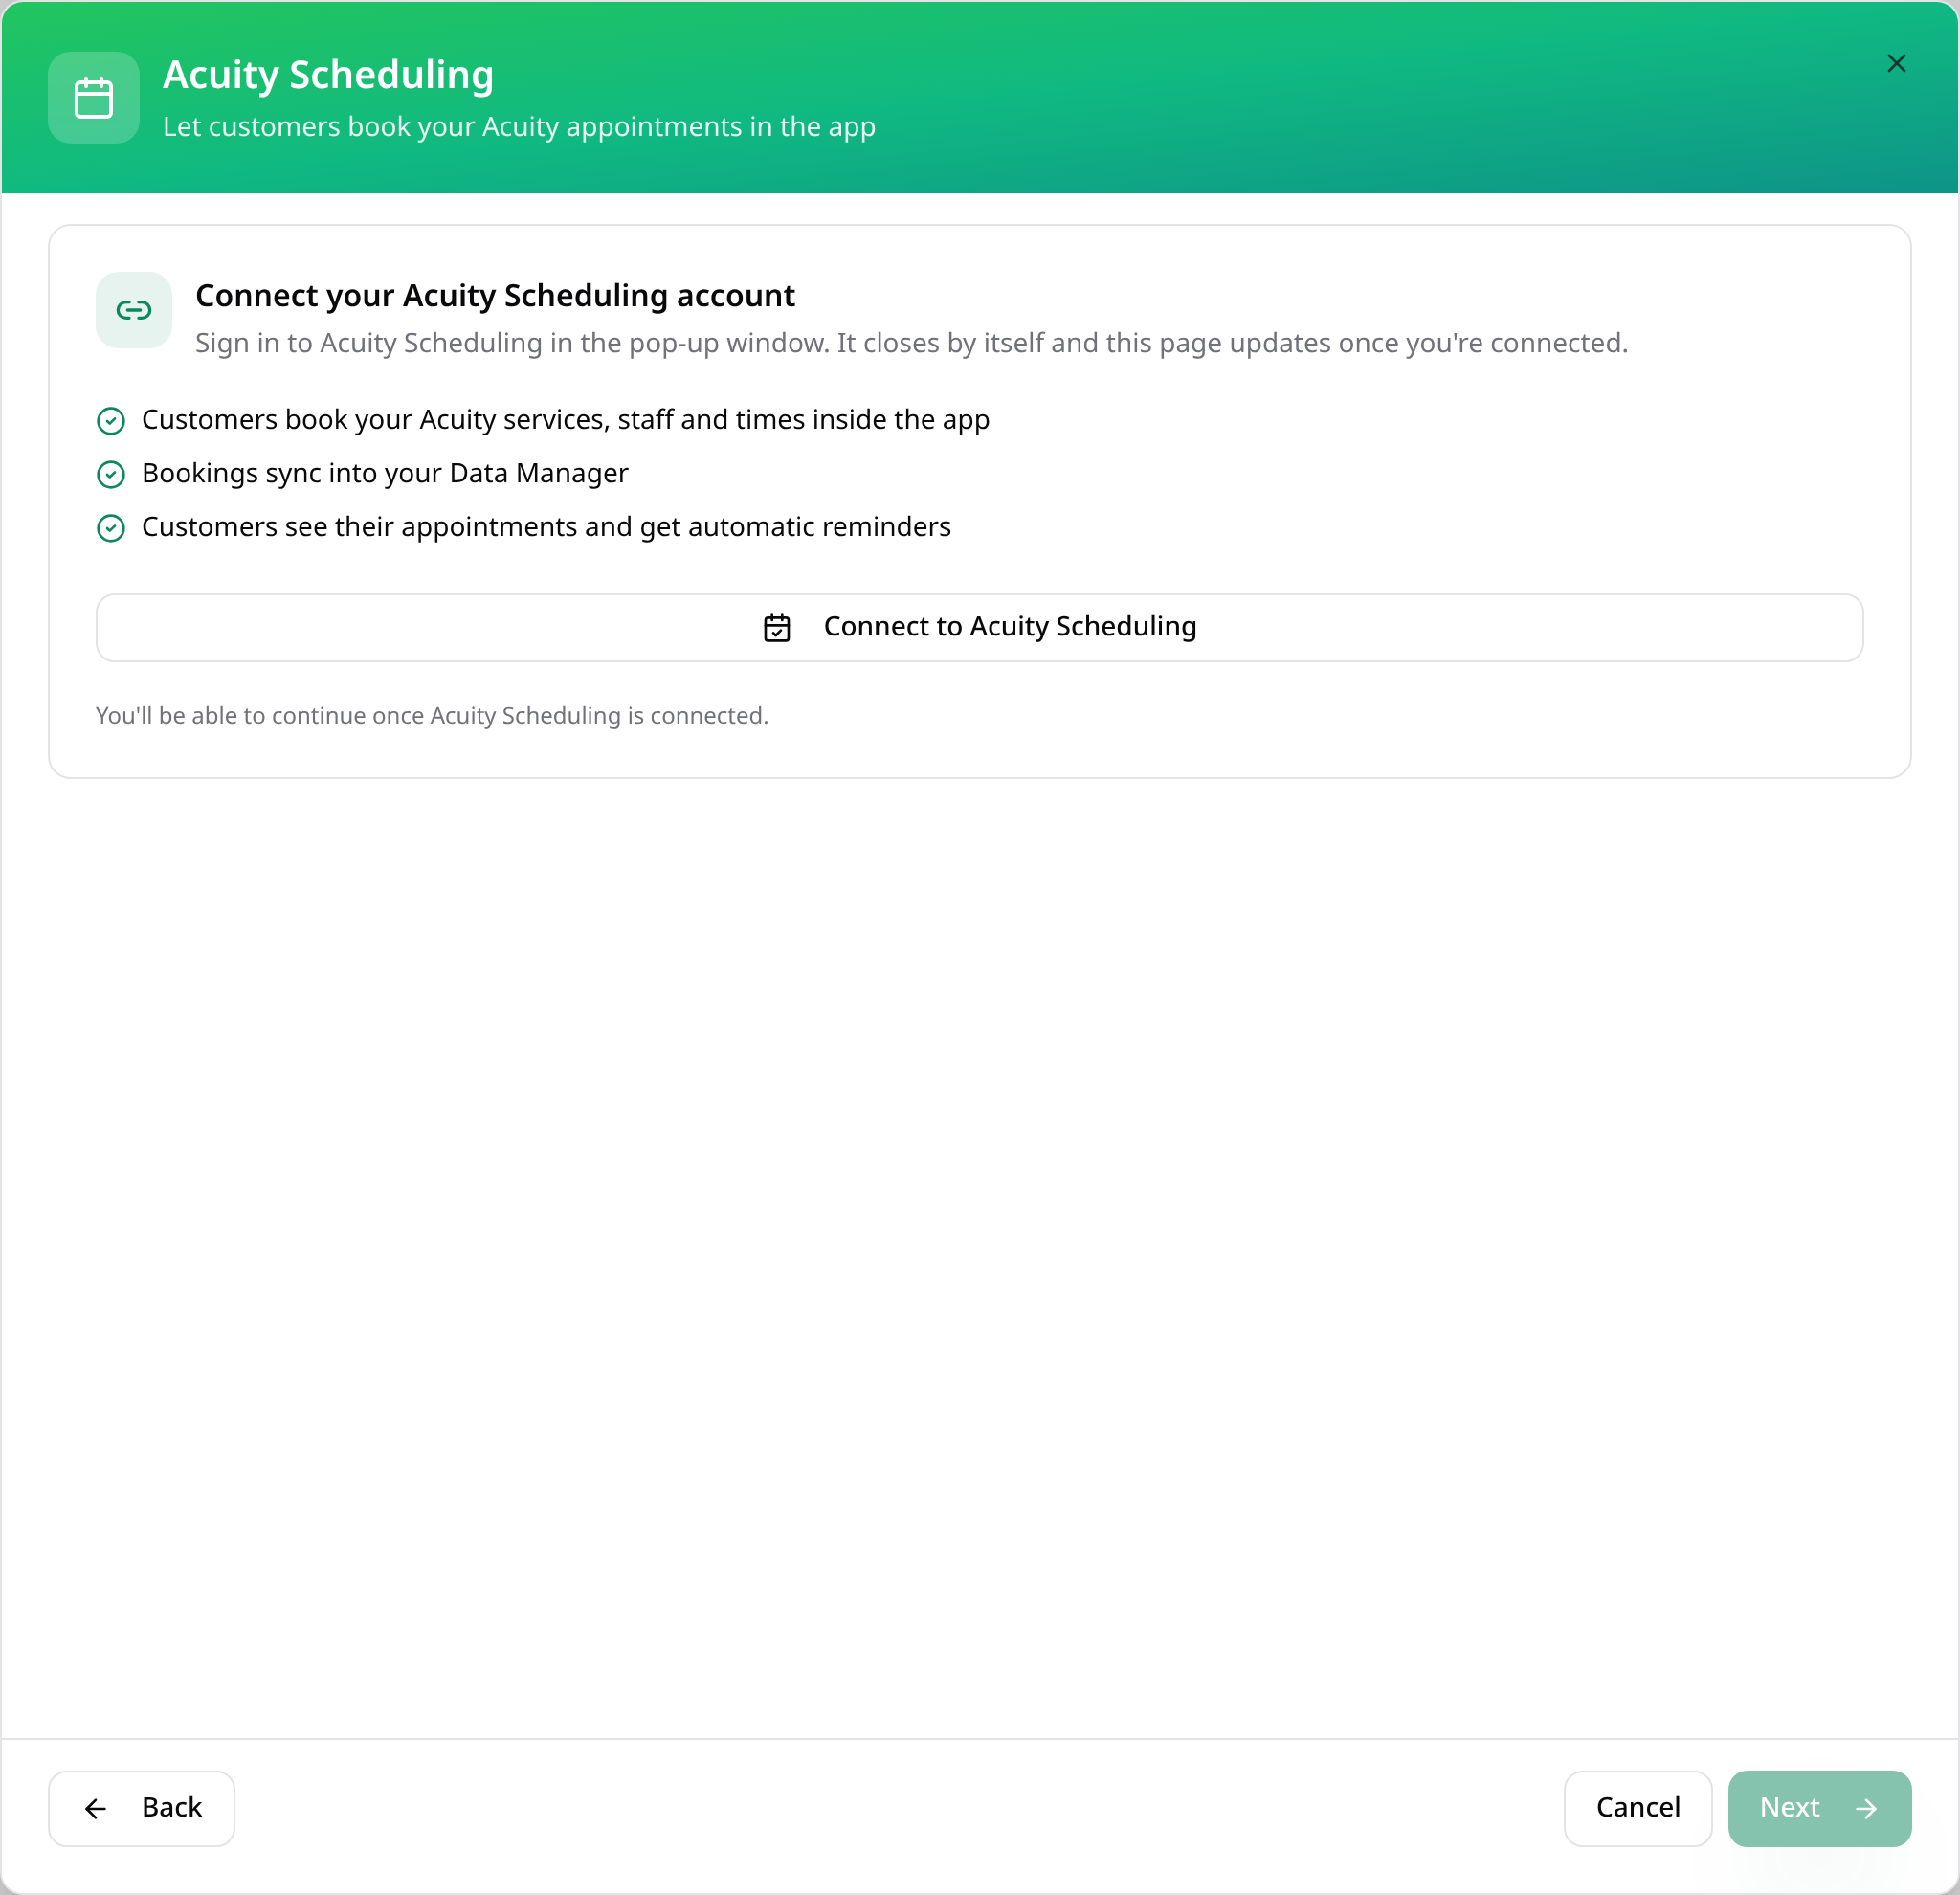
Connect Acuity
Tap Connect to Acuity Scheduling. You only need to do this once per app.
- 4
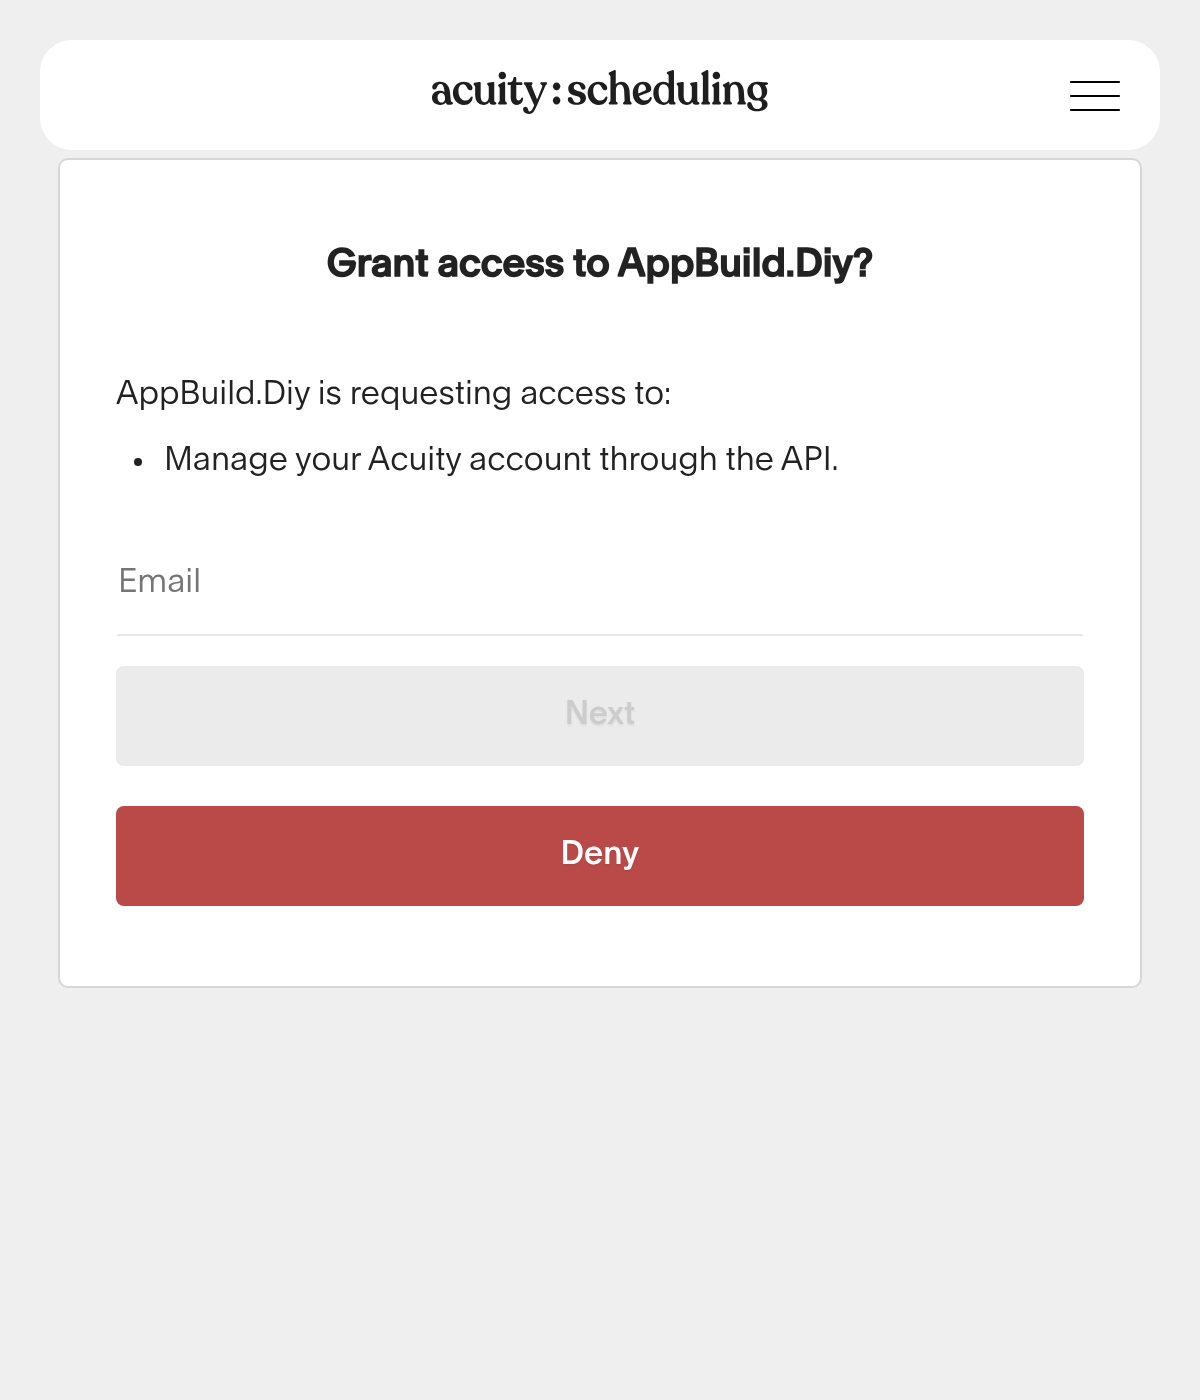
Sign in to Acuity
An Acuity window opens. Sign in and allow access, and the window closes by itself.
- 5
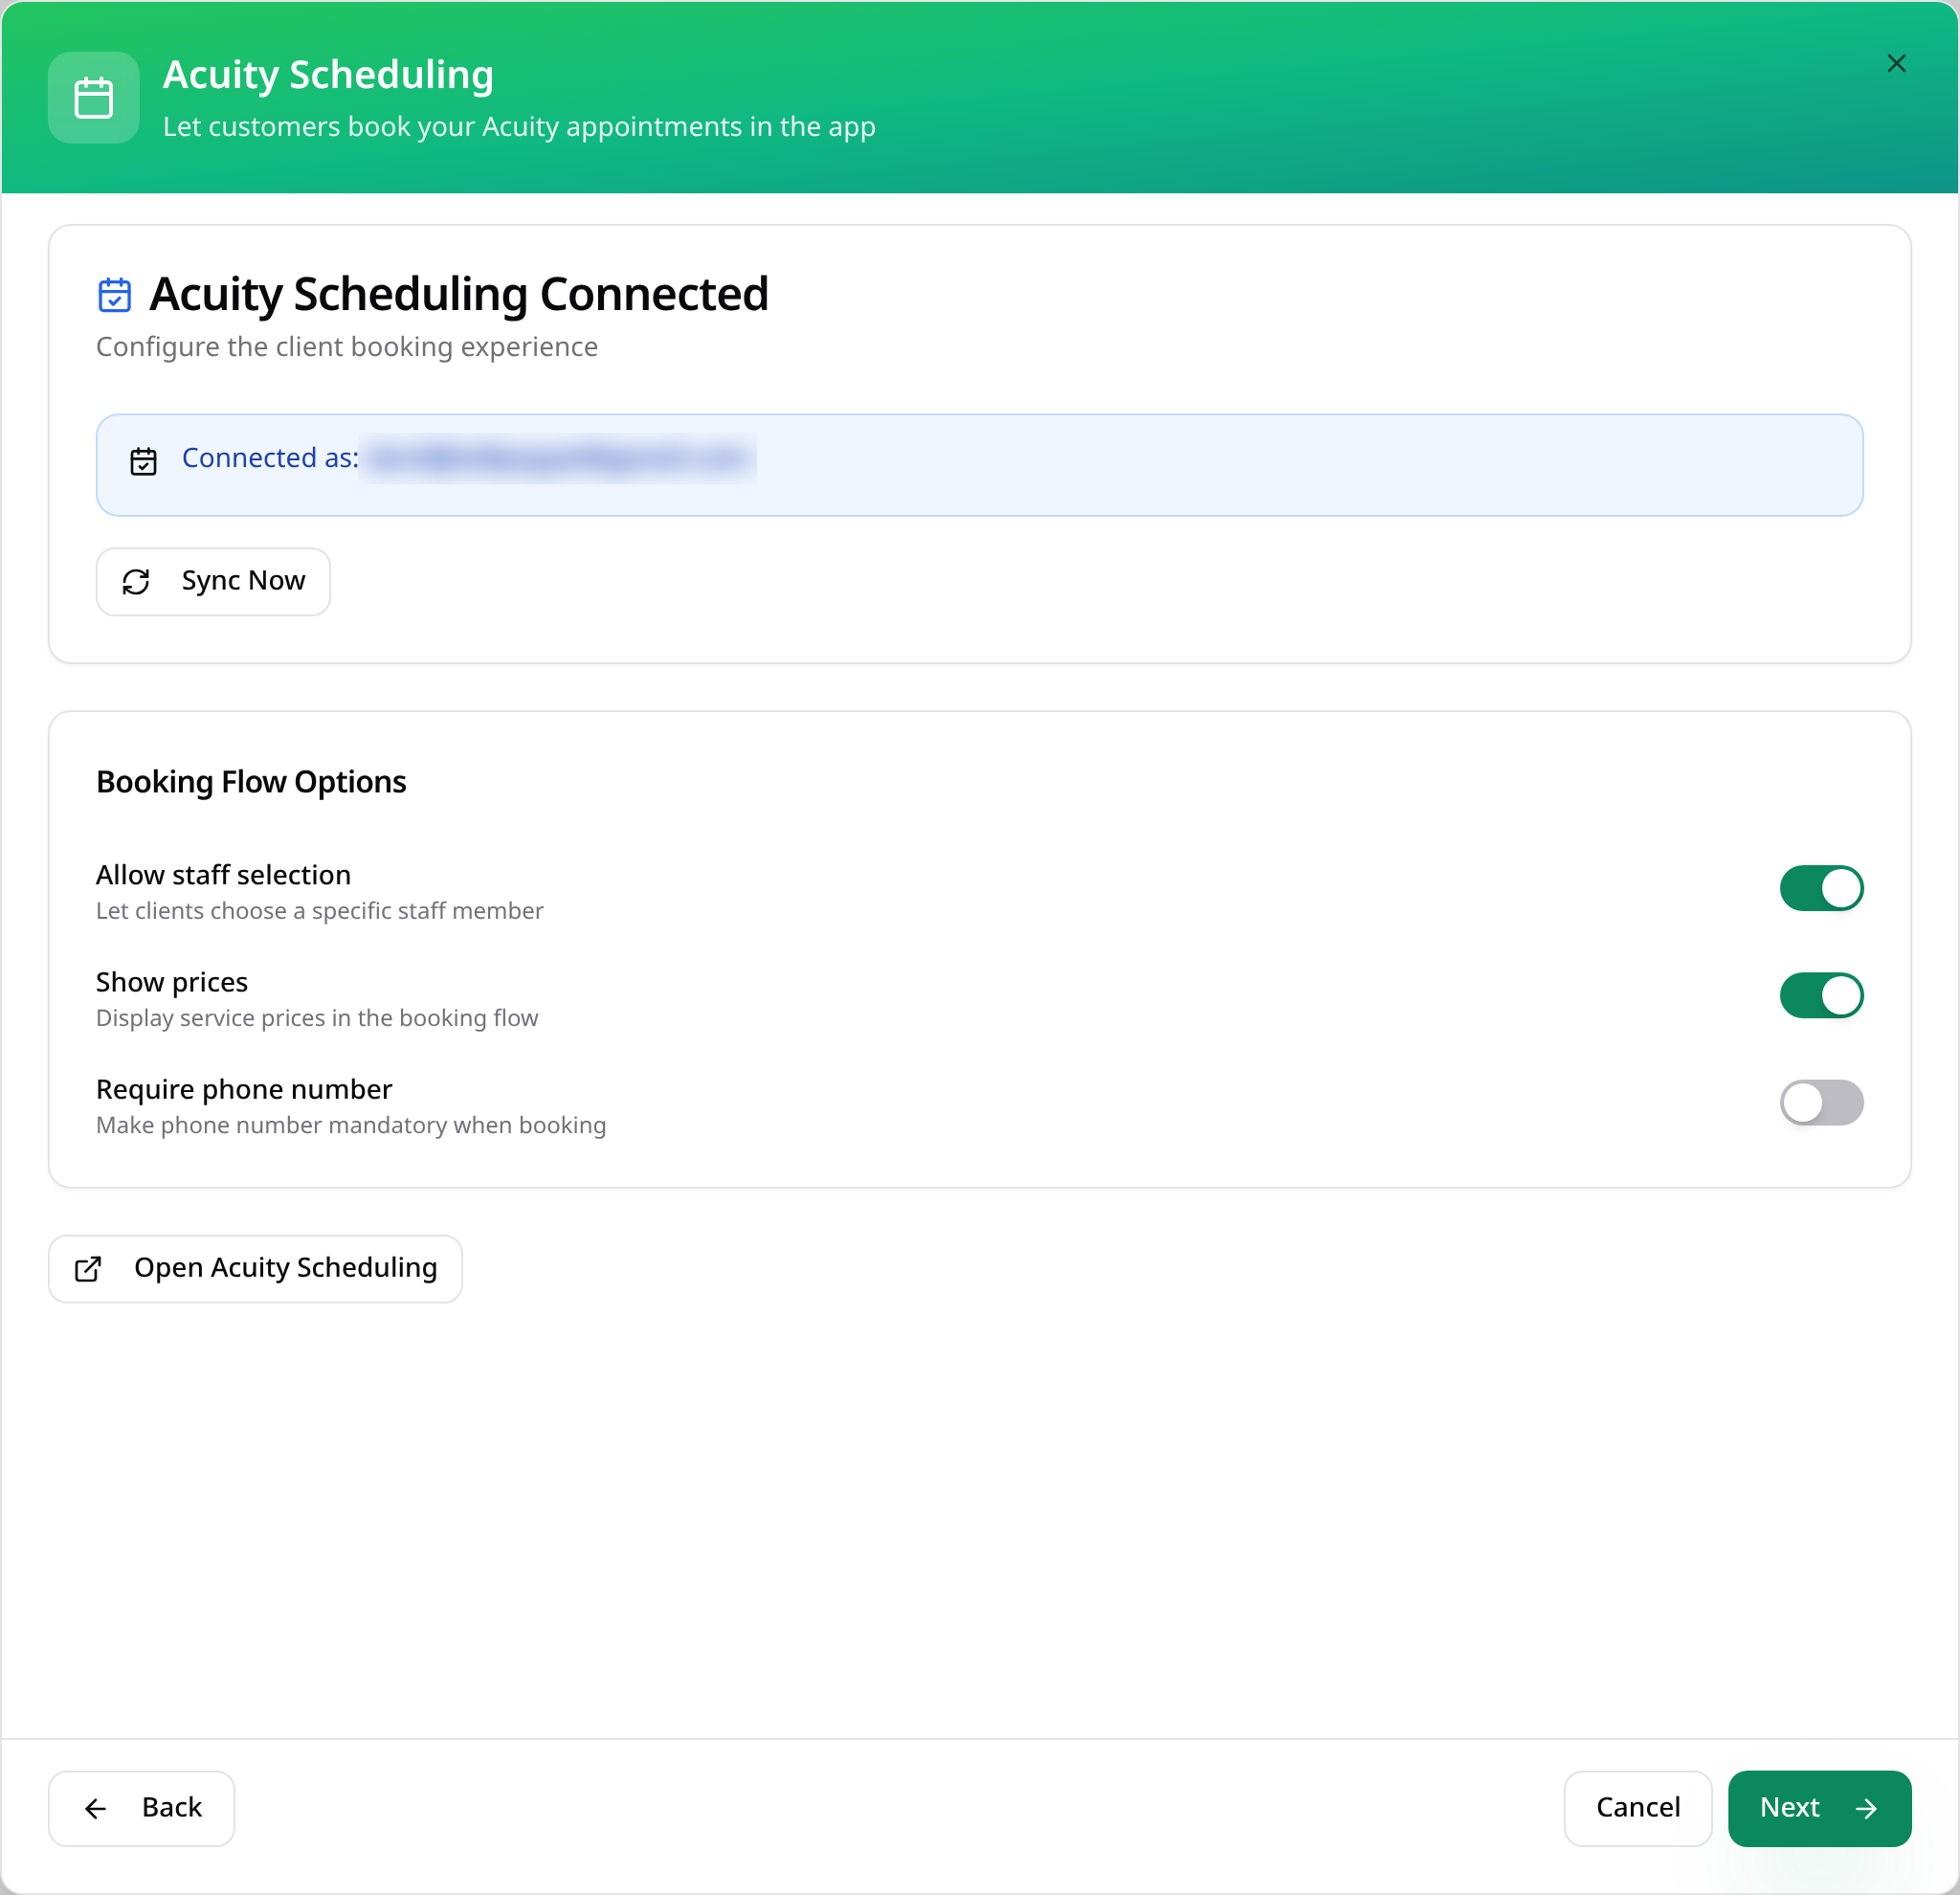
Check the connection
Once connected, choose the booking options you want. Your services, staff and times come from Acuity. Tap Next.
- 6
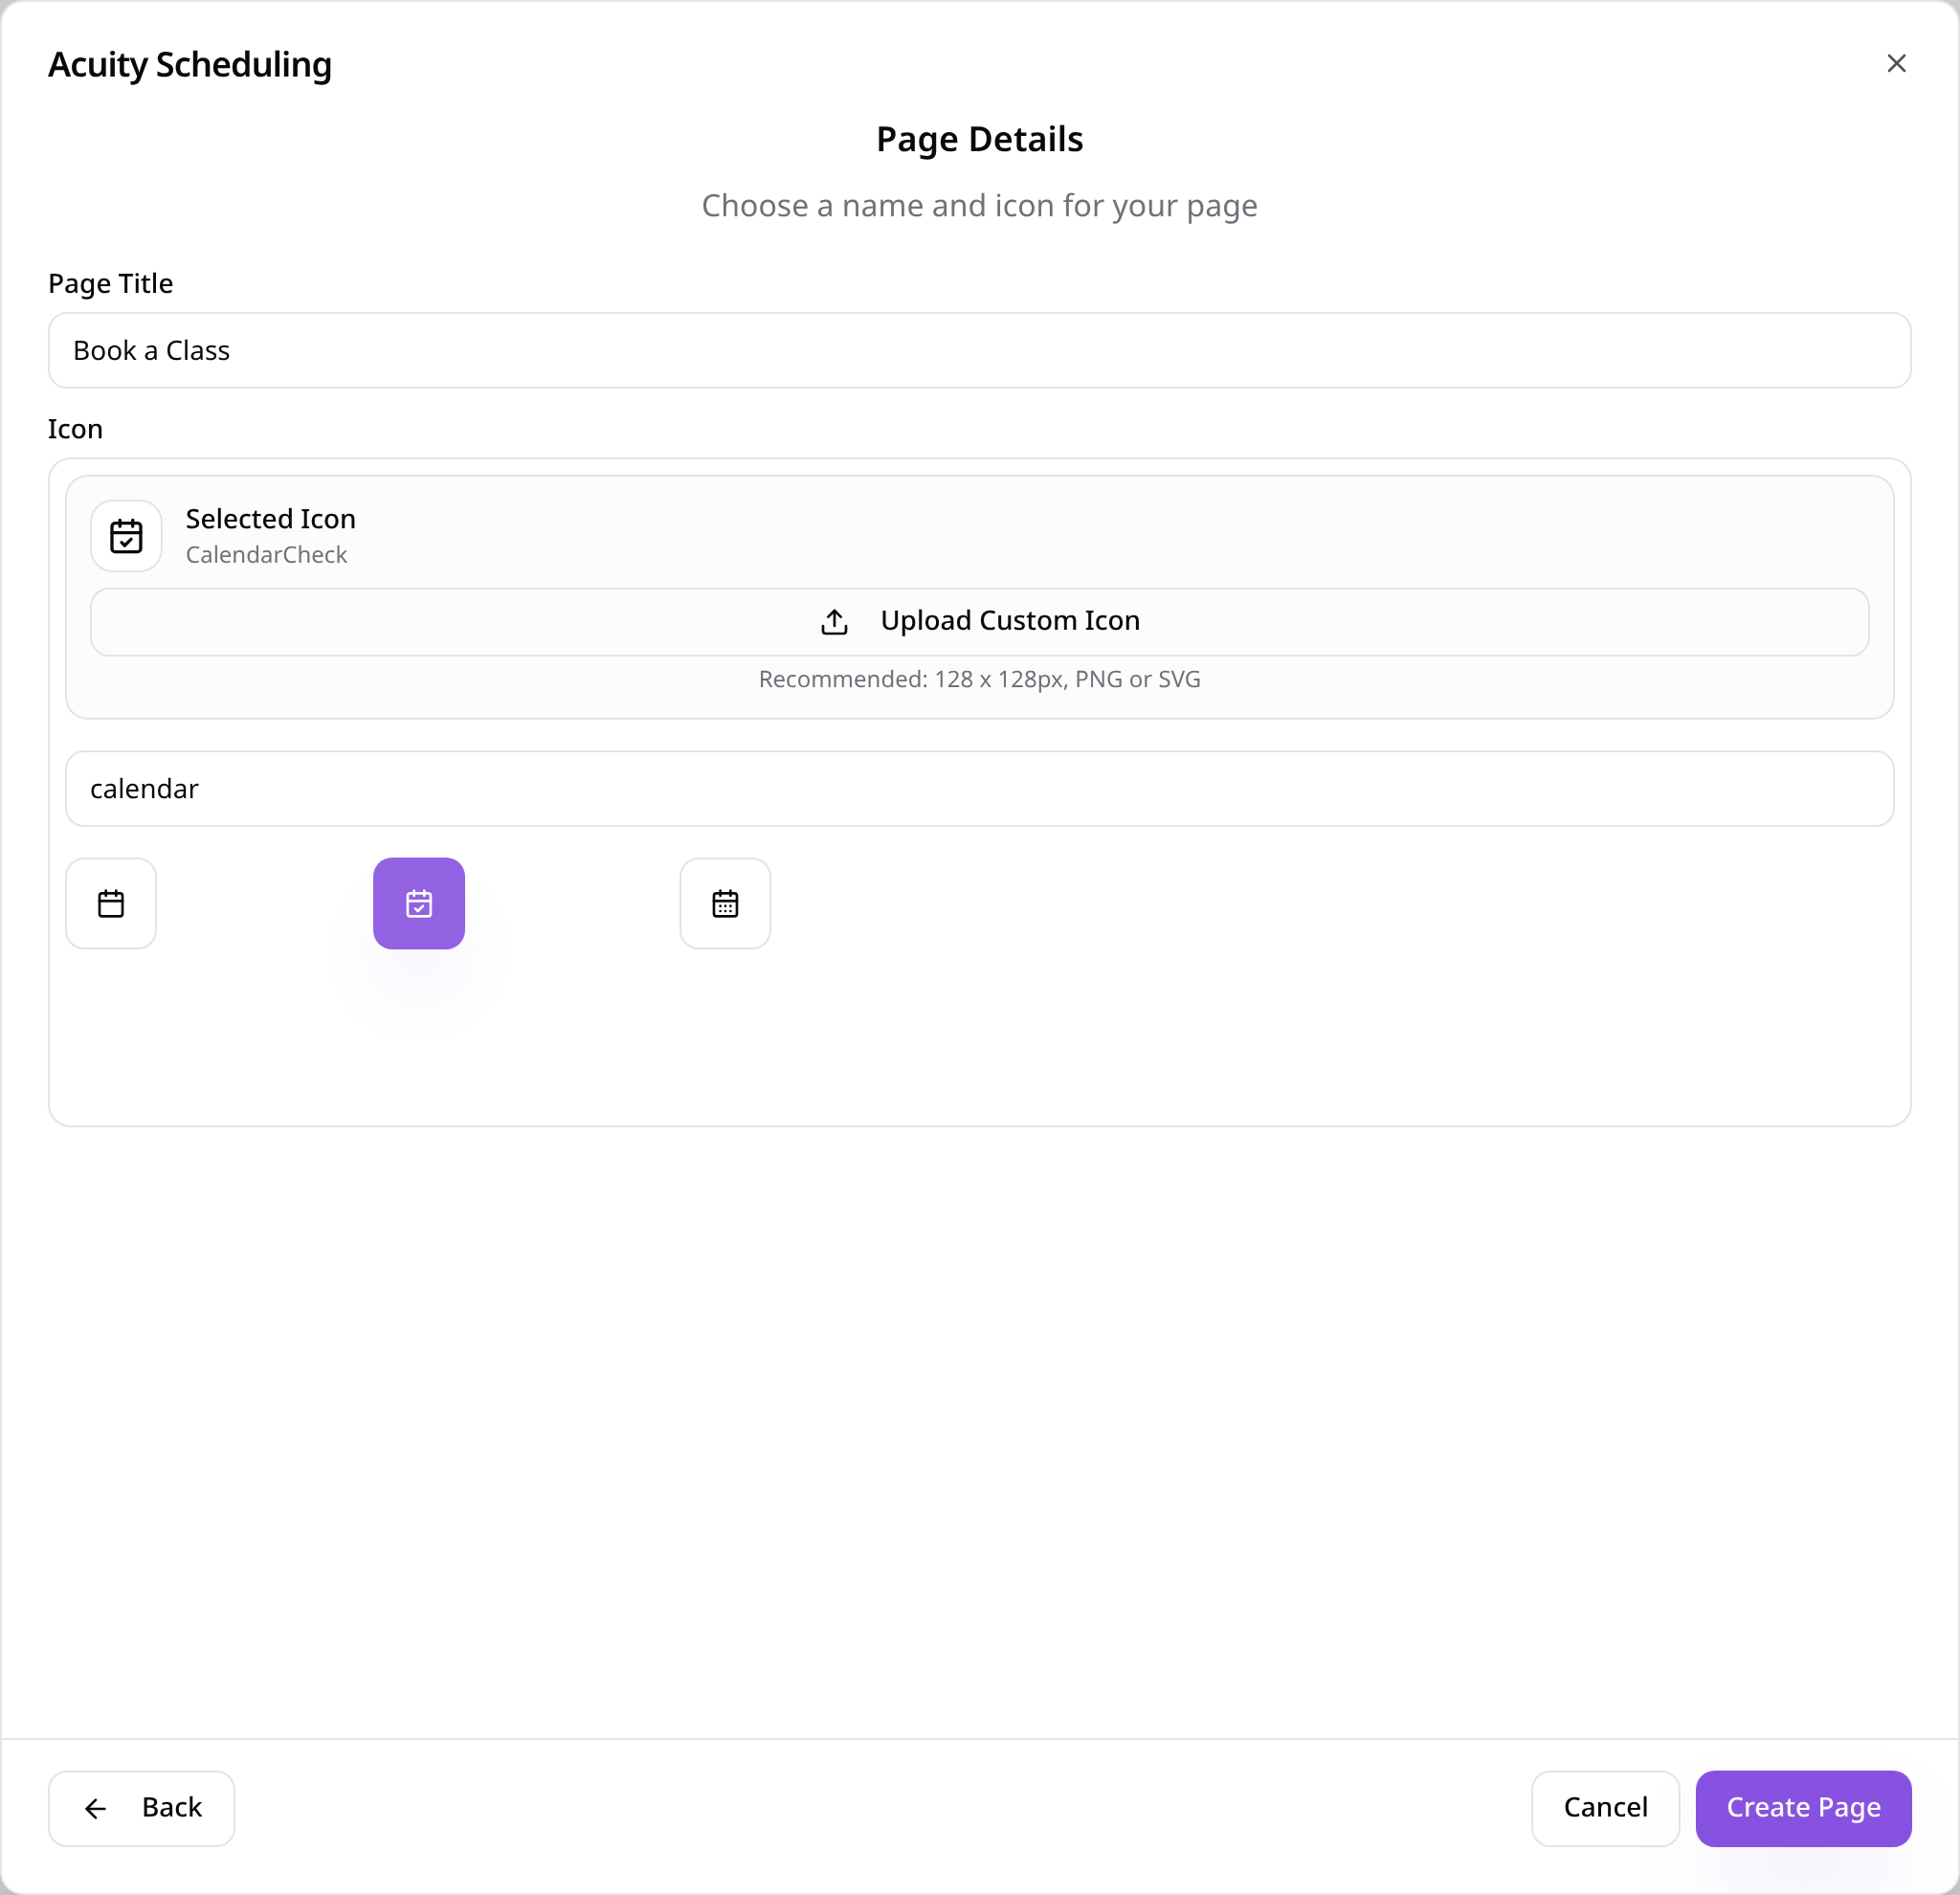
Name the page
Give the page a name, choose an icon and tap Create Page. Add a short menu name in Edit Page Settings if it needs one.
- 7
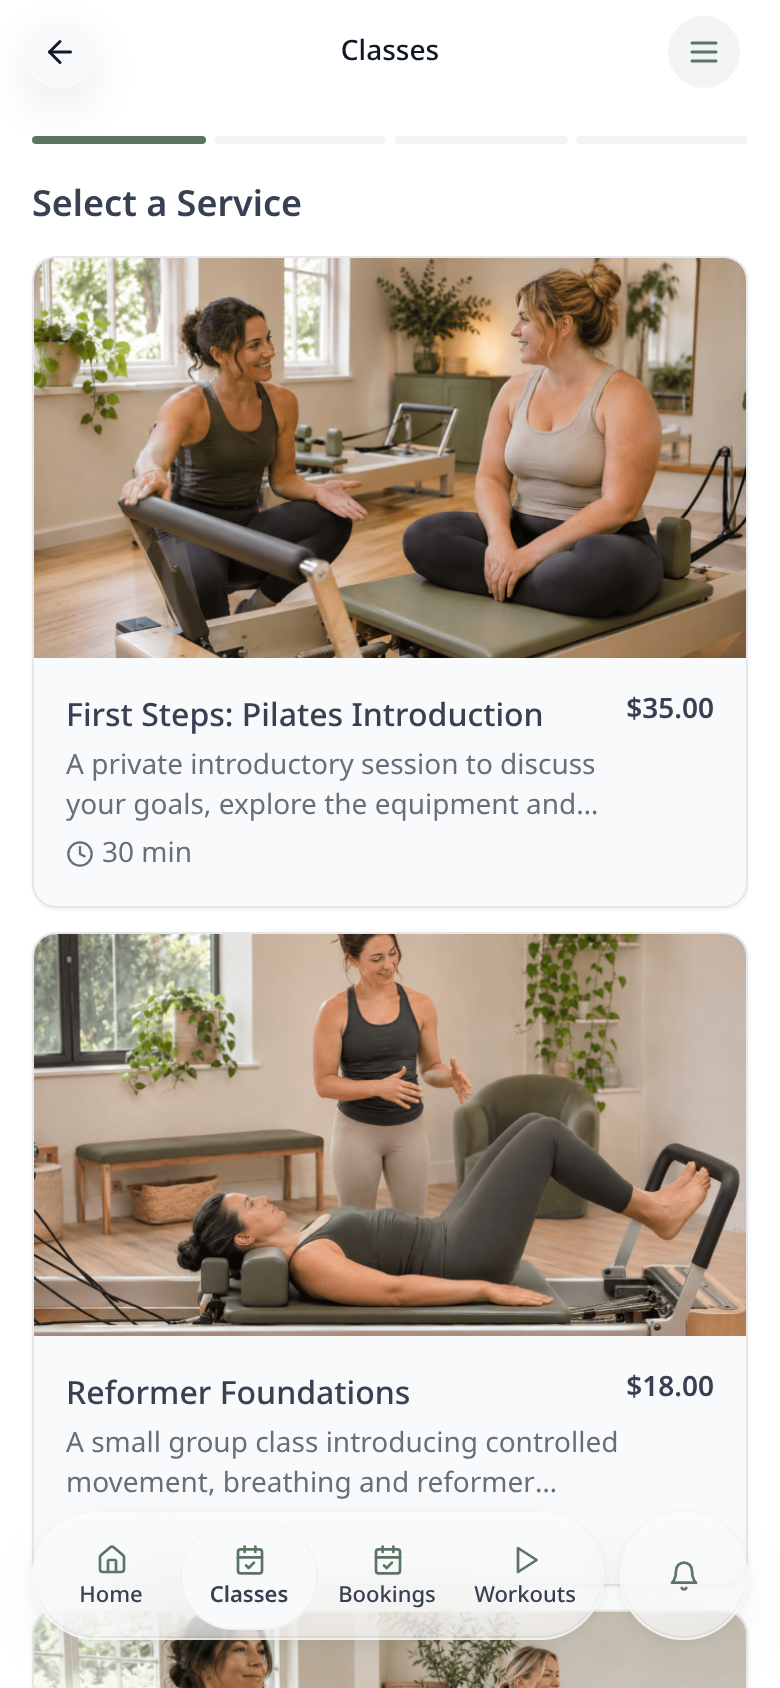
Customers pick a service
Your Acuity services appear in the app with their price and length.
- 8
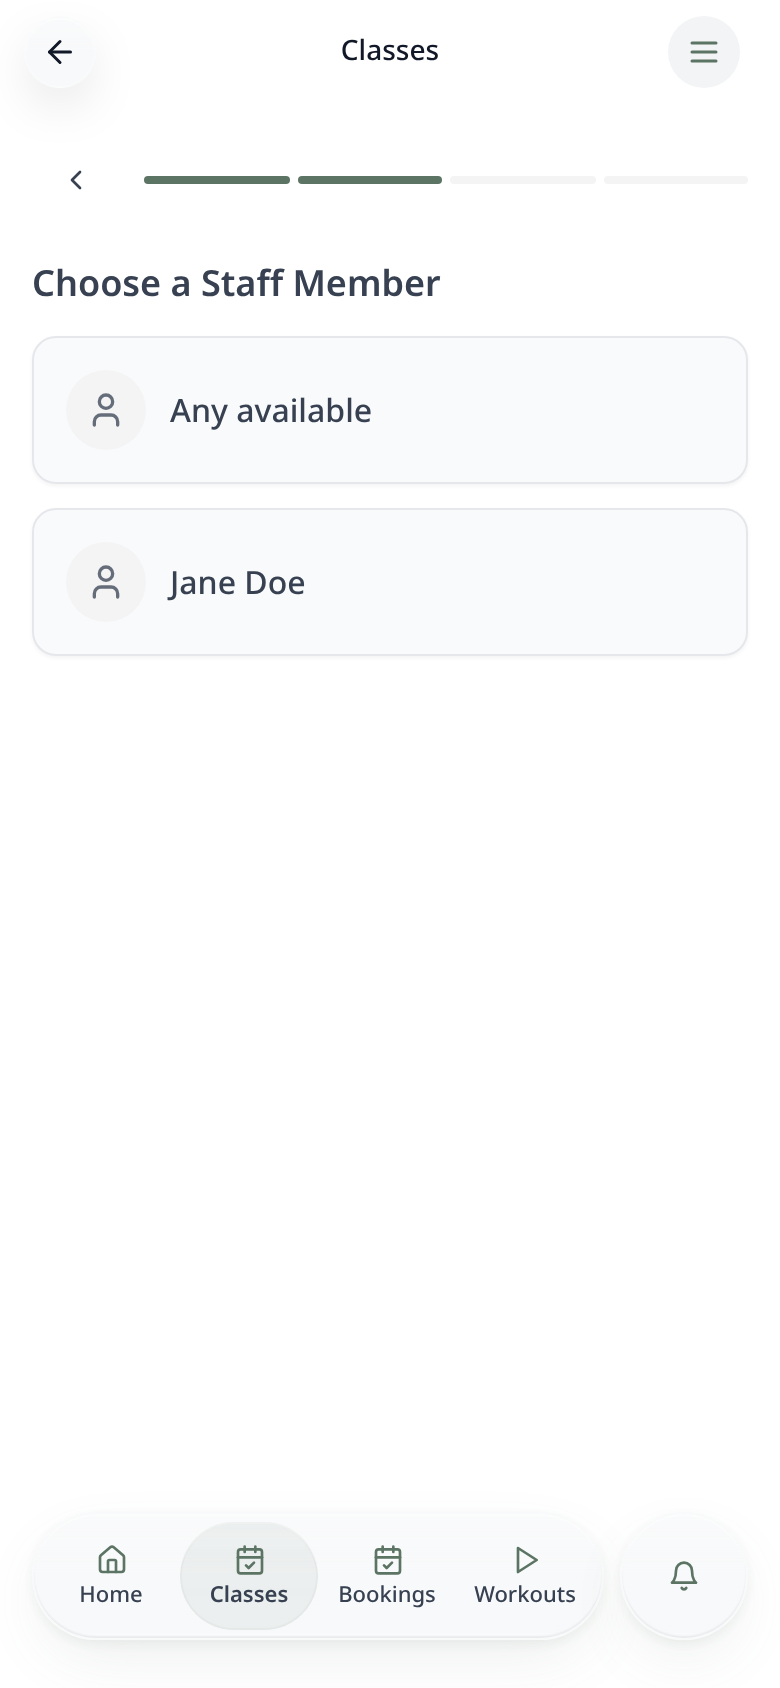
Then a staff member
Customers choose who they would like, or anyone available.
- 9
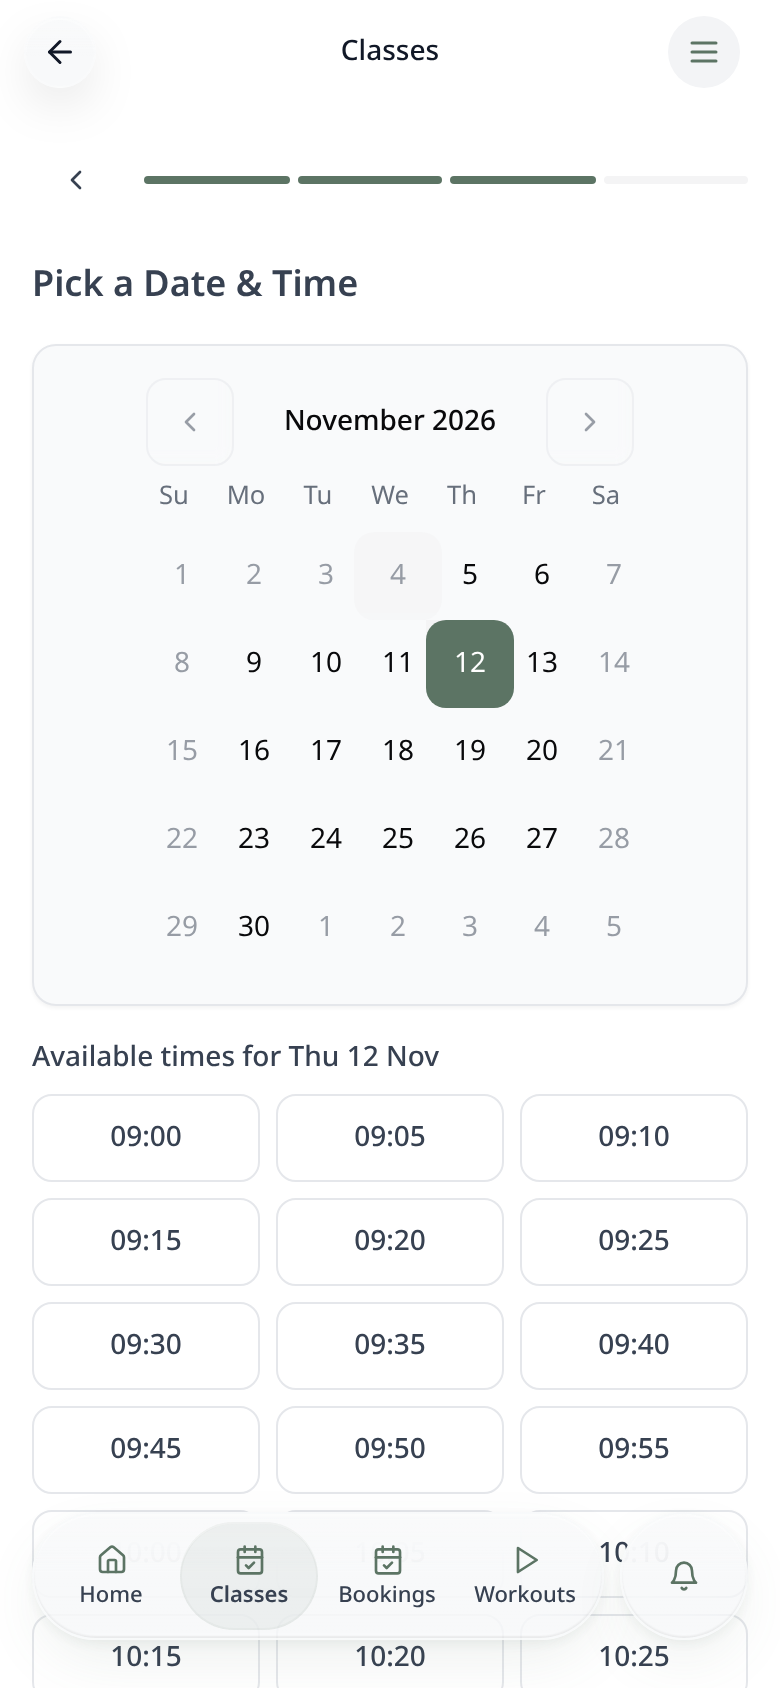
Then a day and time
Only days and times free in your Acuity calendar can be chosen.
- 10
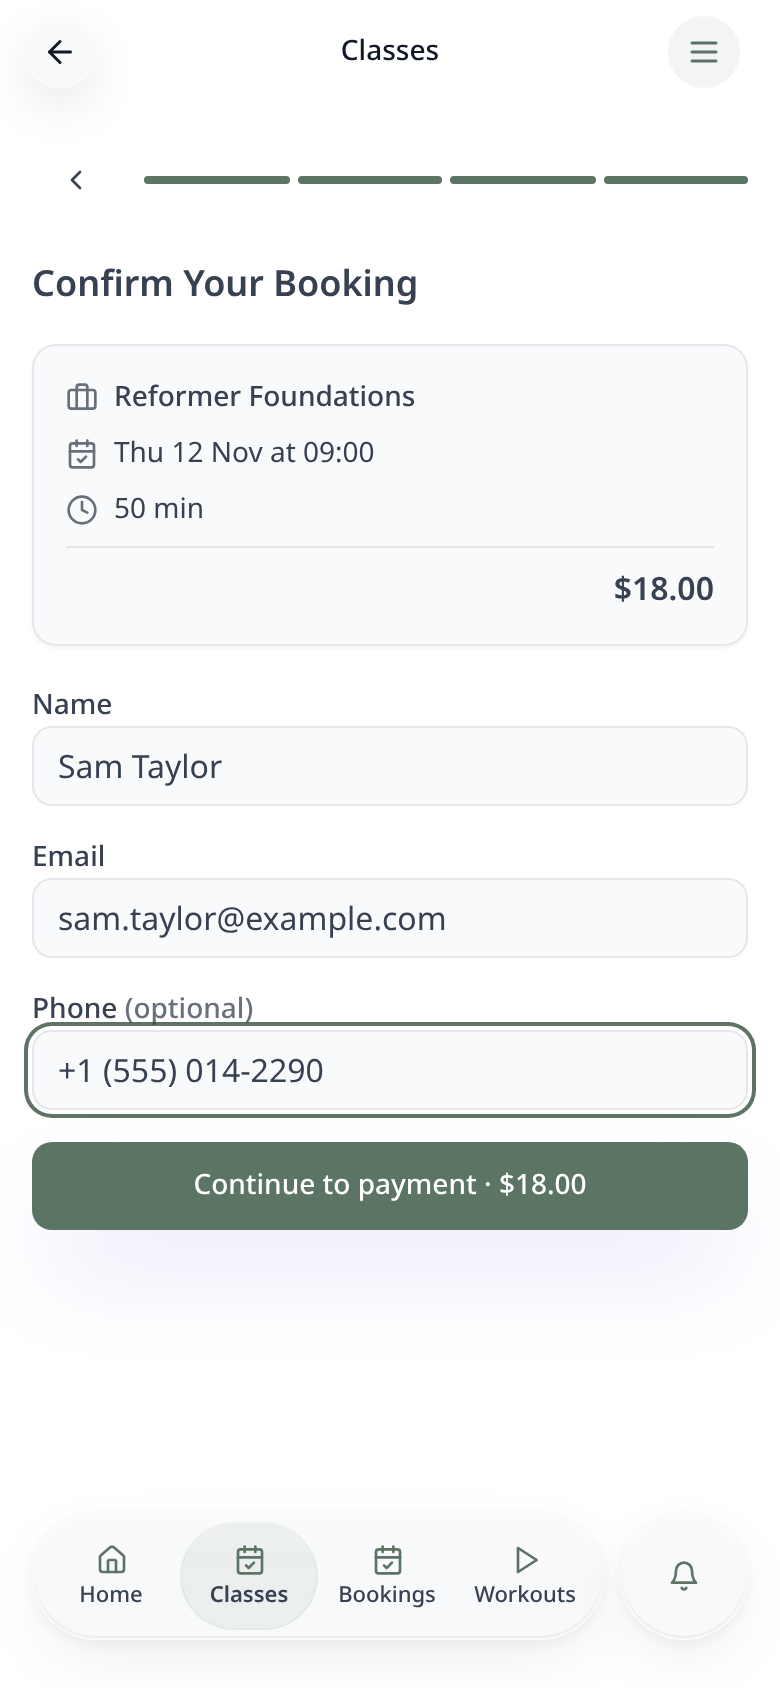
Add their details
Customers check the booking, add their name and email, and tap Continue to payment.
- 11
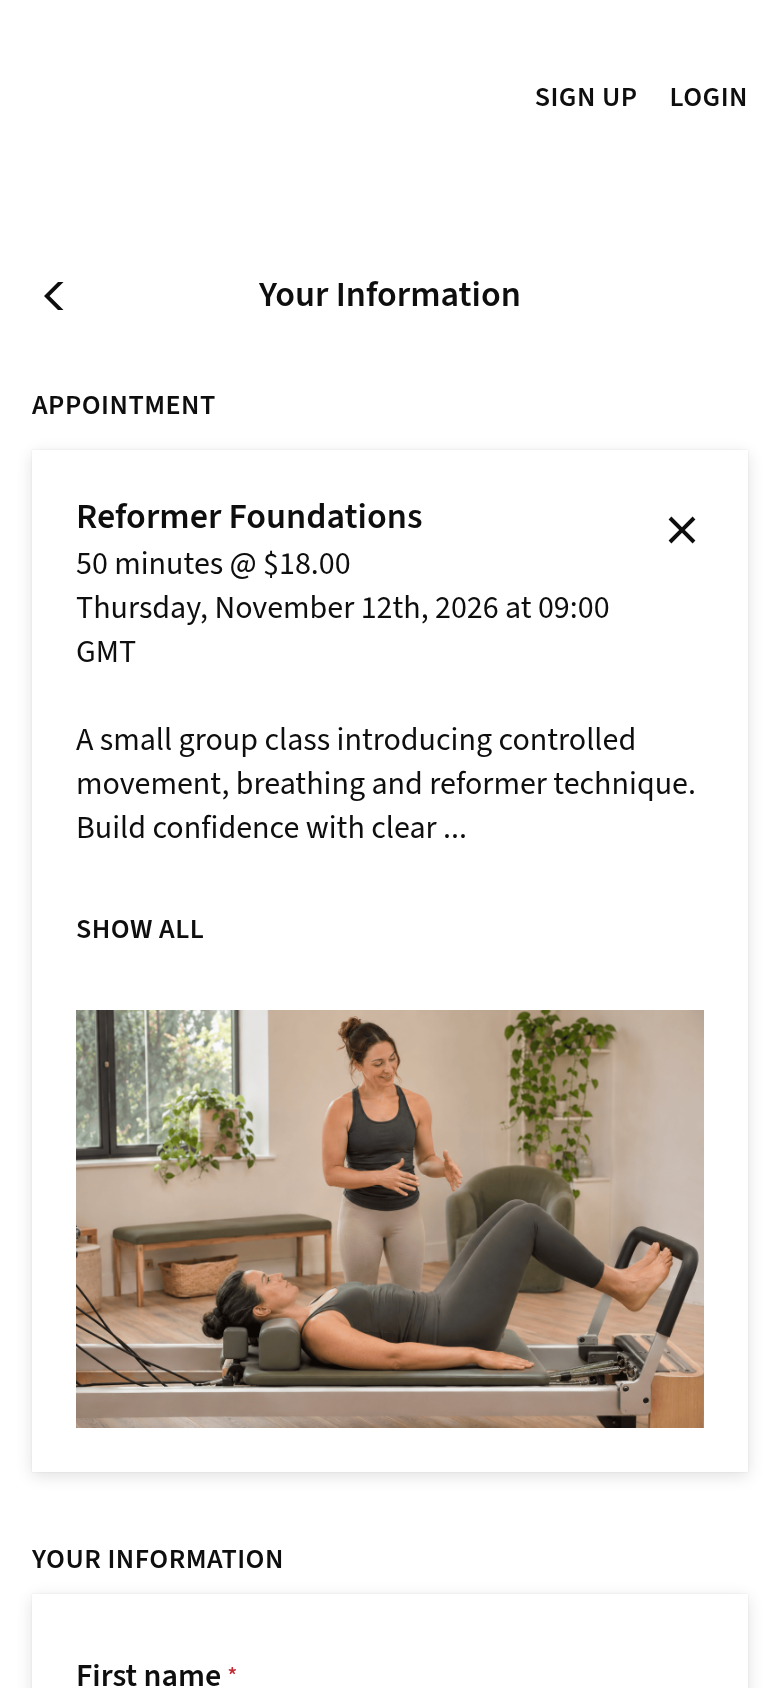
Pay securely
Acuity's secure checkout opens with their booking and details already filled in.
- 12
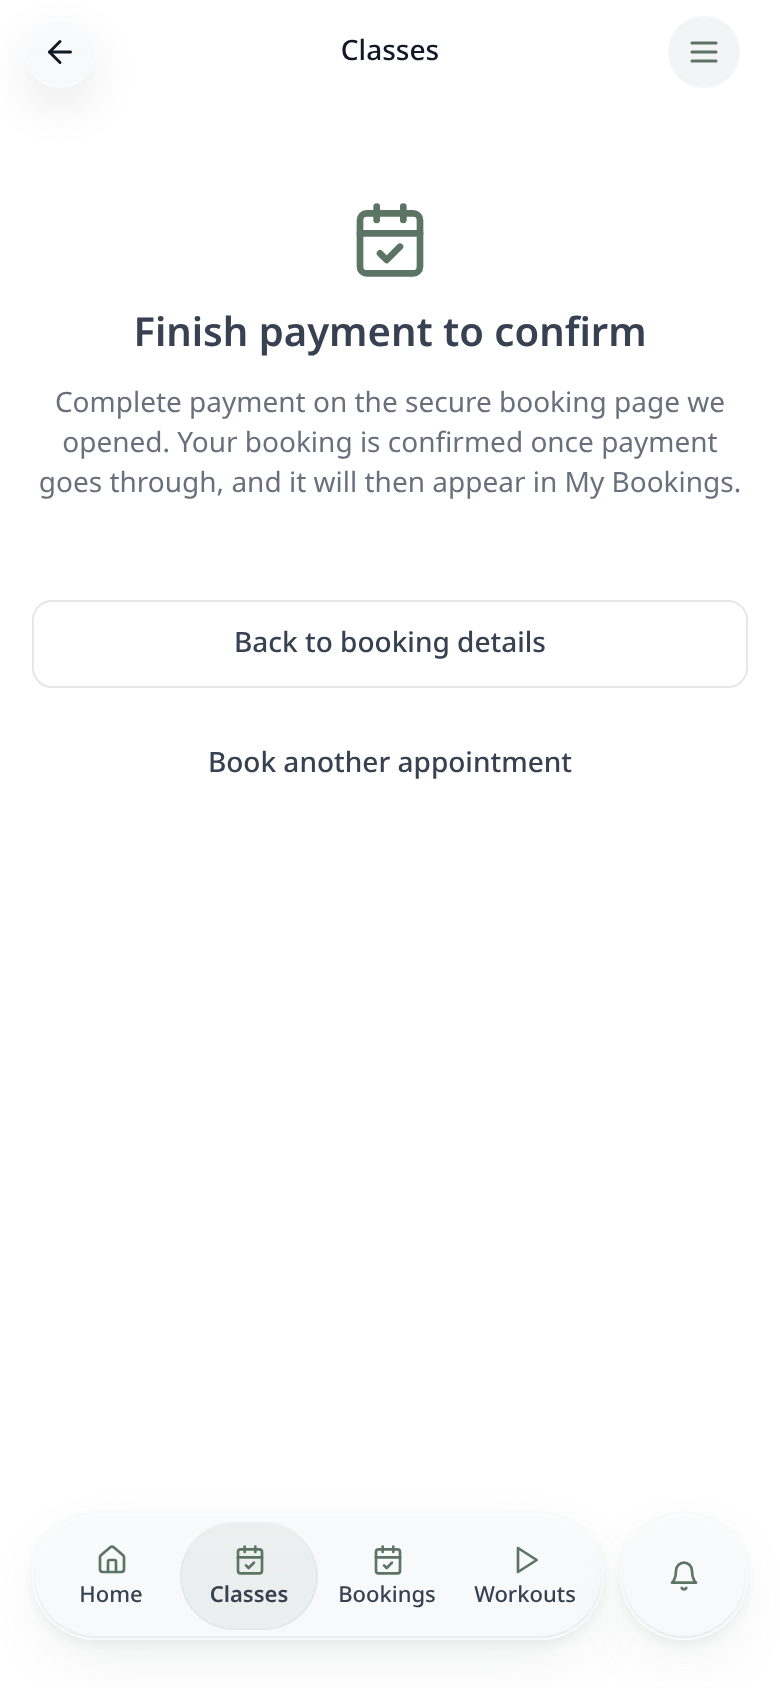
Booked once paid
When payment goes through, the booking goes into your Acuity calendar and shows in My Bookings.
Add a My Bookings (Acuity) page so customers can see, reschedule or cancel their appointments. Change services, staff and hours in Acuity and the app updates automatically.